Spriso's SR20DET Bluebird Coupe Project

Only the most active and interesting projects from our members. Projects must be approved to be in this forum
User avatar
spriso
Posts: 268
Joined: 28 Feb 2007 07:39
Location: Oregon

Re: Spriso's SR20DET Bluebird Coupe Project

Post by spriso »

Get the Lead Out

So a few last details before heading off to the stripper...

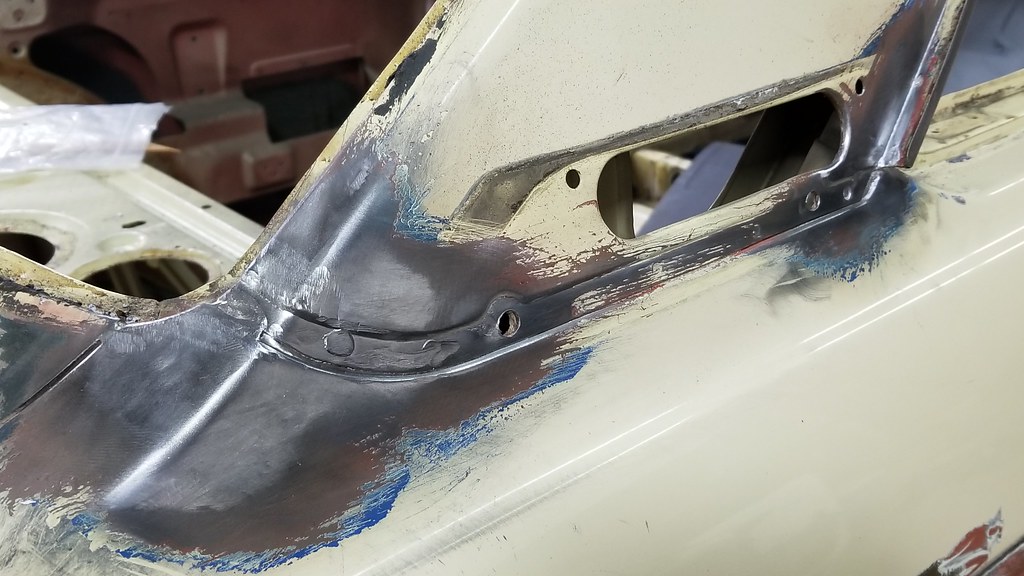
Lead-- there is lead finishing the seam in the corner of the windshield and the rear C pillar that needs to be removed-- this is now 50 years old, and is often cracked on many 510s, so I will be replacing this when the car goes in for body work. So, out came the torch and wire brush:
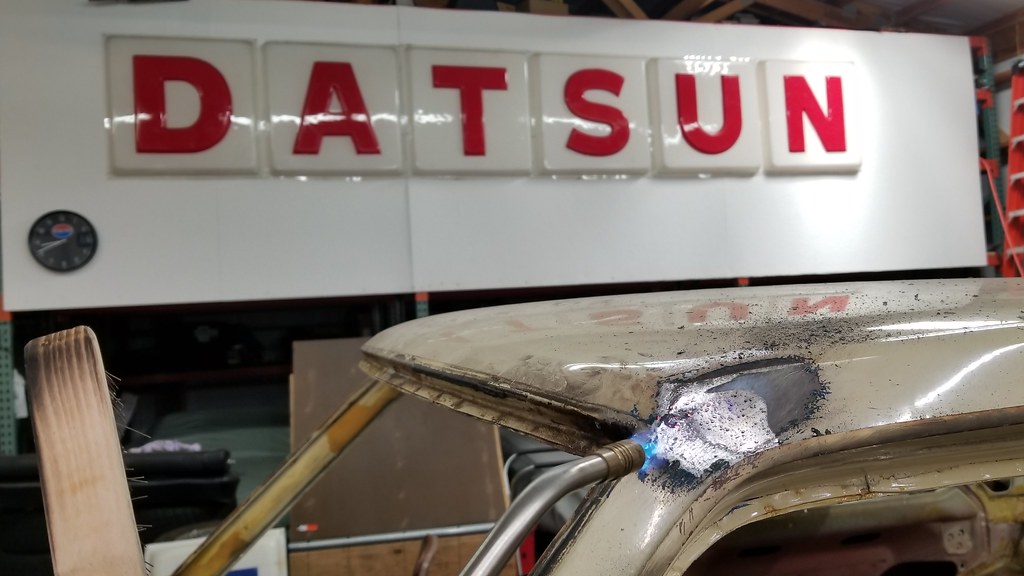
Image

And the rear seam cleaned out:

Image

I also removed the drip rail trim (which as always is a giant pain in the ass), but I'm glad I did as there were some trouble areas in a few spots:
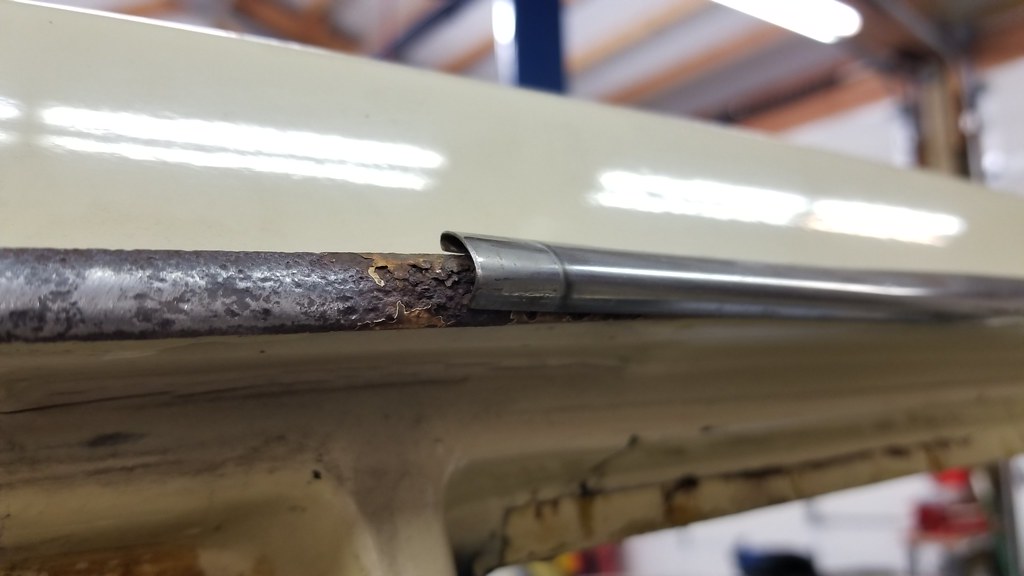
Image

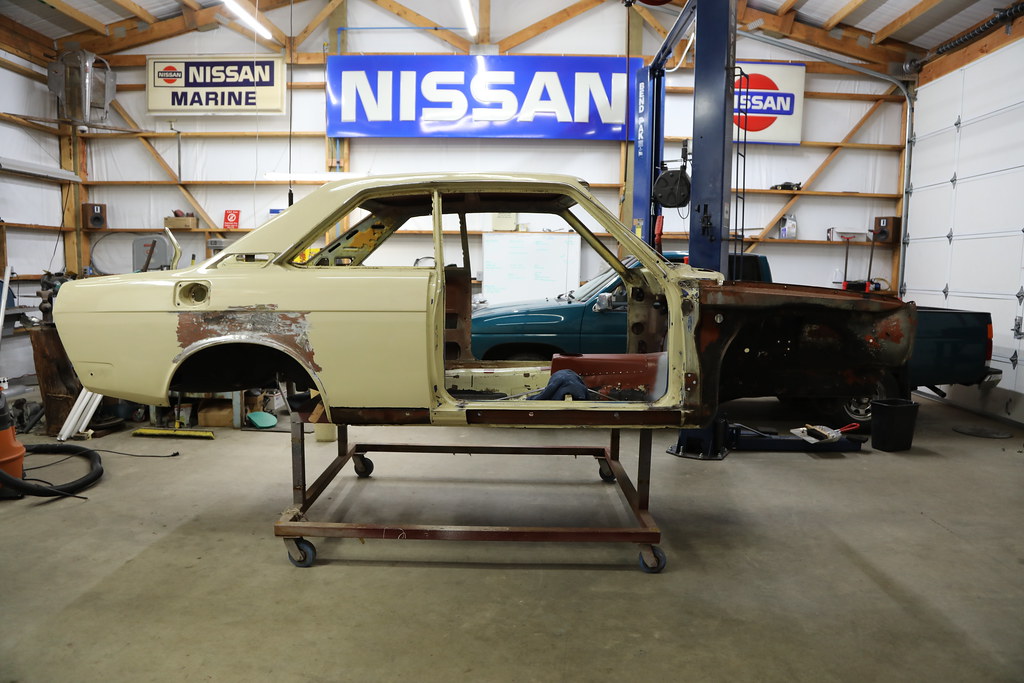
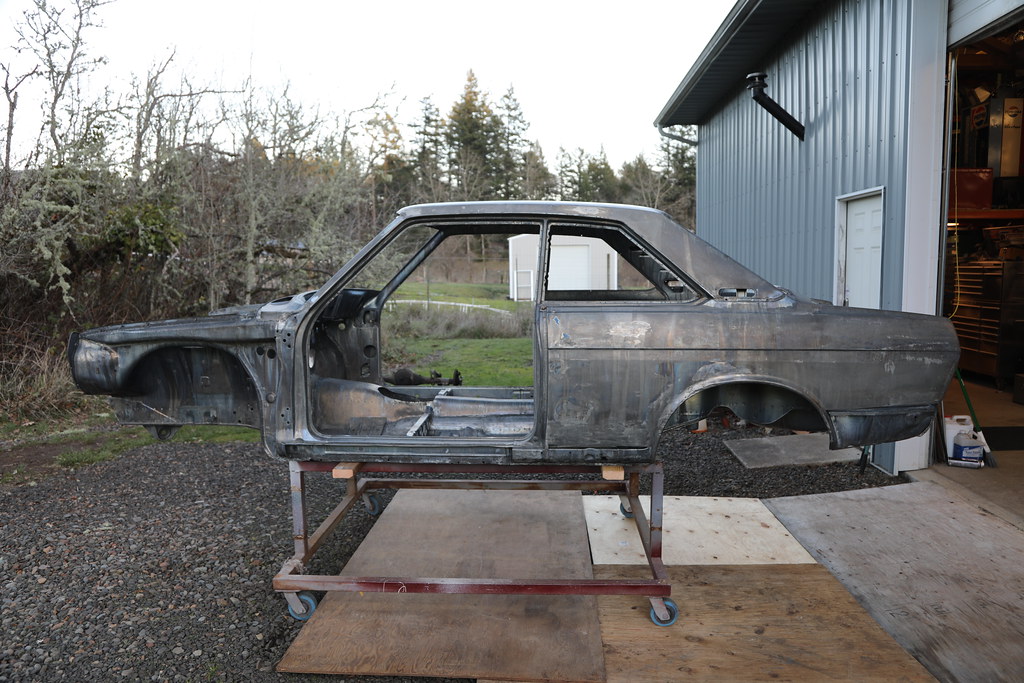
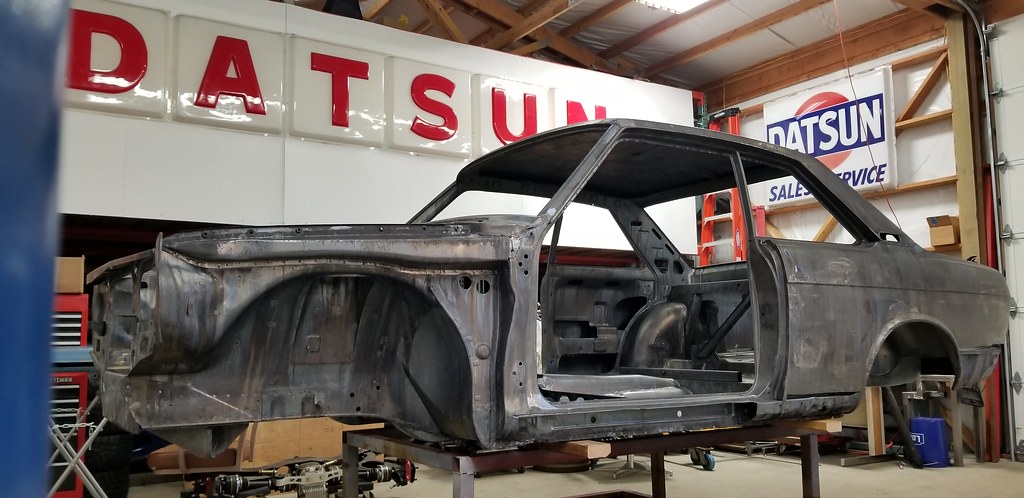
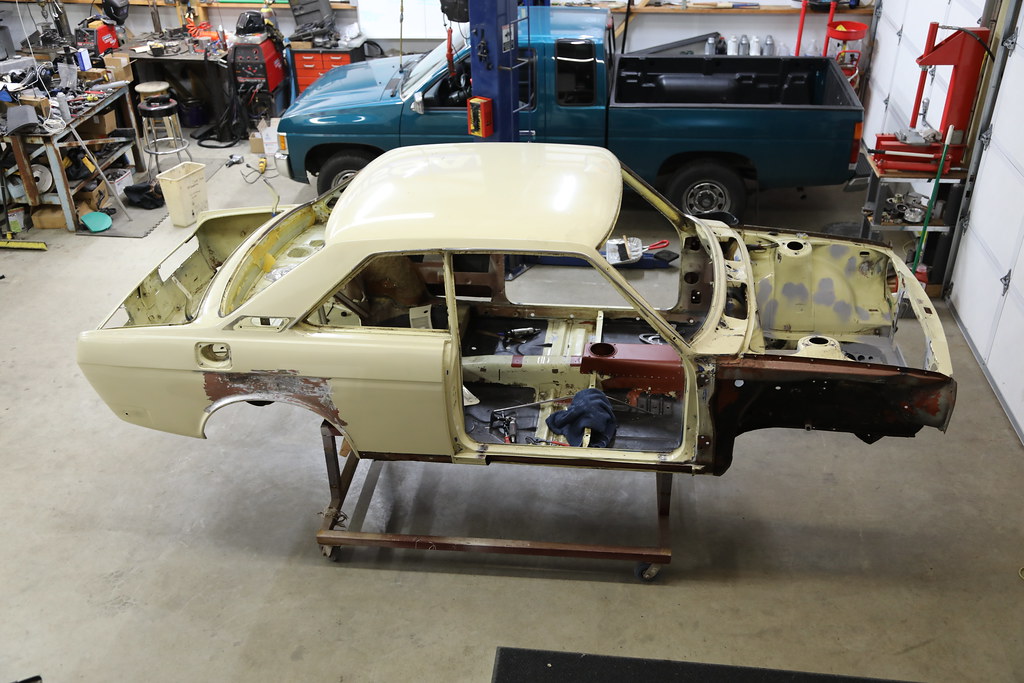
And that's it-- the car is a bare shell (the trunk hinges were removed after these shots):
Image

Image

If the weather holds (ie. no snow), we will take it down to the stripper's tomorrow... more soon!

Michael
Michael Spreadbury
Spriso Motorsports
www.spriso.com
User avatar
KiKiIchiBan
Supporter
Posts: 508
Joined: 26 Feb 2014 23:46
Location: London, England

Re: Spriso's SR20DET Bluebird Coupe Project

Post by KiKiIchiBan »

How did you remove the drip rail trim? Its the last part on my shell to remove before it goes off, I don't want to break it but it seems so brittle.
My P510 Bluebird SSS Coupe www.the510realm.com/viewtopic.php?t=26929

https://www.instagram.com/kikiichiban/
https://www.youtube.com/channel/UCBP1x8z2IBvfs-MQH2Gc73Q/featured
User avatar
spriso
Posts: 268
Joined: 28 Feb 2007 07:39
Location: Oregon

Re: Spriso's SR20DET Bluebird Coupe Project

Post by spriso »

KiKiIchiBan wrote:
How did you remove the drip rail trim?
It is not easy to do without damaging it! I have read about people using bottle openers (but that was going to damage the trim) and other techniques, but what finally worked for me was this:

Use a wide, flat blade screw driver under the lip-- the tip will need to be fine enough to just catch the edge of the stainless trim. Once you have it pressed firmly (and flat) against the edge, use a soft blow hammer on the end of the screw driver to pop the edge off. You will want to start on the lower ends and work your way towards the middle. The transition was the hardest part, but with patience, I finally won.

Not looking forward to putting them back on!

Michael
Michael Spreadbury
Spriso Motorsports
www.spriso.com
User avatar
RMS
Supporter
Posts: 1921
Joined: 12 Oct 2009 01:03
Location: Richmond BC Canada

Re: Spriso's SR20DET Bluebird Coupe Project

Post by RMS »

a small block of wood and a metal bicycle tire tool or rounded paint can opener or modified flathead are my tools of choice. I start in the middle by sliding the joiner to one side. catch the trim with the tool and use the block of wood to lever against to slowly pull the bottom edge out. at the corners give the tail a little twist, very little effort is required to get around the bend. once past the apex the little twist is usually all thats required to remove the trim from the A or B pillar. for installation start on the pillar then when entering the bend give it a twist and knock it on with the heel of your hand or a very soft rubber hammer.
two_68_510s wrote:I guess our donkeys are quicker then your sled dogs!
User avatar
KiKiIchiBan
Supporter
Posts: 508
Joined: 26 Feb 2014 23:46
Location: London, England

Re: Spriso's SR20DET Bluebird Coupe Project

Post by KiKiIchiBan »

Thanks for the tips. Looking forward to this progressing.
My P510 Bluebird SSS Coupe www.the510realm.com/viewtopic.php?t=26929

https://www.instagram.com/kikiichiban/
https://www.youtube.com/channel/UCBP1x8z2IBvfs-MQH2Gc73Q/featured
goichi1
Supporter
Posts: 4064
Joined: 22 Jan 2008 21:57
Location: Fayetteville, GA

Re: Spriso's SR20DET Bluebird Coupe Project

Post by goichi1 »

I used a paint stirring stick and placed it on the underside edge of the drip rail trim and tapped it with a hammer, work it off easy. you can catch just the edge with the thin wood stick. it''ll come right off. The guy that painted my coupe showed me that trick.

Putting them back on will probably chip the new paint. But you might get lucky.
User avatar
spriso
Posts: 268
Joined: 28 Feb 2007 07:39
Location: Oregon

Re: Spriso's SR20DET Bluebird Coupe Project

Post by spriso »

The Birdbath

Warning! These images not for the faint at heart!

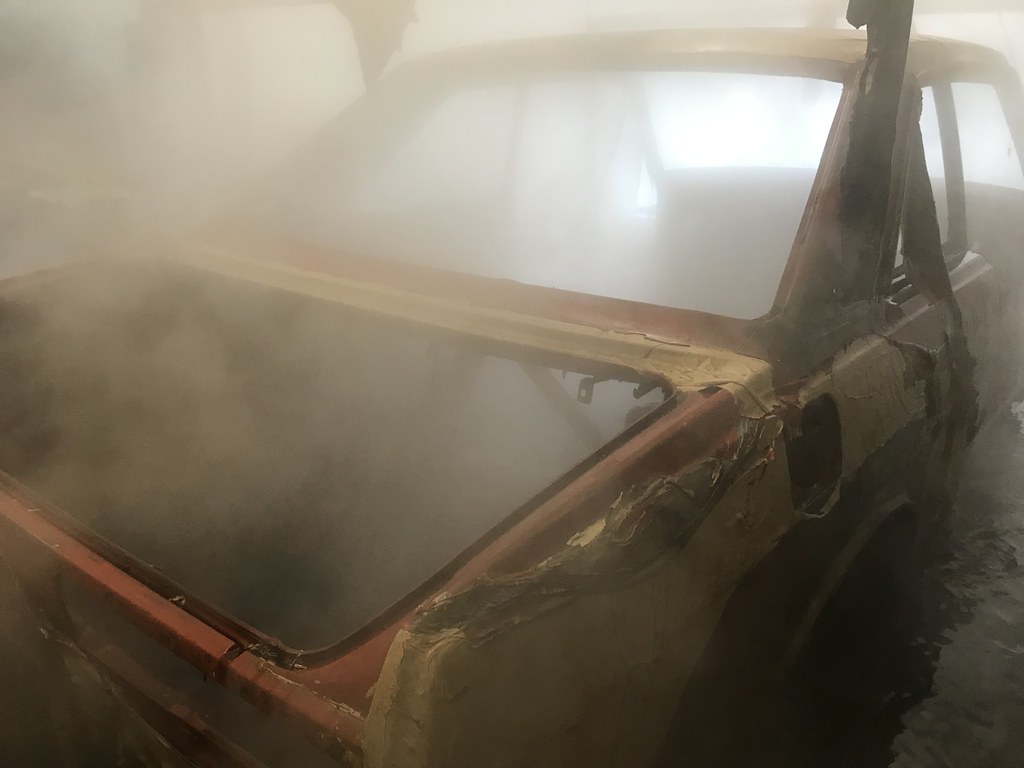
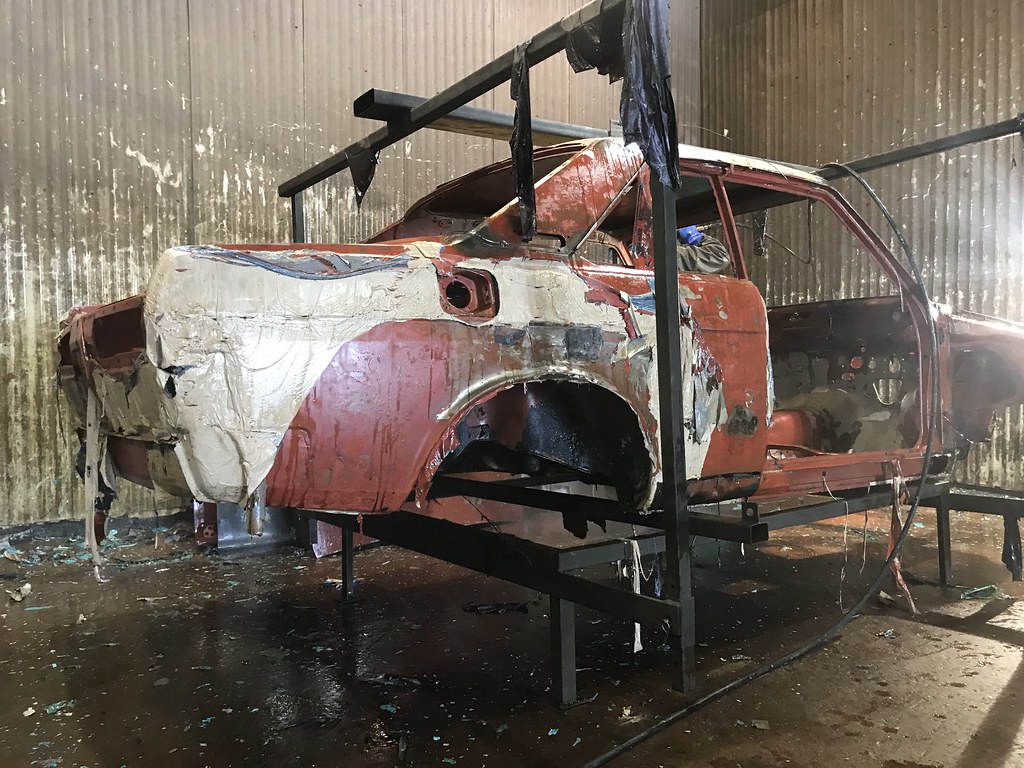
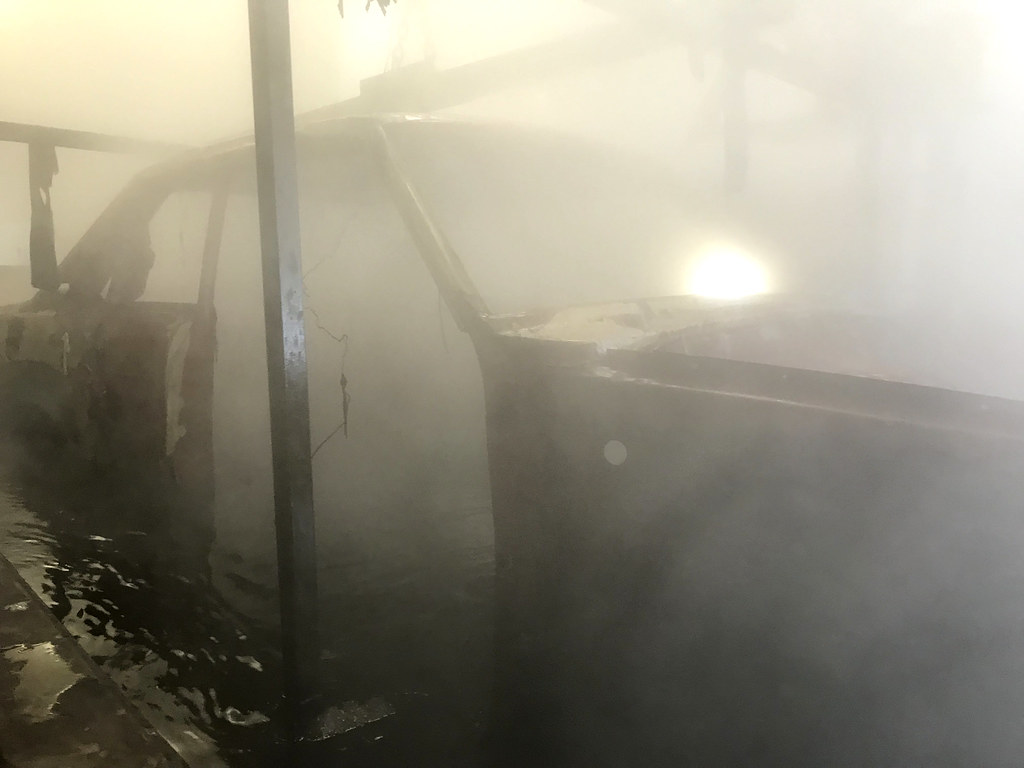
Finally some progress to report on the spa day for the Coupe. The car went into the hot tank last Thursday, and was pulled out today. This process softens up the paint, and any primer underneath-- here is what it looked like emerging from the tank:

Image

Image

After it is out, it is placed in a blasting area where it is hit with a pressure washer in every angle, and cavity. Before its bath:

Image

Image

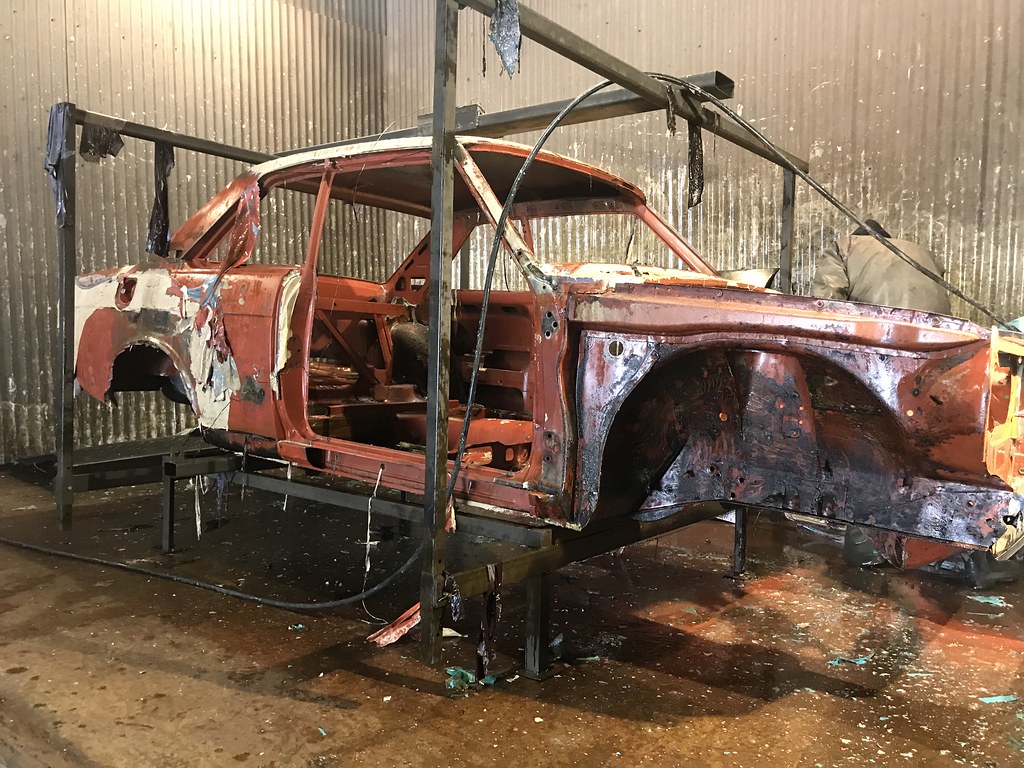
And then it is hit with the pressure washer... this is a long process as the heated water is sprayed everywhere-- lifting the paint off of the chassis:

Image

Image

Tonight the Coupe is back in the next tank, another acid process which will kill the remaining rust and any traces of paint still on the chassis, it will then be washed again, and put in the third tank to neutralize everything. A coating will then be placed onto the chassis to prevent any flash rust... hopefully if all goes well, it should be done on Friday-- stay tuned!
Last edited by spriso on 27 Feb 2019 12:45, edited 1 time in total.
Michael Spreadbury
Spriso Motorsports
www.spriso.com
User avatar
Heinrich
Posts: 281
Joined: 11 Jan 2013 03:37

Re: Spriso's SR20DET Bluebird Coupe Project

Post by Heinrich »

well done.
nice to see the love these old birds get.
seems like a MUCH better alternative to sandblasting.
Progress is slow, but it is progress non the less.
User avatar
Byron510
Moderator
Posts: 12658
Joined: 01 Jul 2003 23:06
Location: Maple Ridge, BC

Re: Spriso's SR20DET Bluebird Coupe Project

Post by Byron510 »

Thanks for posting these shots Michael, we really appreciate it.
I know there are 2 companies locally in the Vancouver area that do the exact same process you are completing, yet I have only seen pictures of the car going in and the car coming out - in either bare metal (scary!) or sprayed with an etching type prime I assume - to protect the surface from flash rusting.

It's really cool to see the car while in the process. And knowing what these cars are worth, certainly it's a step well worth documenting.

Byron
Love people and use things,
because the opposite never works.
User avatar
spriso
Posts: 268
Joined: 28 Feb 2007 07:39
Location: Oregon

Re: Spriso's SR20DET Bluebird Coupe Project

Post by spriso »

Byron wote:
Thanks for posting these shots Michael, we really appreciate it.
We have had a few roadsters done by these guys, and fortunately, they understand my need to document as much as possible to share it with others. Still, it is hard to grasp seeing your baby coming out of the tank, with paint hanging off off of the body like skin even though I know that this is part of the process.

What is amazing is how clean the body can get, inside and out... When I get the car back, I will post some detailed shots.

Michael
Michael Spreadbury
Spriso Motorsports
www.spriso.com
User avatar
spriso
Posts: 268
Joined: 28 Feb 2007 07:39
Location: Oregon

Re: Spriso's SR20DET Bluebird Coupe Project

Post by spriso »

A few YouTube videos of the metal stripping process, before, during, and after:

Before walk around:

https://youtu.be/By9BcdsT8vQ

Coming out of the hot tank:

https://youtu.be/M0TbK61QxH0

Before pressure washing-- this is crazy!

https://youtu.be/MvzNIQWgTPs

After pressure washing:

https://youtu.be/3jYYg8KdT4M

And done-- the discoloration in the metal is a coating that they spray on it to prevent flash rust:

https://youtu.be/DVsKwew0yfc

Enjoy,

Michael
Michael Spreadbury
Spriso Motorsports
www.spriso.com
User avatar
KiKiIchiBan
Supporter
Posts: 508
Joined: 26 Feb 2014 23:46
Location: London, England

Re: Spriso's SR20DET Bluebird Coupe Project

Post by KiKiIchiBan »

That's amazingly clean. Very impressed with how it came out of the tank. Do they do any kind of galvanising?
My P510 Bluebird SSS Coupe www.the510realm.com/viewtopic.php?t=26929

https://www.instagram.com/kikiichiban/
https://www.youtube.com/channel/UCBP1x8z2IBvfs-MQH2Gc73Q/featured
User avatar
spriso
Posts: 268
Joined: 28 Feb 2007 07:39
Location: Oregon

Re: Spriso's SR20DET Bluebird Coupe Project

Post by spriso »

Back in the Nest

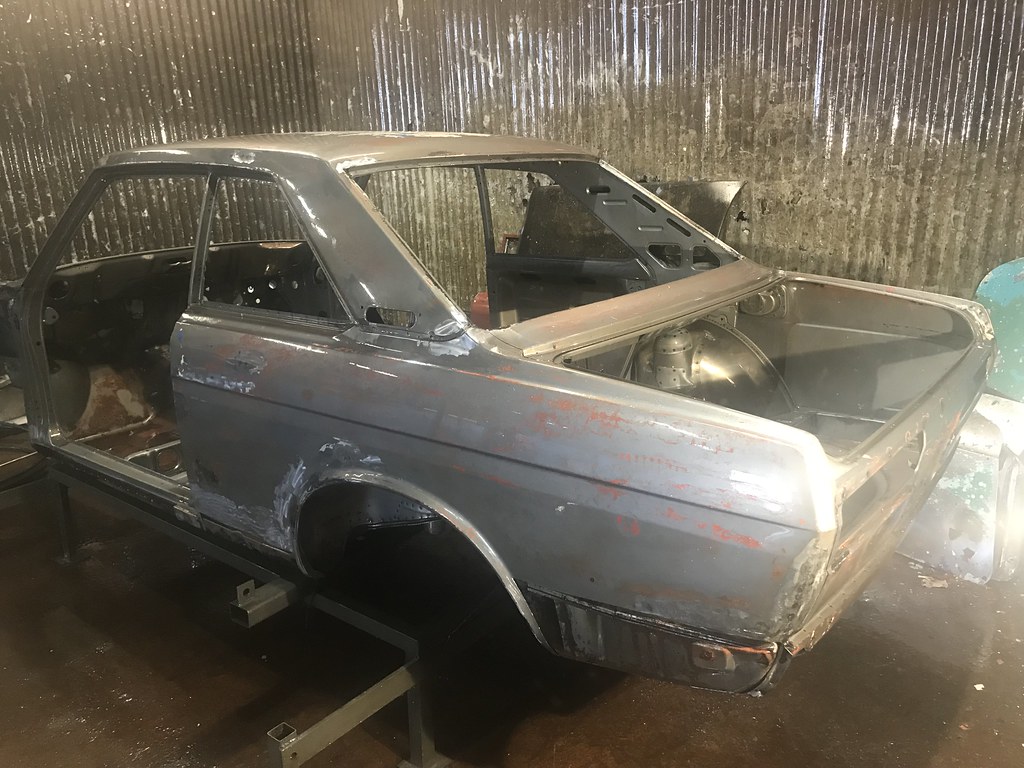
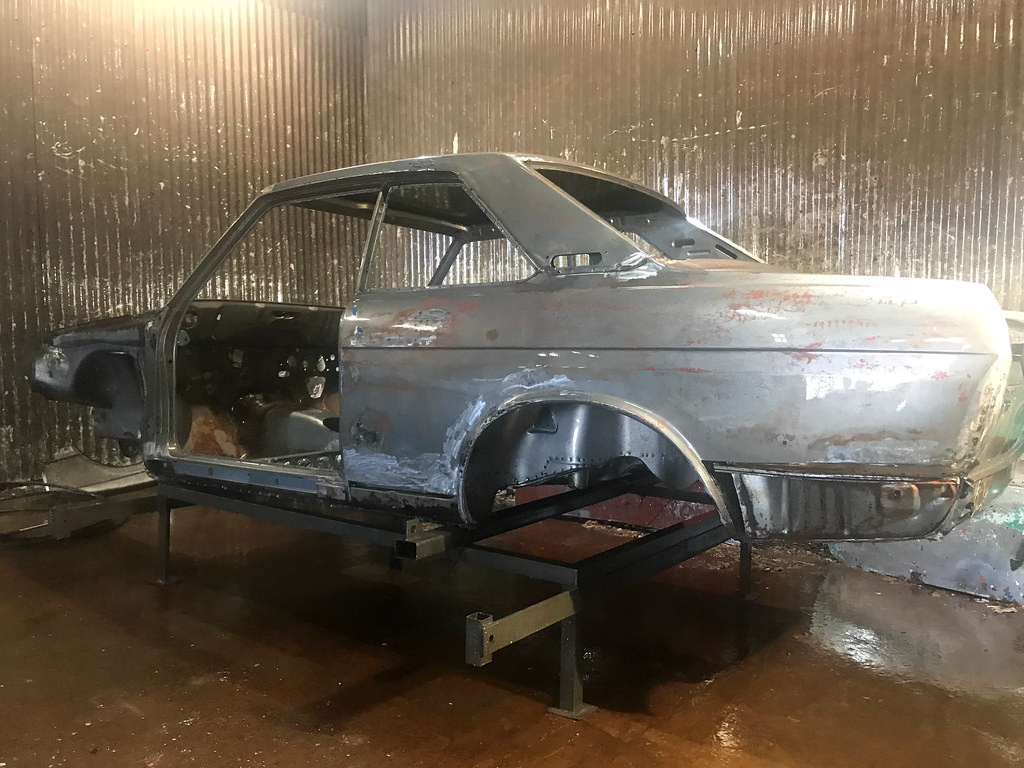
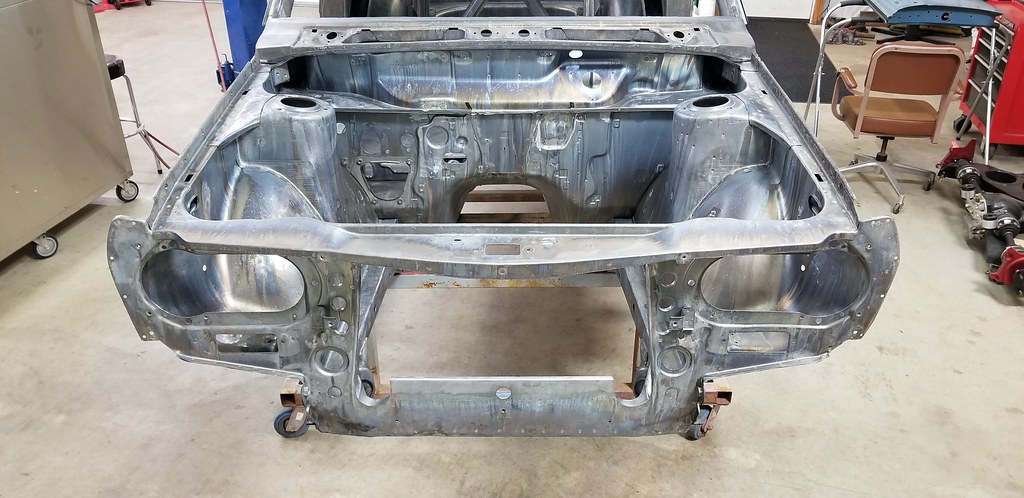
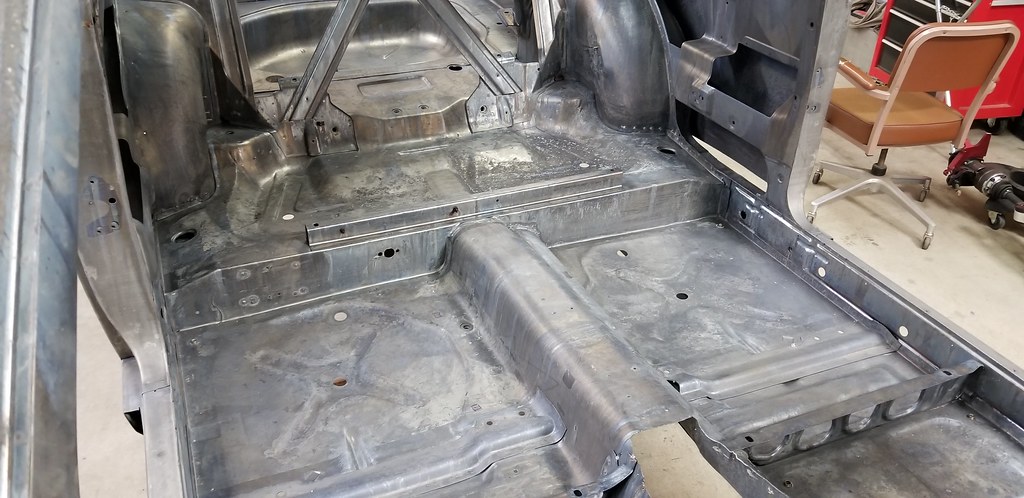
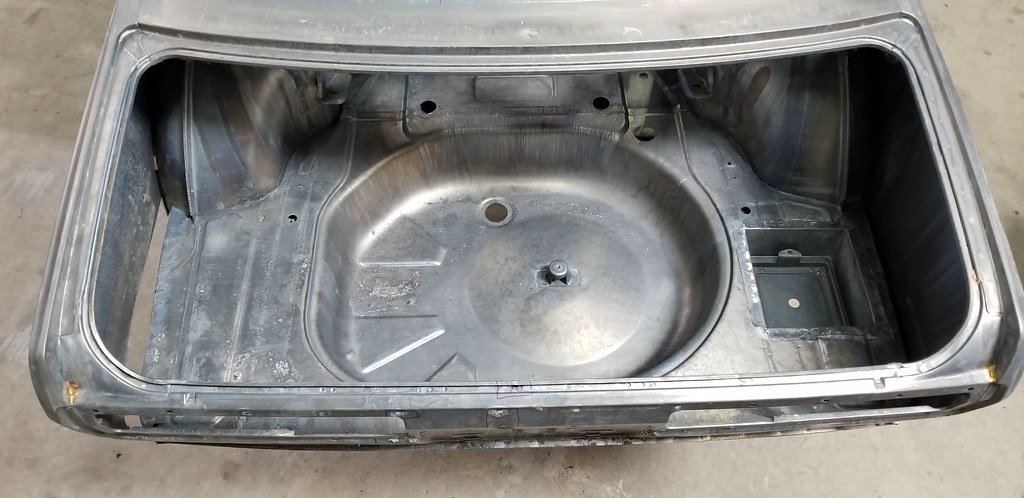
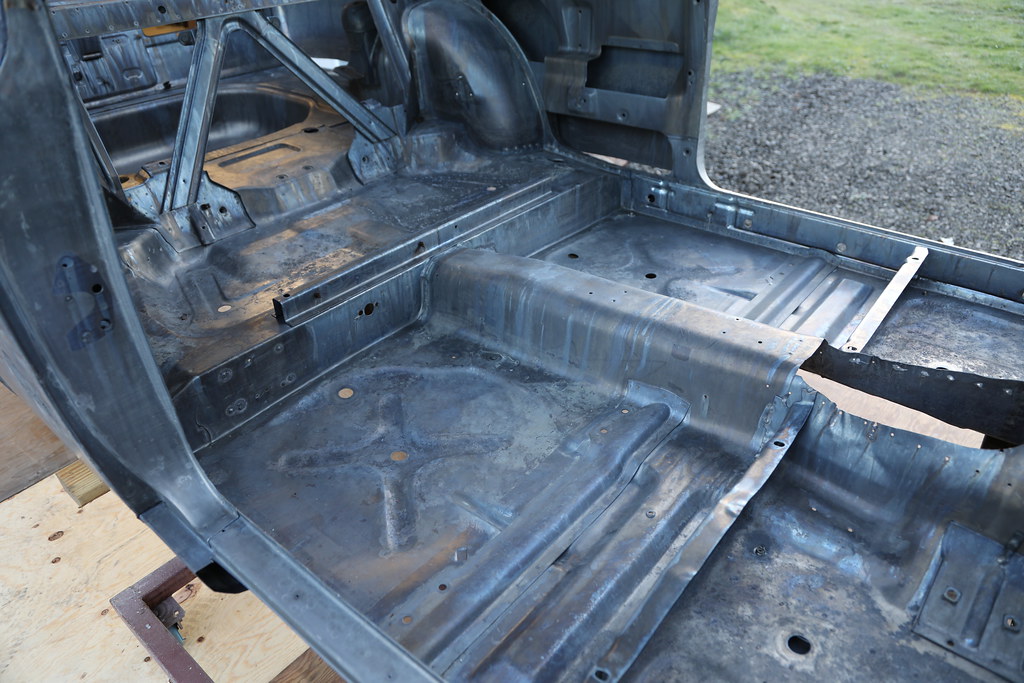
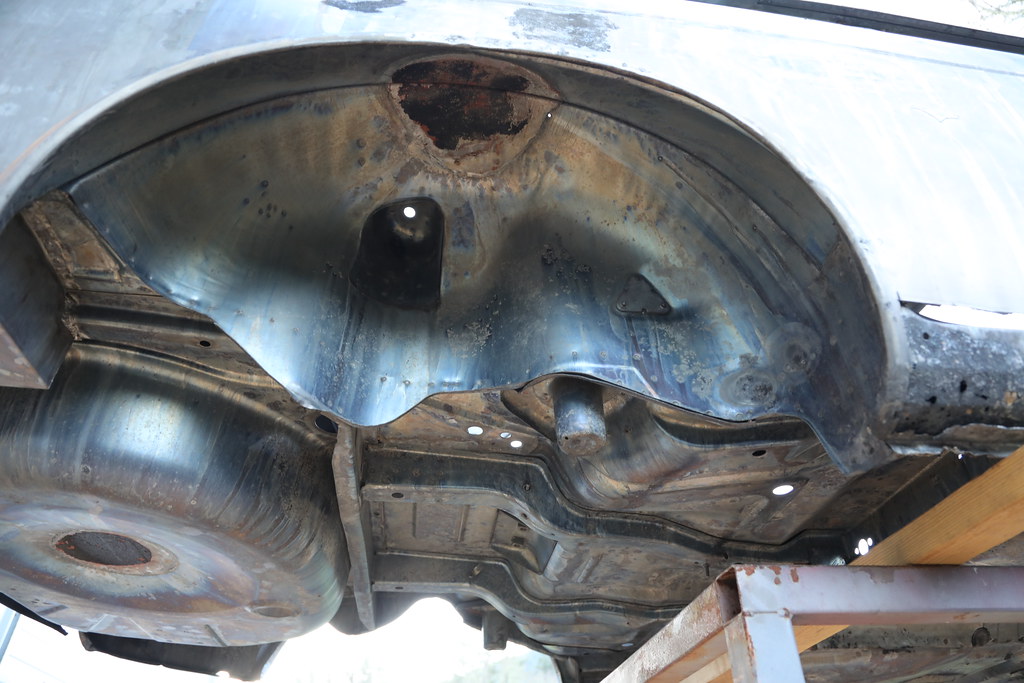
So, the Coupe is home, and I had a good chance to inspect it last night. Overall, it is way better than expected, but has plenty of little issues that will now be addressed one at a time. The cleaning process is amazing, the insides of the trunk, interior, underside and engine compartment are awesome:

Image

Image

Image

Image

Image

Image

Image

More soon,

Michael
Michael Spreadbury
Spriso Motorsports
www.spriso.com
goichi1
Supporter
Posts: 4064
Joined: 22 Jan 2008 21:57
Location: Fayetteville, GA

Re: Spriso's SR20DET Bluebird Coupe Project

Post by goichi1 »

Wow! that is awesome! I might start looking for a place around here to have mine done now.....very cool! Looks like air was trapped at the spare tire well and rear inner fenders. Maybe drill a small hole next time......
User avatar
spriso
Posts: 268
Joined: 28 Feb 2007 07:39
Location: Oregon

Re: Spriso's SR20DET Bluebird Coupe Project

Post by spriso »

Rich wrote:
Looks like air was trapped at the spare tire well and rear inner fenders. Maybe drill a small hole next time......
Yes, it appears there was an air bubble there-- thankfully that all will come off very easy. They did drill a small hole in the roof to let the air escape that I will get welded up once the body work starts.

I have been spending the last few nights documenting the repair areas and coming up with my plan on how to tackle each one.

More soon,

Michael
Michael Spreadbury
Spriso Motorsports
www.spriso.com
Post Reply