I have not seen those photos of DGR's rack set up I've been told it worked well but never drove around in a car with it. he also utilized the MR2 steering column bearing that goes through the fire wall cutting back the factory column back in order to get the angle closer to optimum 30Deg to prevent binding. I am sure he still has the jig if anyone wanted him to make the set up for them. Now to find a compact universal joint that works with the rack. See link below.
http://woodwardsteering.com/images/stee ... joints.pdf
Brad you could always go to the ae86 T3 style tie rods and mod the taper to fit the 510.
Jordan's '72 2 door KA project

Re: Jordan's '72 2 door KA project
That's a great link, thanks. I don't know anything about the AE86 tie rods, are they small? You suggesting that I use AE86 inner and outer tie rod ends, and re-taper the 510 steering link?
-
kayakdude07

- Posts: 424
- Joined: 06 Jul 2009 19:15
- Location: Langley BC Canada
Re: Jordan's '72 2 door KA project
Those steering column links look really slick! Thanks for the link.Cmac wrote:I have not seen those photos of DGR's rack set up I've been told it worked well but never drove around in a car with it. he also utilized the MR2 steering column bearing that goes through the fire wall cutting back the factory column back in order to get the angle closer to optimum 30Deg to prevent binding. I am sure he still has the jig if anyone wanted him to make the set up for them. Now to find a compact universal joint that works with the rack. See link below.
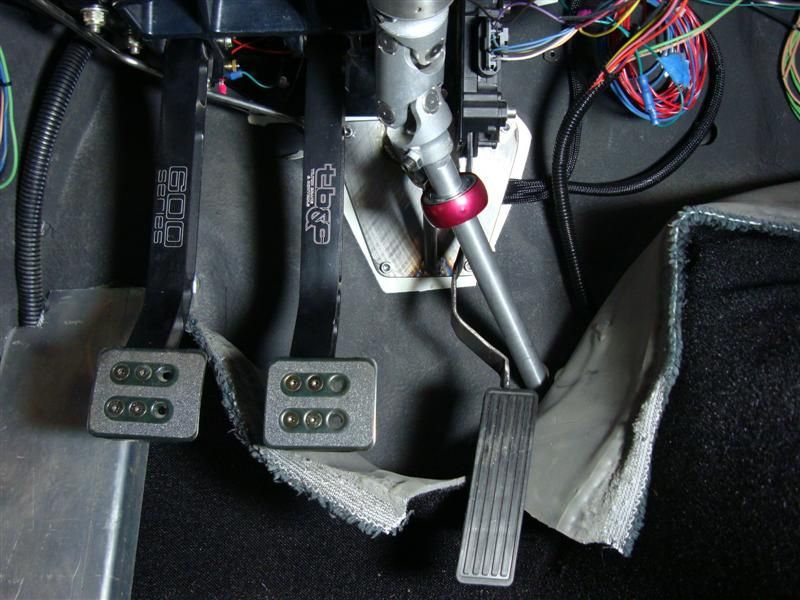
I had been eyeing the one that's in Matt's Ecotec car (ecotec510), see picture below.
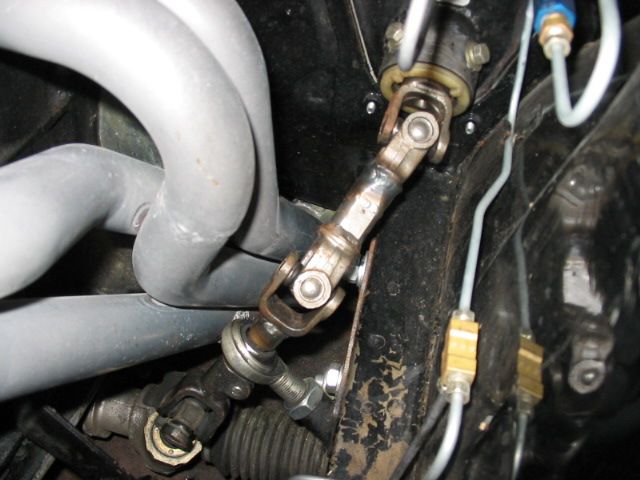
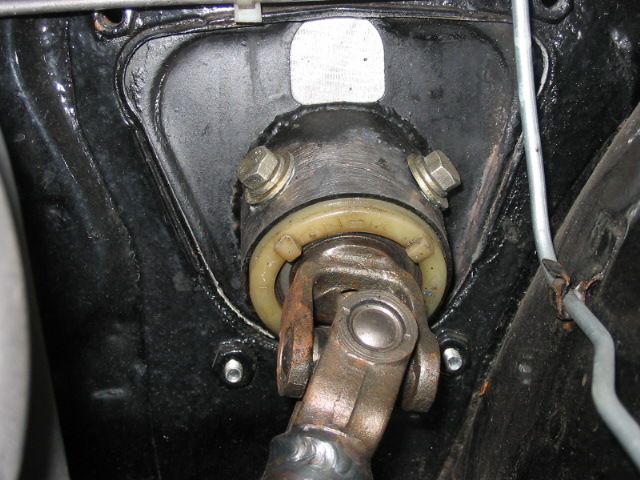
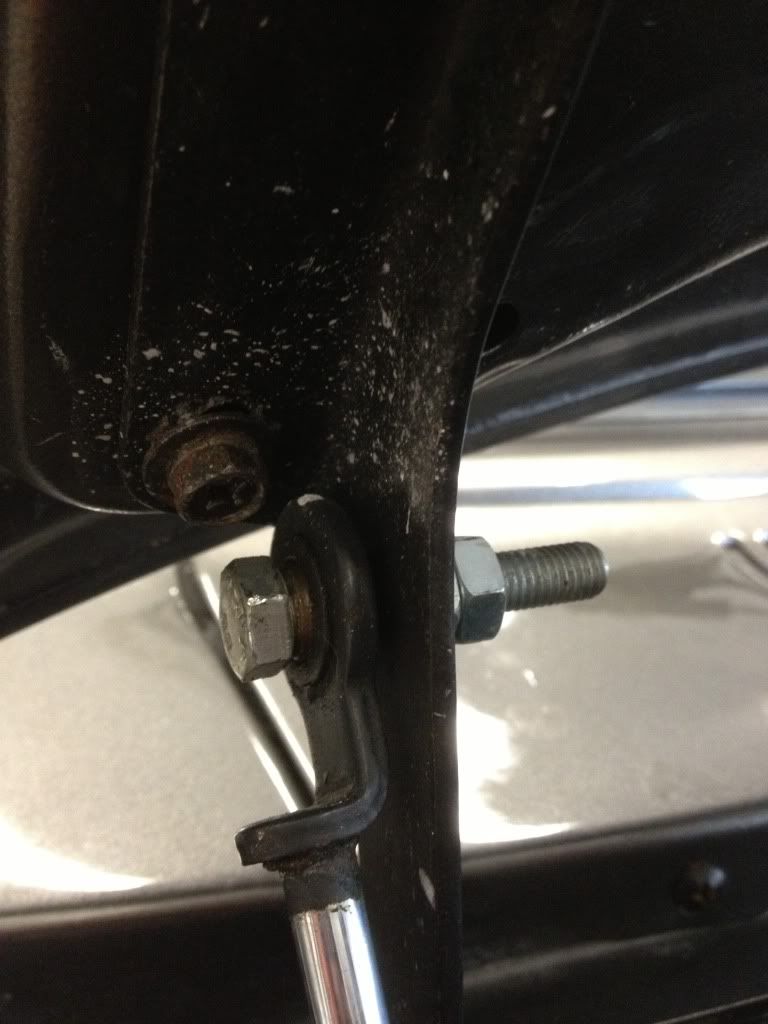
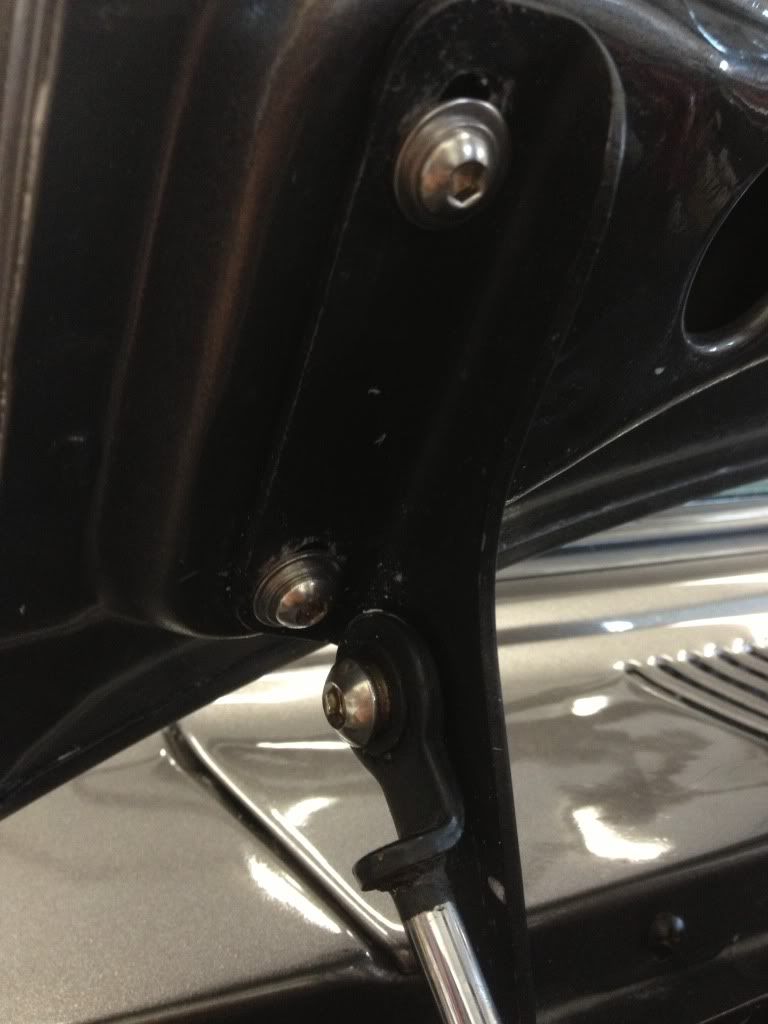
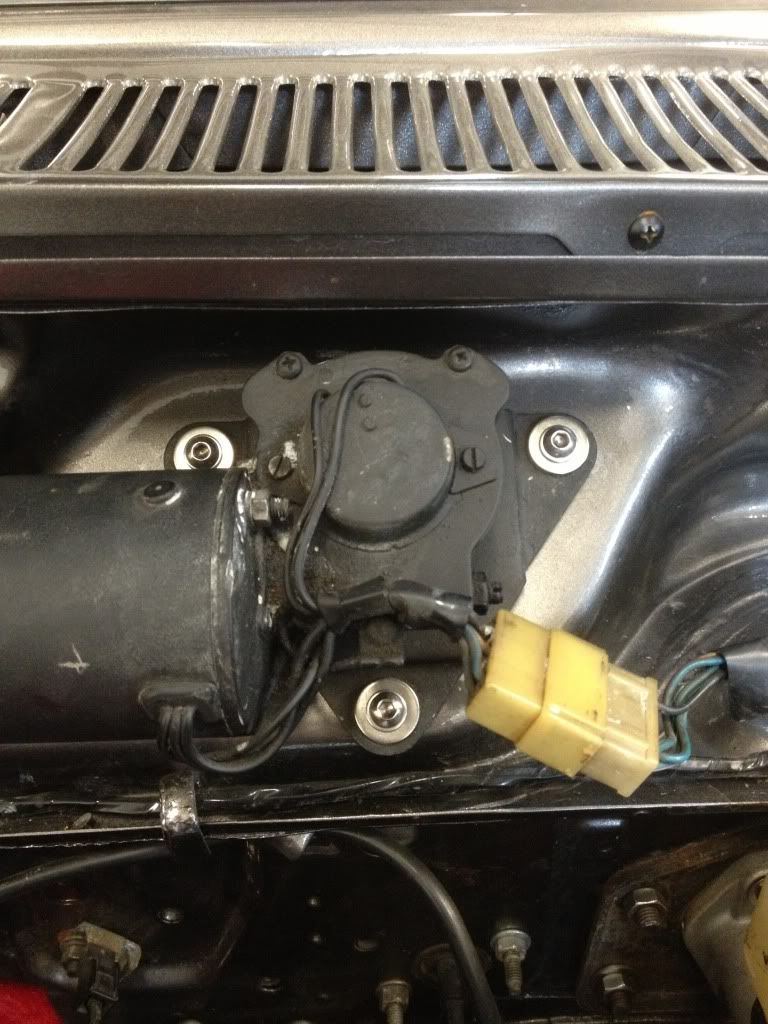
Here are a couple pictures of the DGR setup. Like you mentioned, they used the mr2 column bearing. I grabbed that when I got my rack from the wreckers. It seems like they used an awful lot of universals...
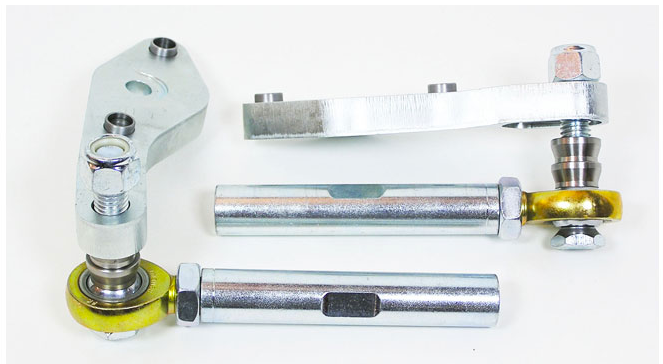
Here's a link to the outer tie rod setup.Cmac wrote: Brad you could always go to the ae86 T3 style tie rods and mod the taper to fit the 510.
They just have a 5/8 thru hole in the steering knuckle so there is no taper at all. If it was me, I would definitely be more comfortable with an OEM style tapered rod end.
https://technotoytuning.com/toyota/ae86 ... 86-corolla
I have an AE86 power front end. I'll have a look at it when I get back and let you know.S15DET wrote:That's a great link, thanks. I don't know anything about the AE86 tie rods, are they small? You suggesting that I use AE86 inner and outer tie rod ends, and re-taper the 510 steering link?
Jordan || '72 2 door KA project || '72 2 door goon project- Flintstones powered (dad's)

Re: Jordan's '72 2 door KA project
FTR the AE86 inners are not small. I had a look out there today. Unfortunately I don't have pictorial evidence.kayakdude07 wrote: I have an AE86 power front end. I'll have a look at it when I get back and let you know.
'72 2 door KA project | S14 Silvia RB25DET | S14 RB26DETT (sold) | '90 Audi 90Q20V (sold)
Re: Jordan's '72 2 door KA project
Took a break from the books today to get her a little more show ready.
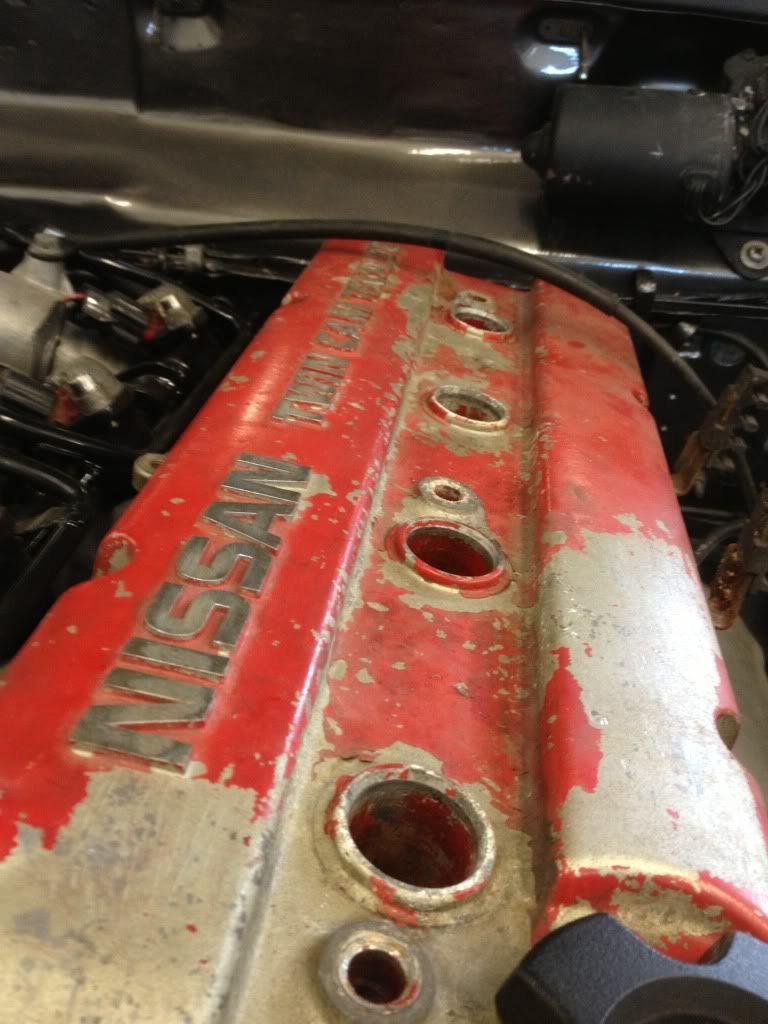
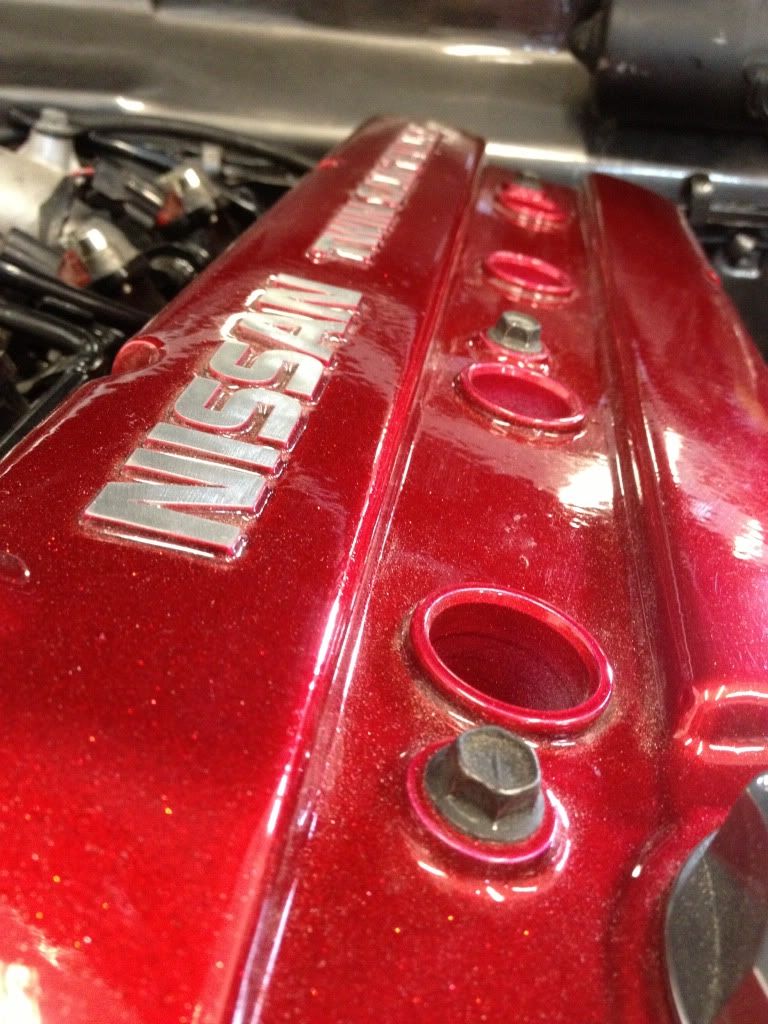
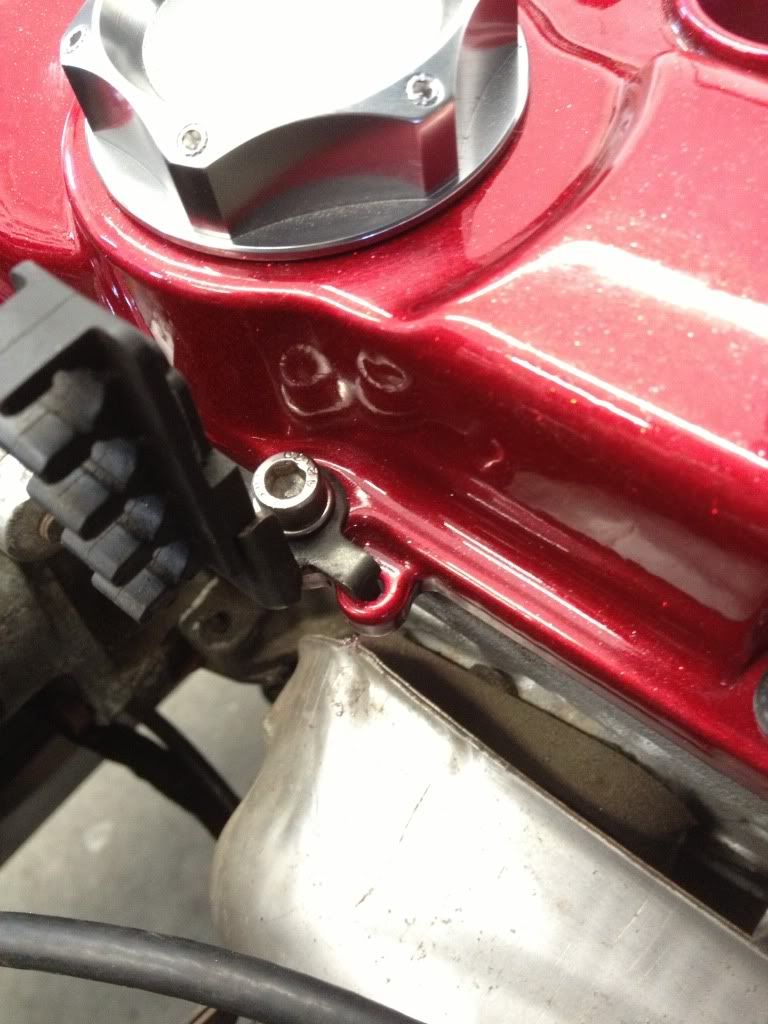
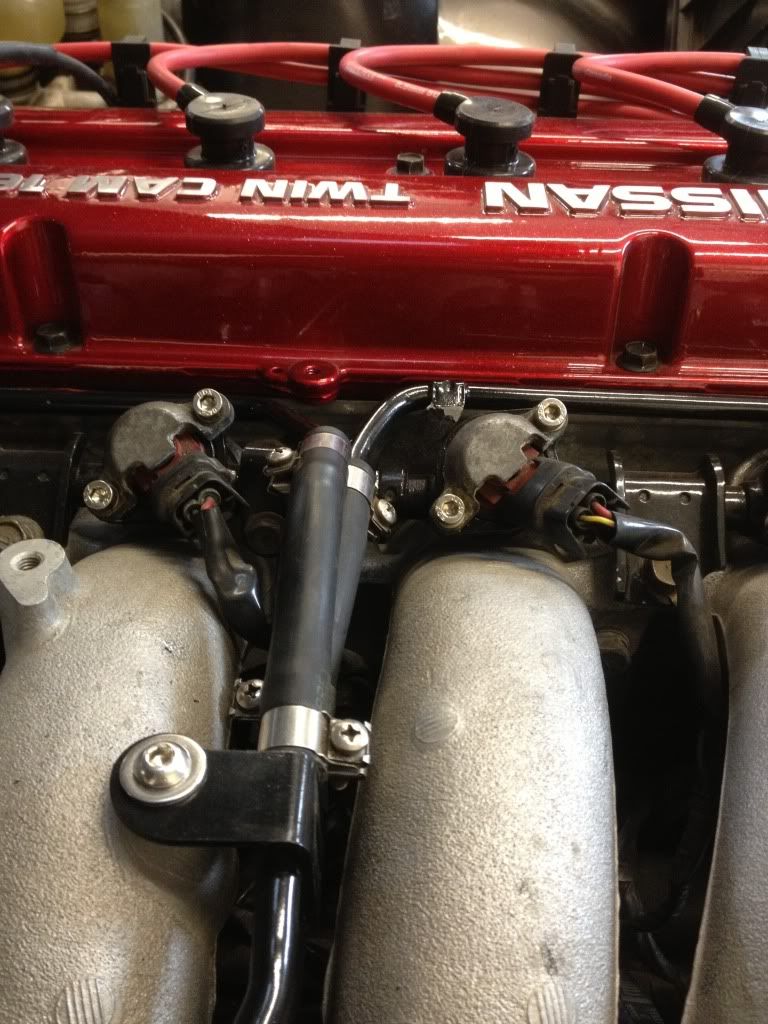
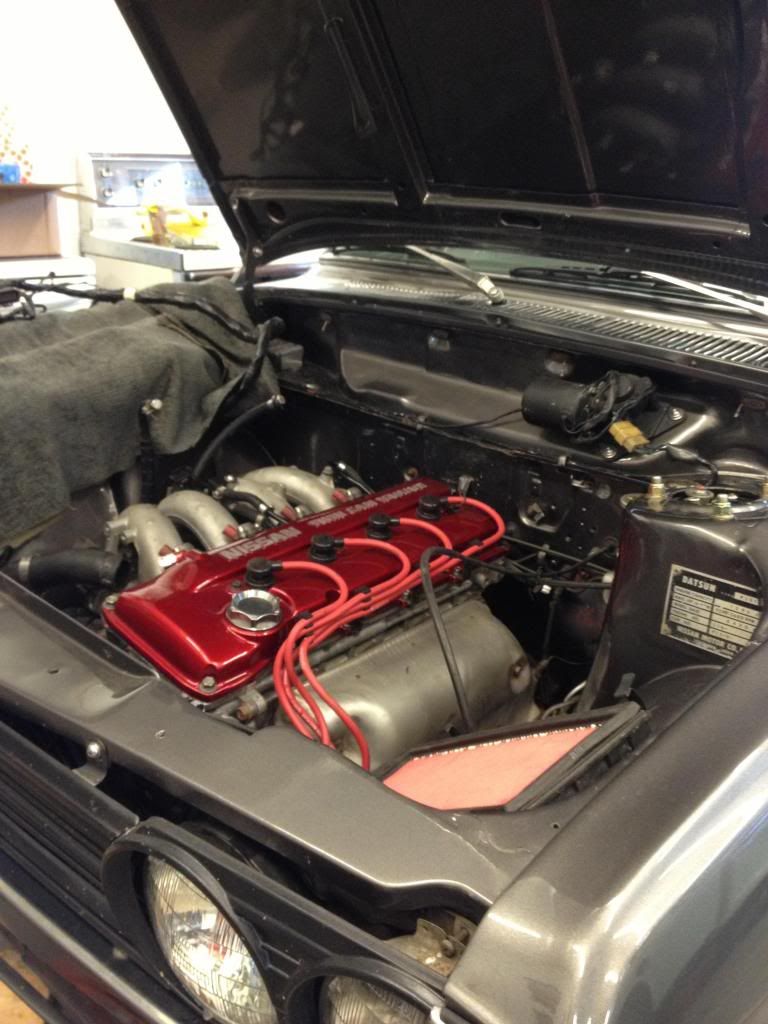
FInally got around to pulling my garbage valve cover to install my fancy powdercoated one.
Here's where the afternoon started:
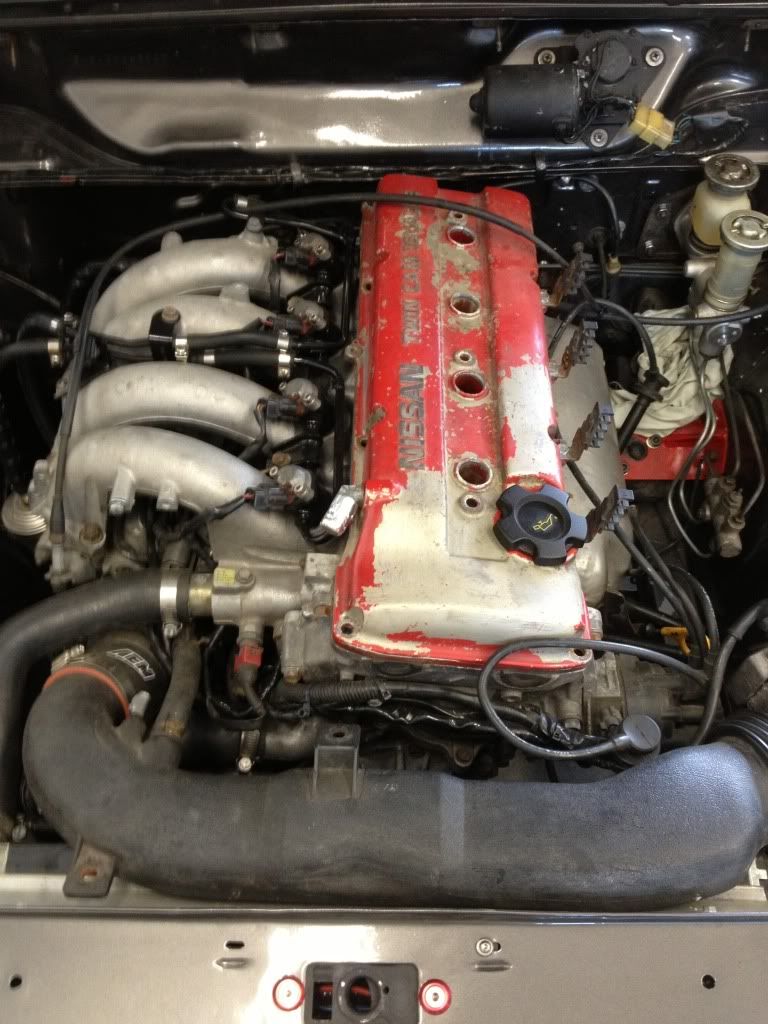
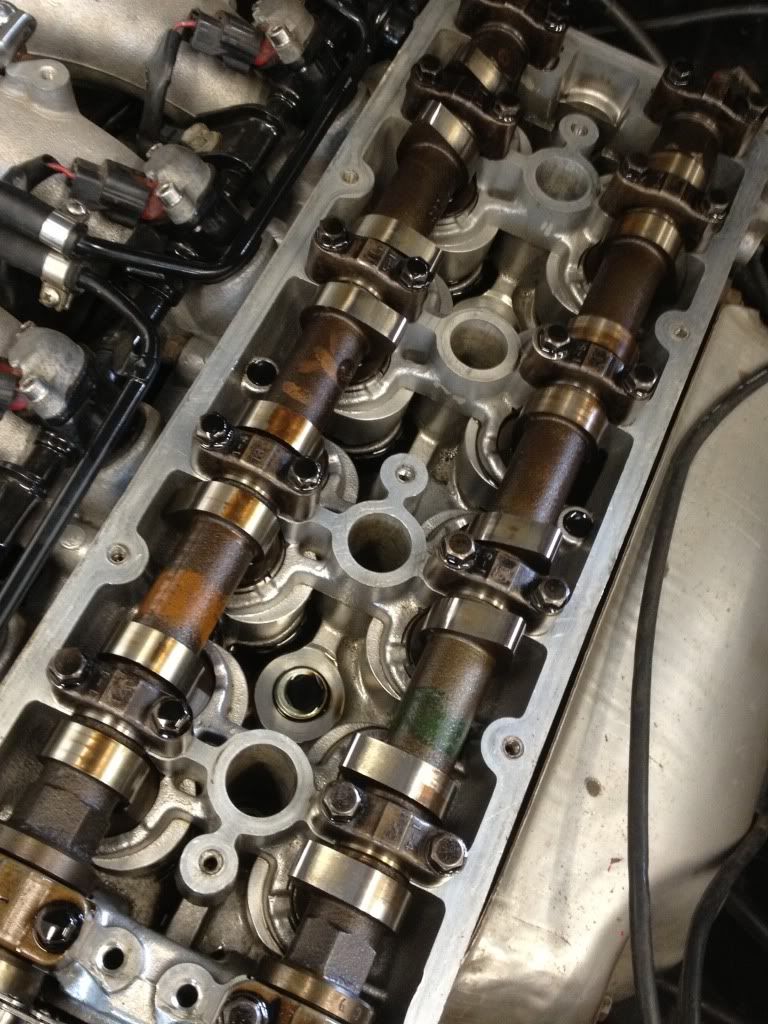
My supposedly rebuilt KA was pretty clean inside. This was the first time I had it opened up.

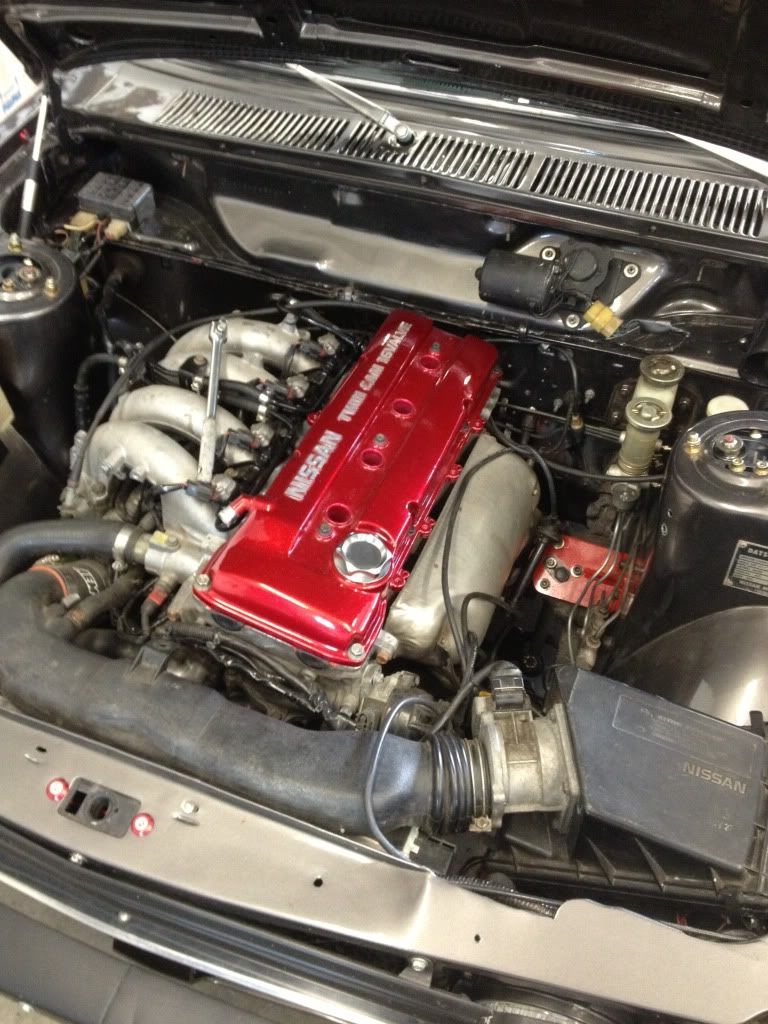
A half installed glam shot:
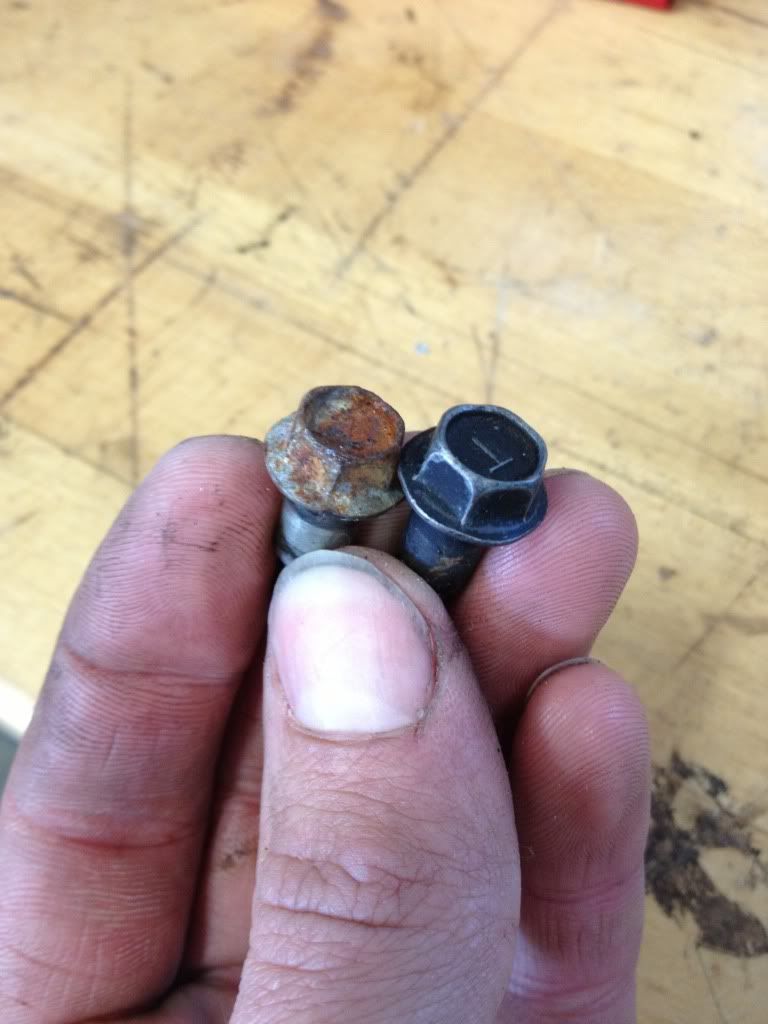
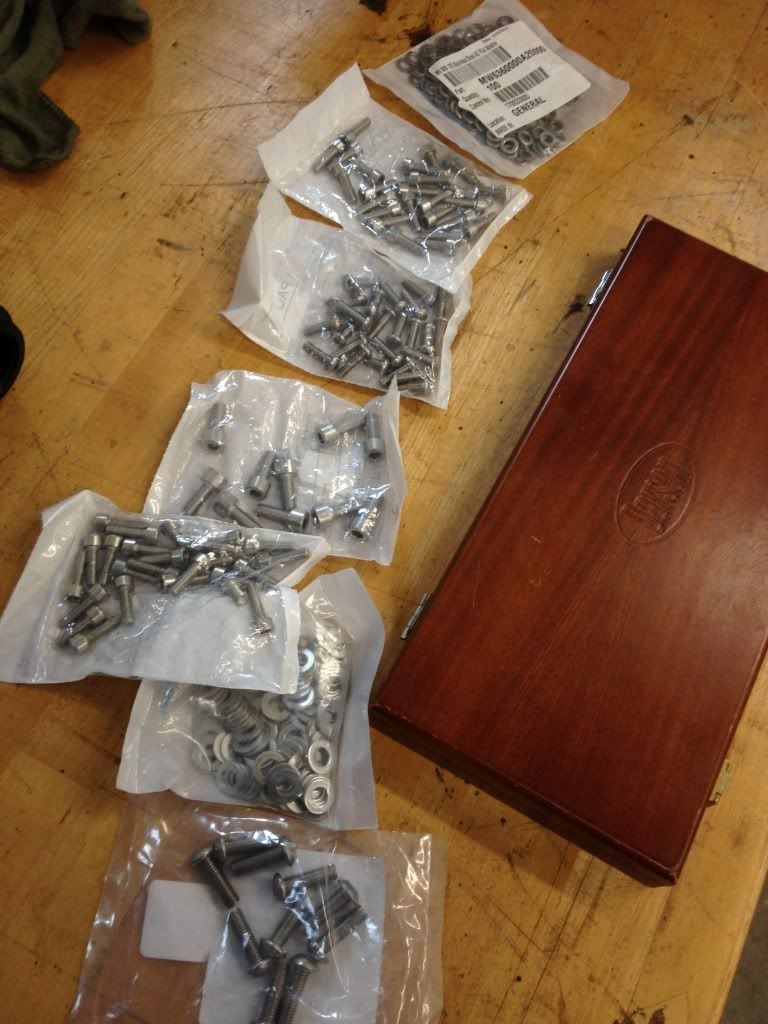
Sniped some nicer hardware from one of my spare KAs
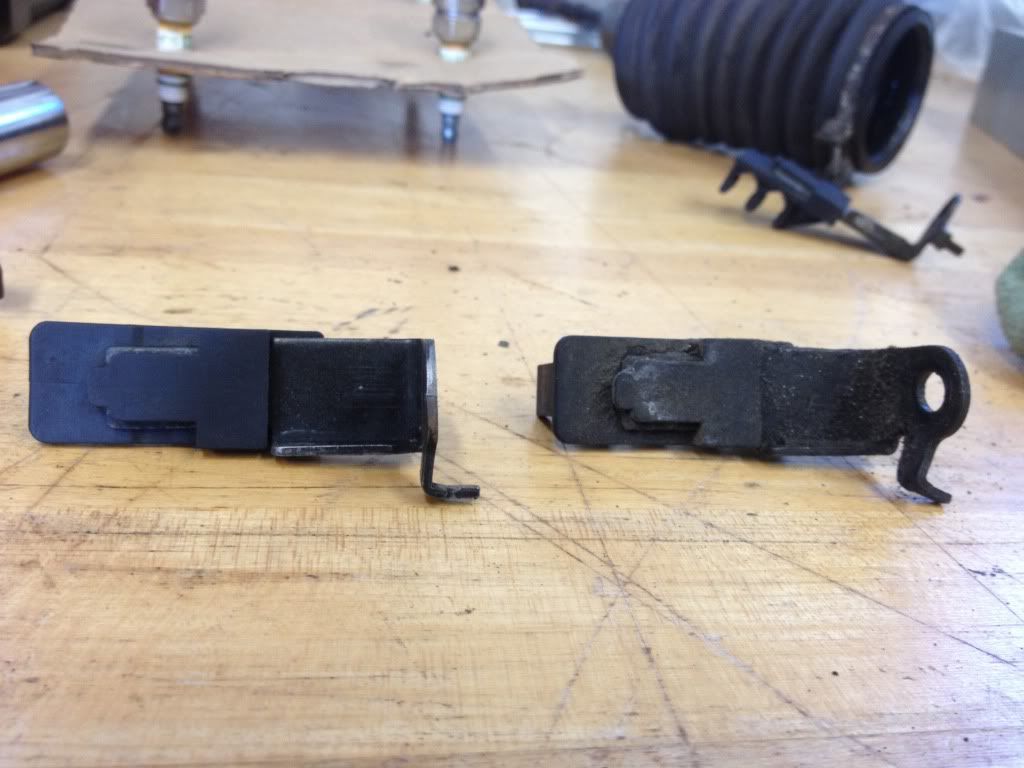
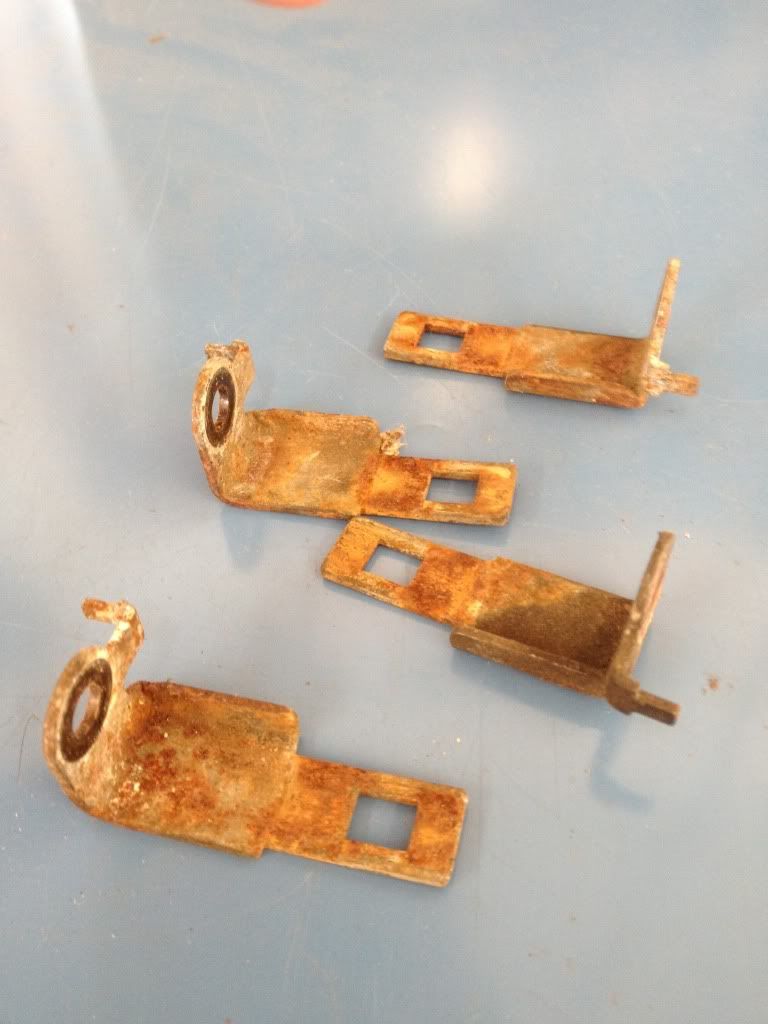
I cleaned up the plug wire stands and put the old ones on my powdercoat pile.
Yummy stainless hardware peeking out in the bottom corner.
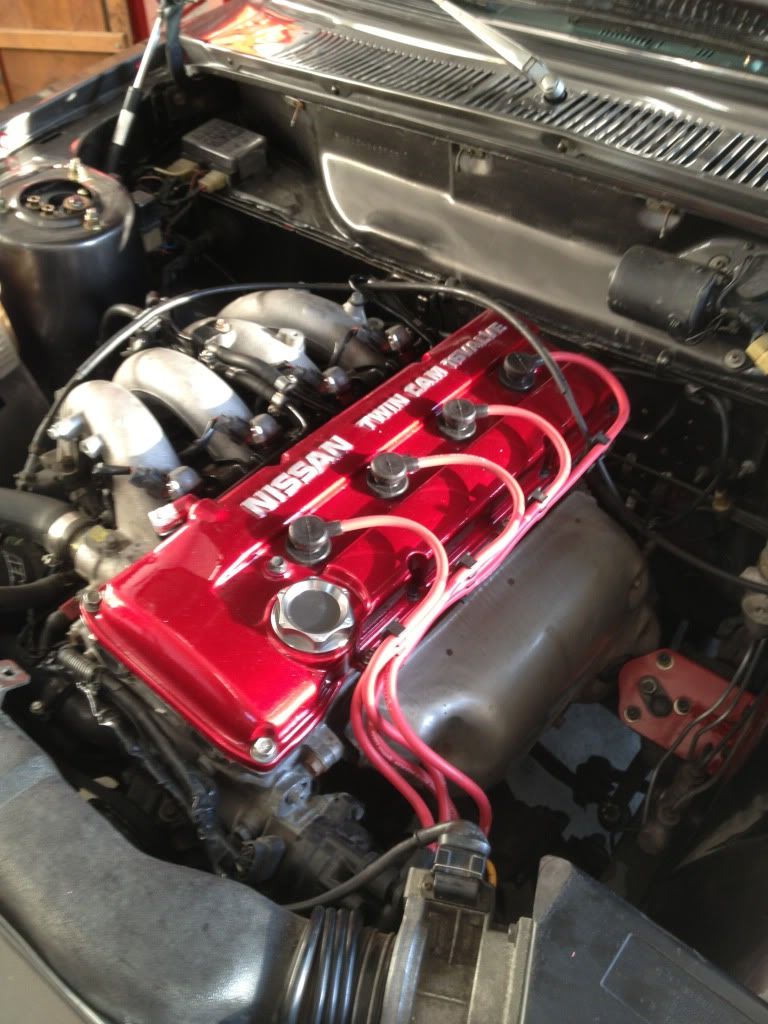
Finally installed my Aurora 8.5mm plug wires I've been sitting on for 2 years!! Feels real good to see them in the engine bay.
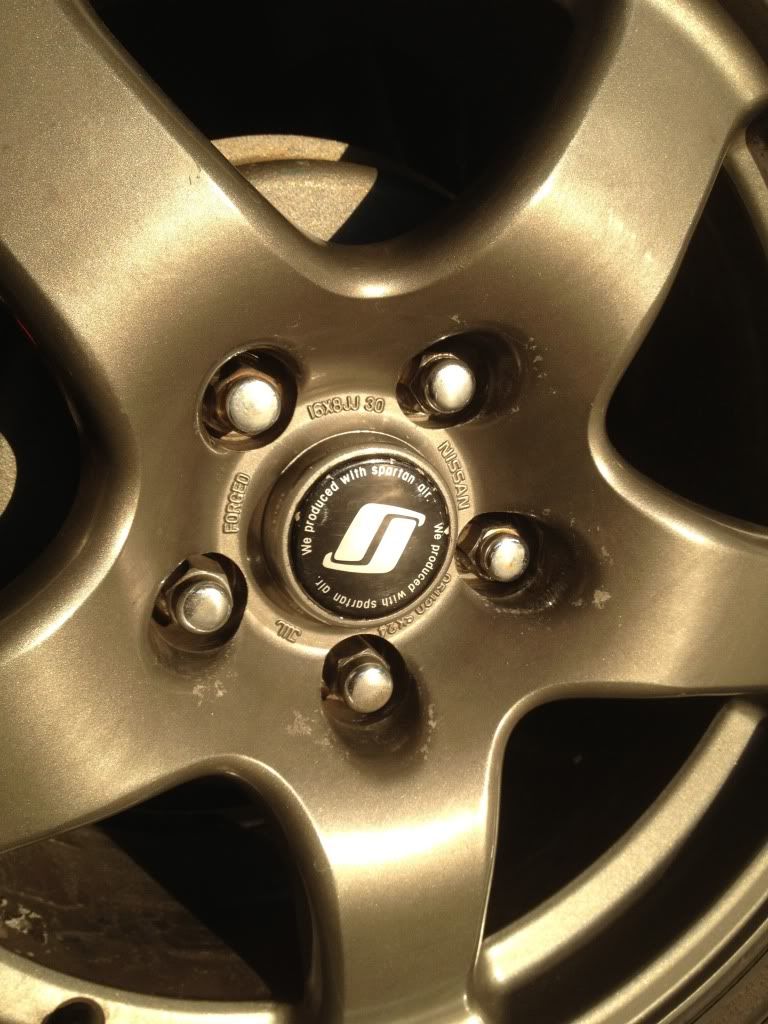
With the non 280zx struts up front I can fit my centercaps.
So much Nissan goodness.

FInally got around to pulling my garbage valve cover to install my fancy powdercoated one.
Here's where the afternoon started:
My supposedly rebuilt KA was pretty clean inside. This was the first time I had it opened up.
A half installed glam shot:
Sniped some nicer hardware from one of my spare KAs
I cleaned up the plug wire stands and put the old ones on my powdercoat pile.
Yummy stainless hardware peeking out in the bottom corner.
Finally installed my Aurora 8.5mm plug wires I've been sitting on for 2 years!! Feels real good to see them in the engine bay.
With the non 280zx struts up front I can fit my centercaps.
So much Nissan goodness.
'72 2 door KA project | S14 Silvia RB25DET | S14 RB26DETT (sold) | '90 Audi 90Q20V (sold)
Re: Jordan's '72 2 door KA project
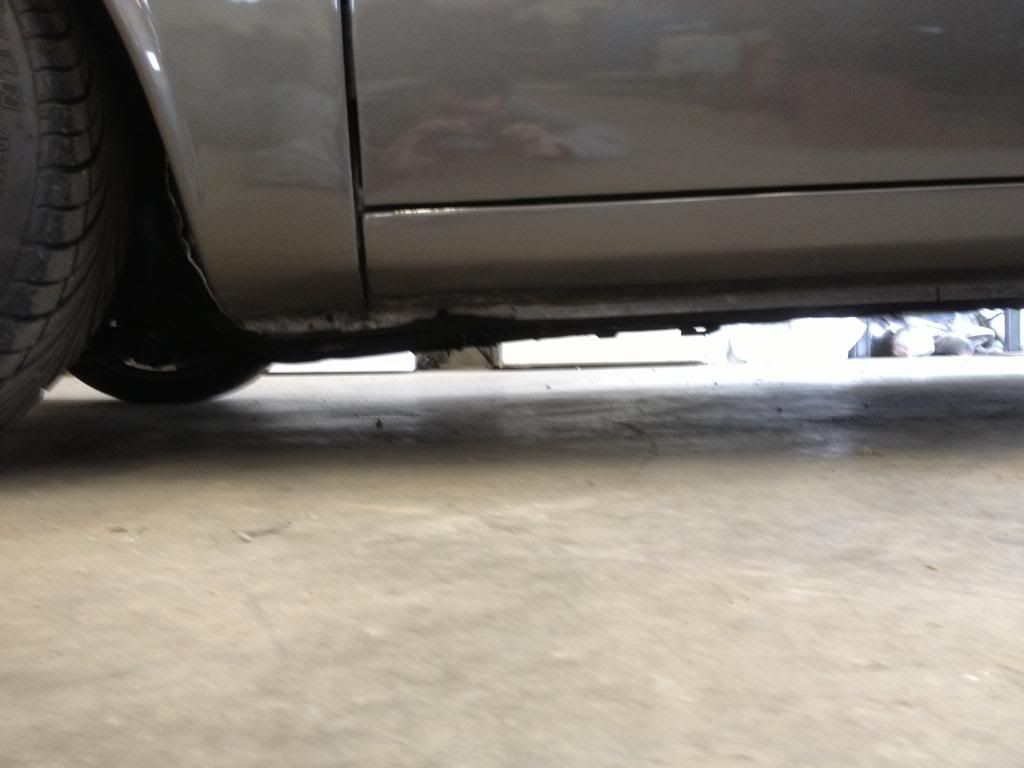
Took a break from the books yesterday and redid my exhaust. I tucked the whole middle section and moved my existing flange from beside the transmission to about 2" in front of the rear crossmember. It's tucked in nice and tight now so I won't be scraping on bumps anytime soon!
Now all it needs is an alignment and it'll be show ready!
Now all it needs is an alignment and it'll be show ready!
'72 2 door KA project | S14 Silvia RB25DET | S14 RB26DETT (sold) | '90 Audi 90Q20V (sold)
Re: Jordan's '72 2 door KA project
Did the alignment last weekend.
Ended up with:
0.06" total toe in up front. (just shy of 1/16")
0.11" total toe in out back. (just shy of 1/8")
-1.5* camber up front
-2* camber out back
I'm running the camber out back for now to make sure nothing rubs and will dial it back in to between -0.5* and -1* out back once I have time to pull the rear springs etc apart to check clearance at higher camber angles.
After one spin up and down the street it seems to scrub less on corners (i had about 3/4" of toe out post assembly). Steering also feels lighter and more dancey.
Open to your opinions on the alignment!
Found a pic of my now tucked exhaust.

'72 2 door KA project | S14 Silvia RB25DET | S14 RB26DETT (sold) | '90 Audi 90Q20V (sold)

Re: Jordan's '72 2 door KA project
that got to be nice! I hit my exhaust on speed bumps unless i'm crawling over them... that's one sweet dime, Jordan
'69 2dr KA24DET
okayfine wrote:You could turn the car into a Transformer. Just a matter of money and talent. Front-hinge hood would be easier, but you still need money. And talent.

Re: Jordan's '72 2 door KA project
Thanks for the kind words guys.
I'm on the hunt for an r200 diff companion/pinion flange for an older NA r200 from '76-'83 ish... Anyone have a boat anchor they wish to part with?
On a side note, I went for a run around Spanish Banks today and it was super nice. It's almost ready for a Datsun show!

I'm on the hunt for an r200 diff companion/pinion flange for an older NA r200 from '76-'83 ish... Anyone have a boat anchor they wish to part with?
On a side note, I went for a run around Spanish Banks today and it was super nice. It's almost ready for a Datsun show!
'72 2 door KA project | S14 Silvia RB25DET | S14 RB26DETT (sold) | '90 Audi 90Q20V (sold)
More bolts!
Today I took a sanity break from studying and installed a bunch of stainless hardware.
After the show I'm going to do a compression test and leakdown test on my KA and then pull it and drop in the spare. I'm really sick of burning oil. If my spare is no good, I will be rebuilding my oil burning KA very soon and if not then I'll put the rebuild on the back burner.
Pics...
Before
After
I have an extra set of injector caps that are on my powdercoat pile so they'll get done up in a hyper silver sometime.
After the show I'm going to do a compression test and leakdown test on my KA and then pull it and drop in the spare. I'm really sick of burning oil. If my spare is no good, I will be rebuilding my oil burning KA very soon and if not then I'll put the rebuild on the back burner.
Pics...

Before

After


I have an extra set of injector caps that are on my powdercoat pile so they'll get done up in a hyper silver sometime.

'72 2 door KA project | S14 Silvia RB25DET | S14 RB26DETT (sold) | '90 Audi 90Q20V (sold)
Post car show
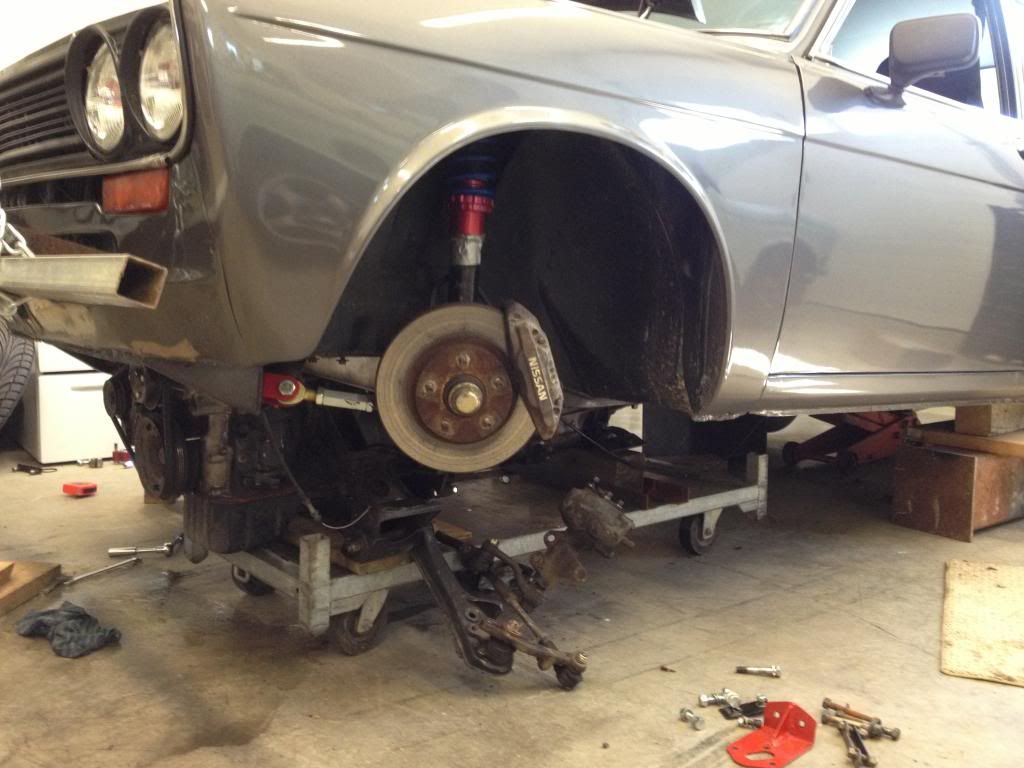
Finally bit the bullet and pulled my oil burning KA.
I'm swapping in my spare and we shall see if it does a better job of keeping oil where it should be. If it doesn't, then I'll be rebuilding the current KA.
Brandon "Techro" came over yesterday to help with the motor pull and I finished it up today. I have a video of the whole thing that I'm editing right now so stay tuned!!
Last edited by JordanTr on 06 May 2013 00:06, edited 1 time in total.
'72 2 door KA project | S14 Silvia RB25DET | S14 RB26DETT (sold) | '90 Audi 90Q20V (sold)
Motor pull video!!
Well.
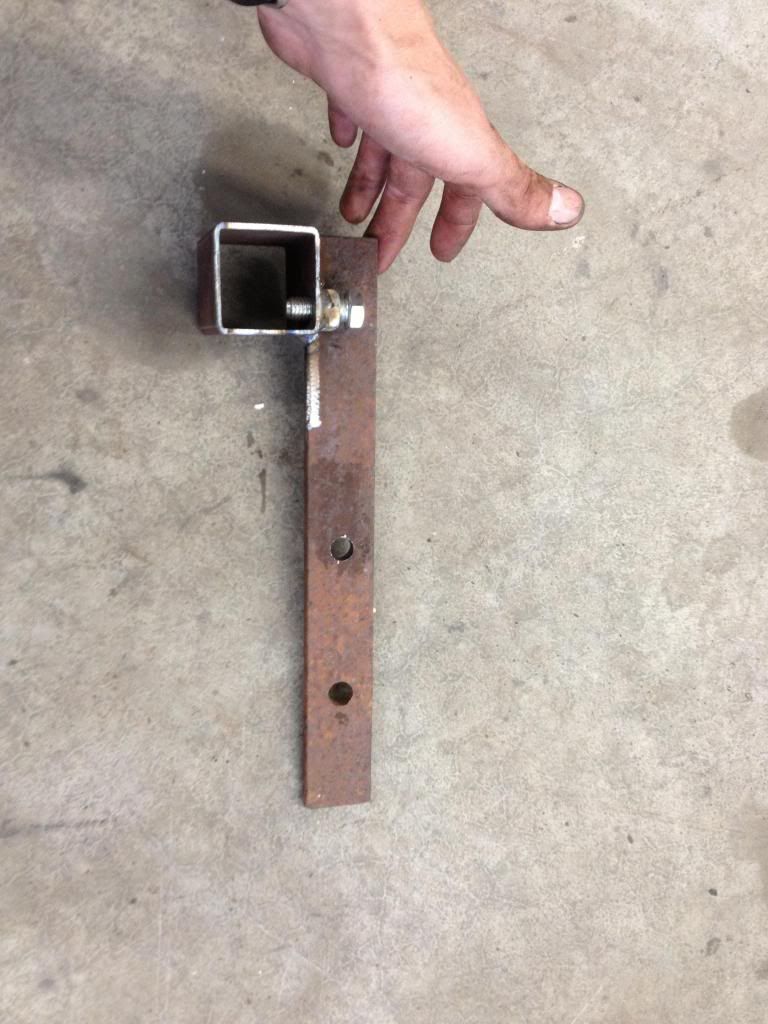
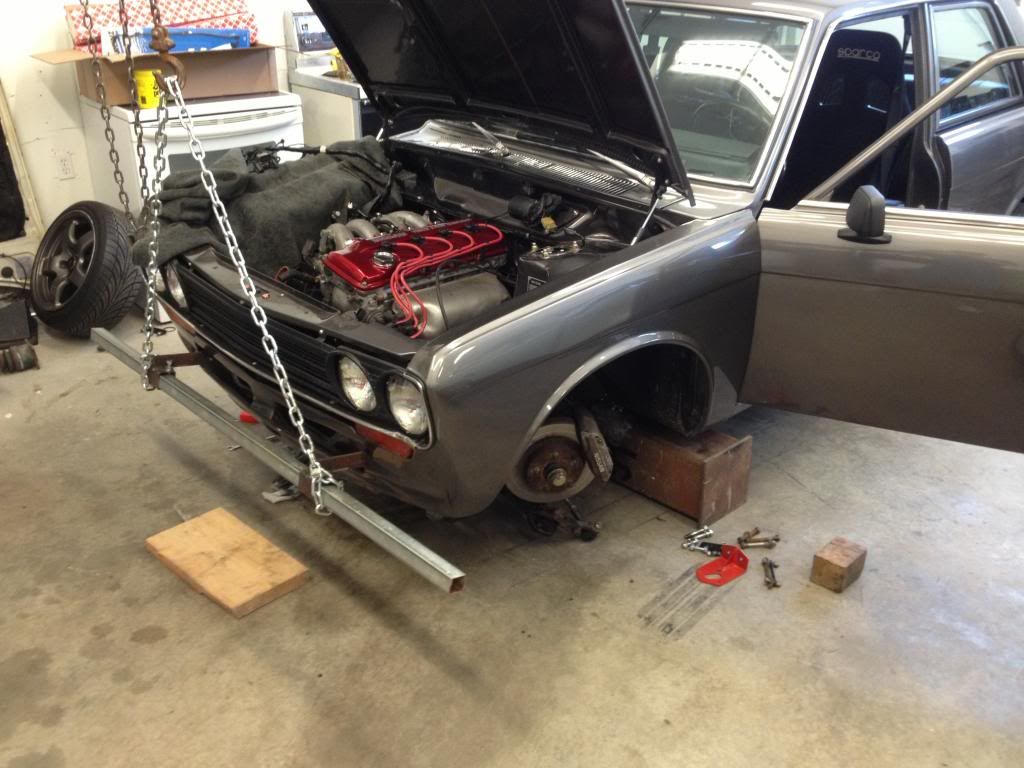
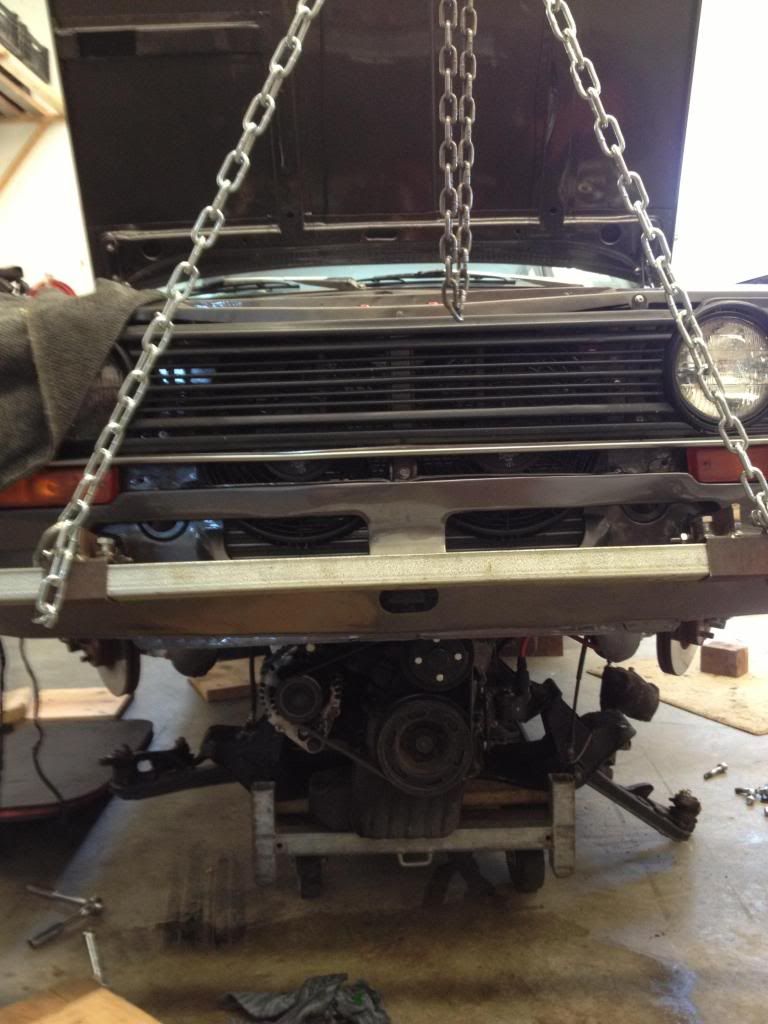
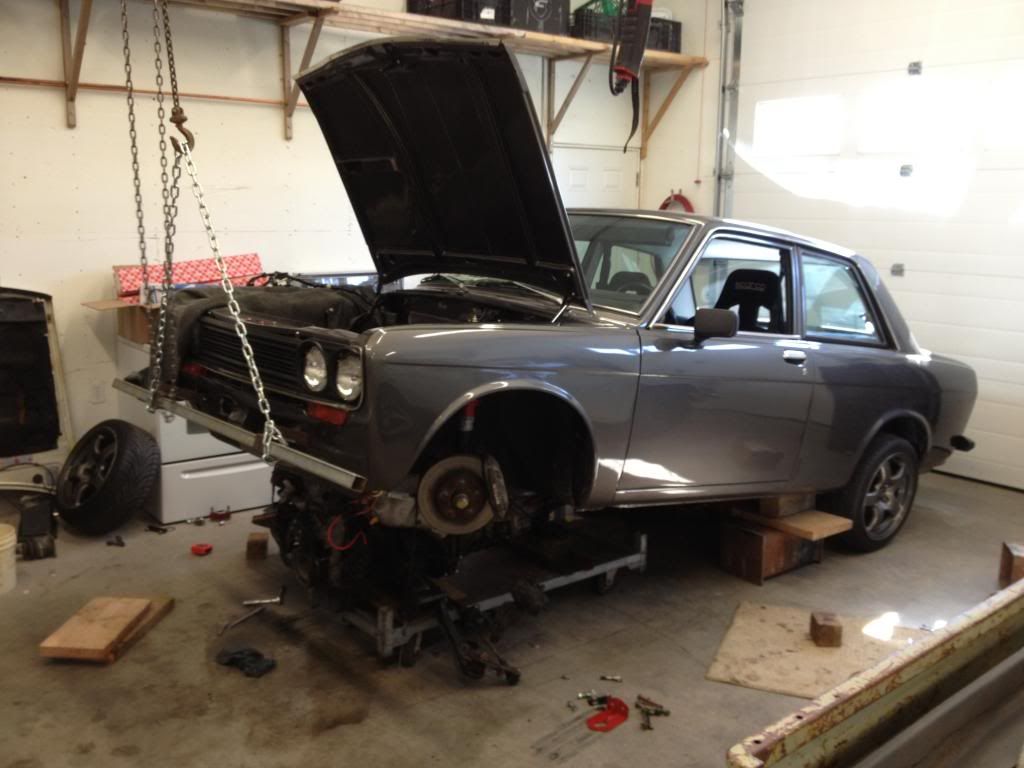
Today I fabbed up some brackets to make a lifter for the car that bolts onto the bumper brackets. It works like a charm. I made a bit of a rough video and there are some pictures of the progress below.
I watched a motor swap video on YouTube once upon a time and thought it was super cool so I figured I'd make my own.
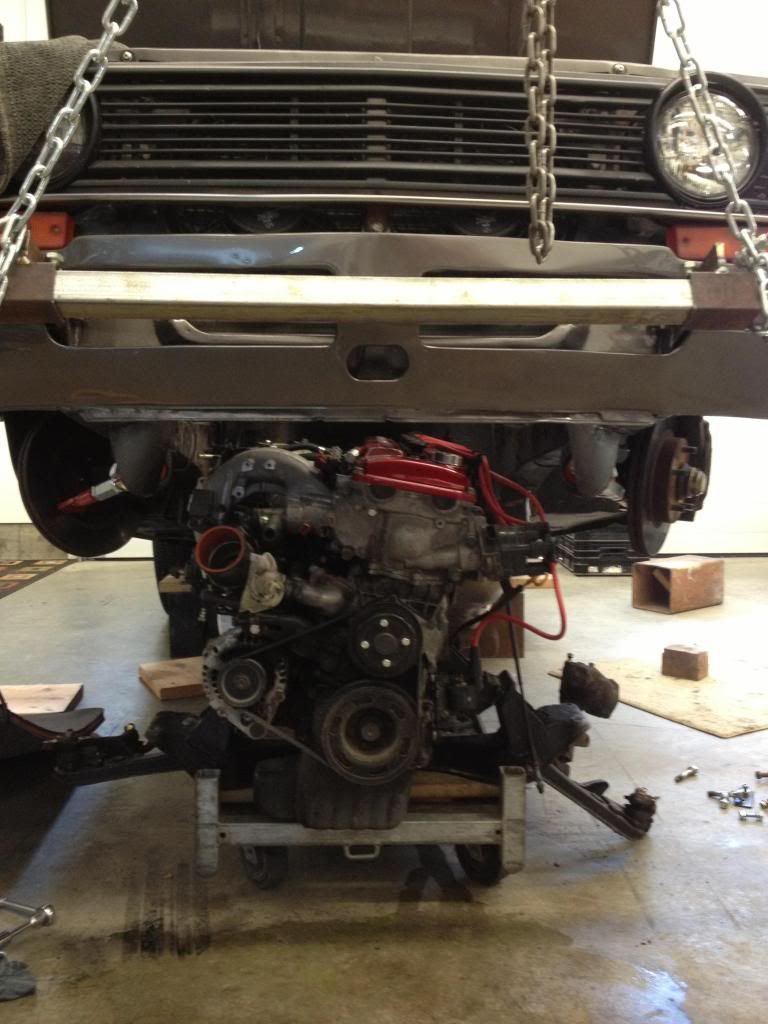
After the whole thing I had 310 minutes of video so the video I posted is at 10X speed and most of the static parts were nuked from the video. Hopefully it'll give you an idea of what it's like to remove the motor through the bottom.
I removed the steering box from the car but left it connected to the rest of the steering gear and dropped it all together with the motor.
Video http://www.youtube.com/watch?v=XznLphFb ... e=youtu.be
If you're impatient, the actual removal starts at ~7:00.
The lifter brackets....
I put the square tube for the bar underneath the brackets so the welds wouldn't be in tension. I also made the whole thing pretty modular so you can use the 2 bolts to sandwich it all together for use and then it can be taken apart pretty well for storage.


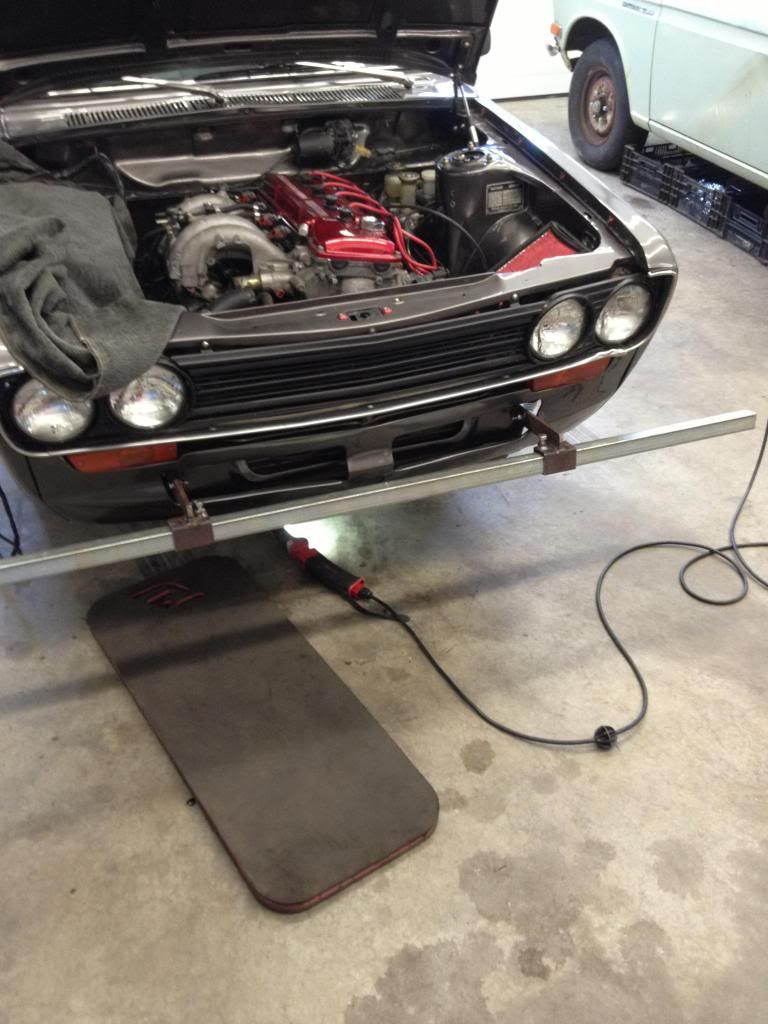
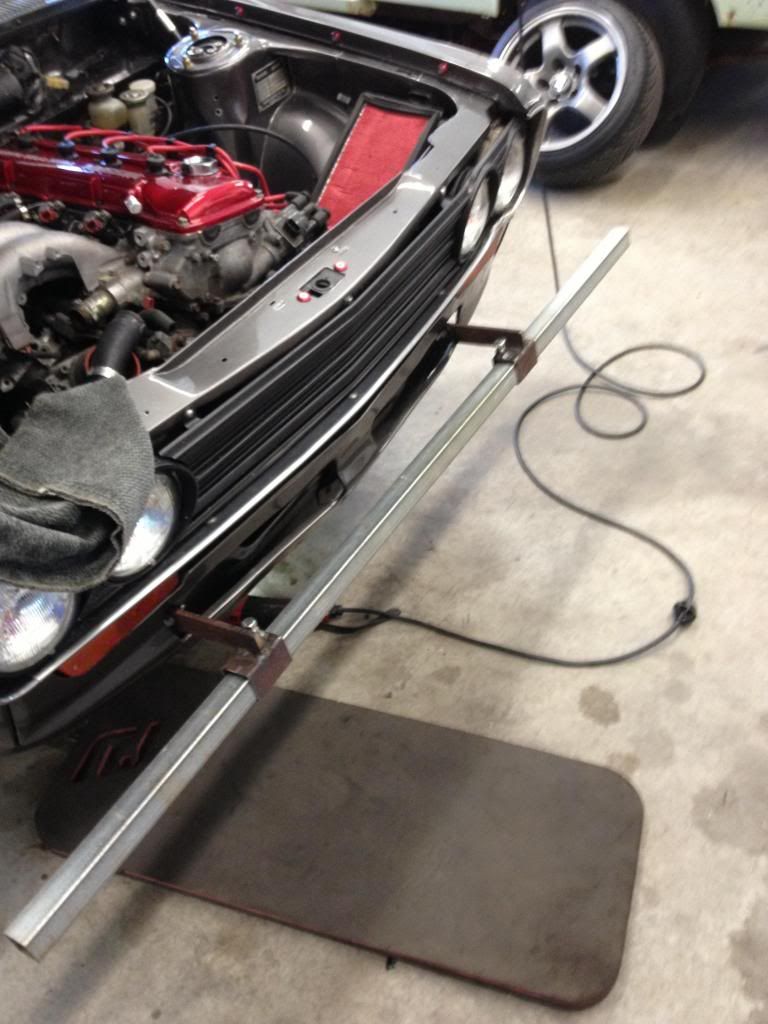
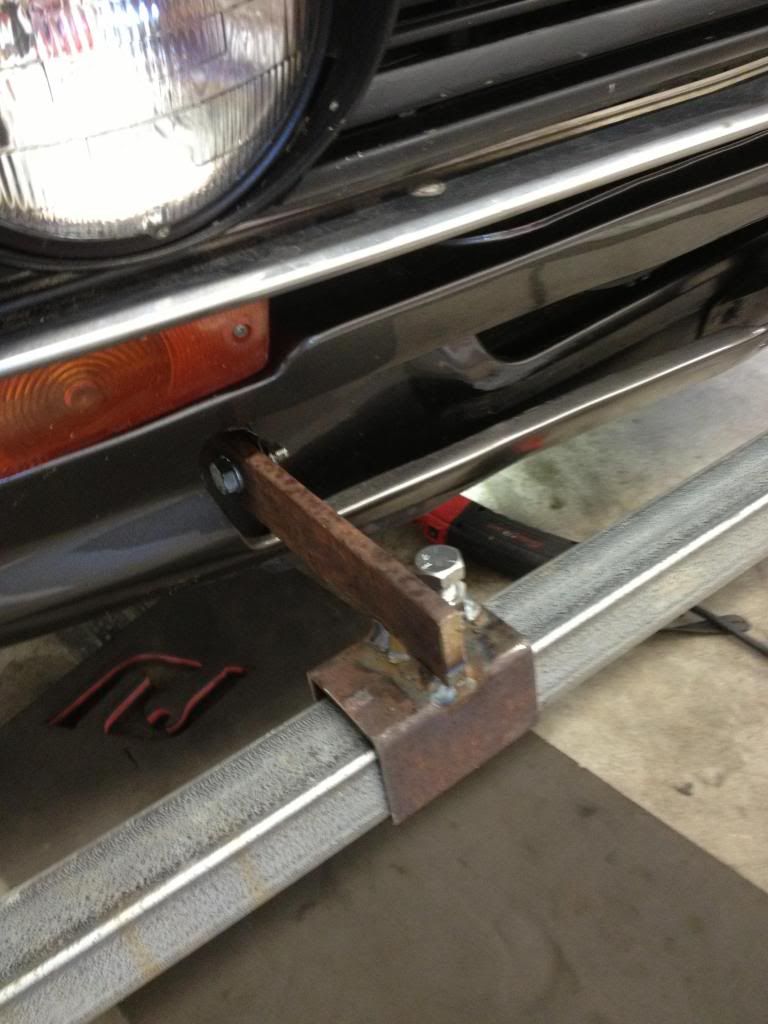
Here are some pics of it in action.
Today I fabbed up some brackets to make a lifter for the car that bolts onto the bumper brackets. It works like a charm. I made a bit of a rough video and there are some pictures of the progress below.
I watched a motor swap video on YouTube once upon a time and thought it was super cool so I figured I'd make my own.
After the whole thing I had 310 minutes of video so the video I posted is at 10X speed and most of the static parts were nuked from the video. Hopefully it'll give you an idea of what it's like to remove the motor through the bottom.
I removed the steering box from the car but left it connected to the rest of the steering gear and dropped it all together with the motor.
Video
If you're impatient, the actual removal starts at ~7:00.
The lifter brackets....
I put the square tube for the bar underneath the brackets so the welds wouldn't be in tension. I also made the whole thing pretty modular so you can use the 2 bolts to sandwich it all together for use and then it can be taken apart pretty well for storage.


Here are some pics of it in action.


'72 2 door KA project | S14 Silvia RB25DET | S14 RB26DETT (sold) | '90 Audi 90Q20V (sold)
Re: Jordan's '72 2 door KA project
Hi Jordan,
It is slick isn't it.
I built mine because I didn't want to scratch the Greg Terry car when reassembling the drivetrain. If it worked on the factory assembly line, then it should work for me. Then I used it on Rich's car,prompting Rich to build one of his own. Then I too added the bolt in spreader bar. Then I used the lifting device on my brothers car, and I'm afraid there is now no going back. It just really is too simple, this device and a cradle or dolly and away you go.
Byron
Love people and use things,
because the opposite never works.
because the opposite never works.
-
two_68_510s

- Supporter
- Posts: 3894
- Joined: 18 Apr 2010 11:20
- Location: Ben Lomond California
Re: Jordan's '72 2 door KA project
Nice job with the setup there Jordan.
I see the truck has a nice new home!!
I see the truck has a nice new home!!
Joel
2 '68 510 2 door sedans
'95 240SX
“We will either find a way, or make one.” – Hannibal
2 '68 510 2 door sedans
'95 240SX
“We will either find a way, or make one.” – Hannibal