'72 Sedan "Do It Right" build - denis.drc

View and post your 510 project(s)
User avatar
denis.drc
Posts: 80
Joined: 06 Feb 2012 09:24
Location: Sacramento, CA

Re: '72 Sedan "Do It Right" build - denis.drc

Post by denis.drc »

I got a call at the end of the week that my needed metal was finally in stock! So, I had to put a couple of projects on hold this weekend, but finished the welding cart!

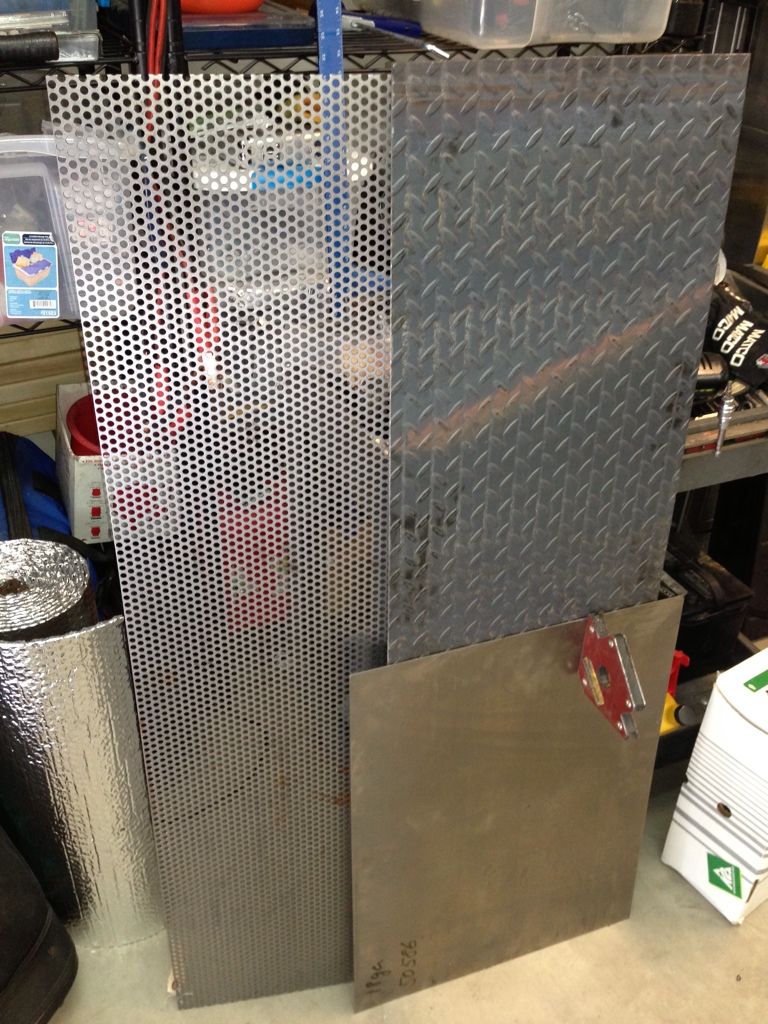
Got some fancy metal for the surfaces..

Image


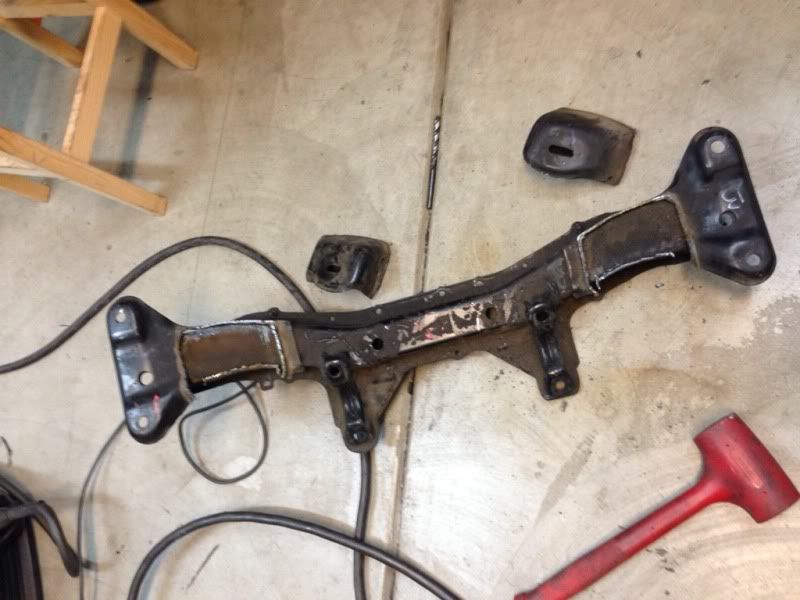
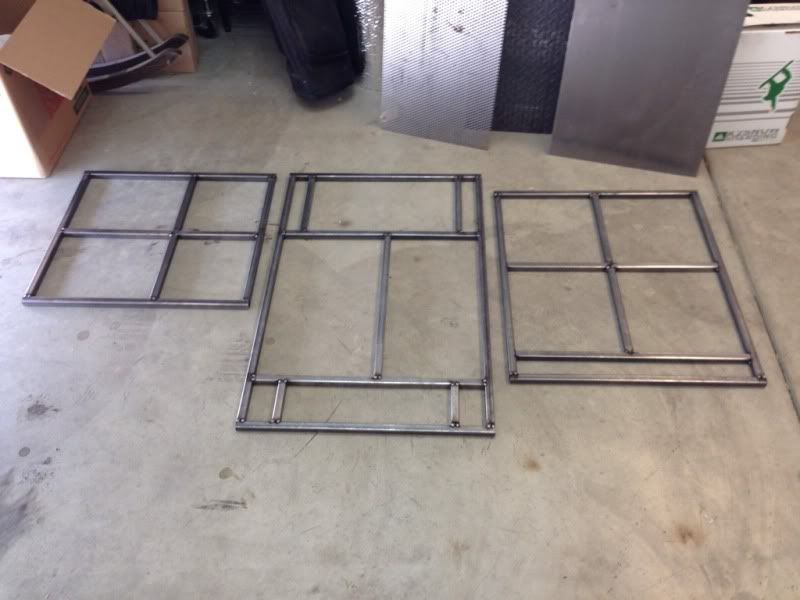
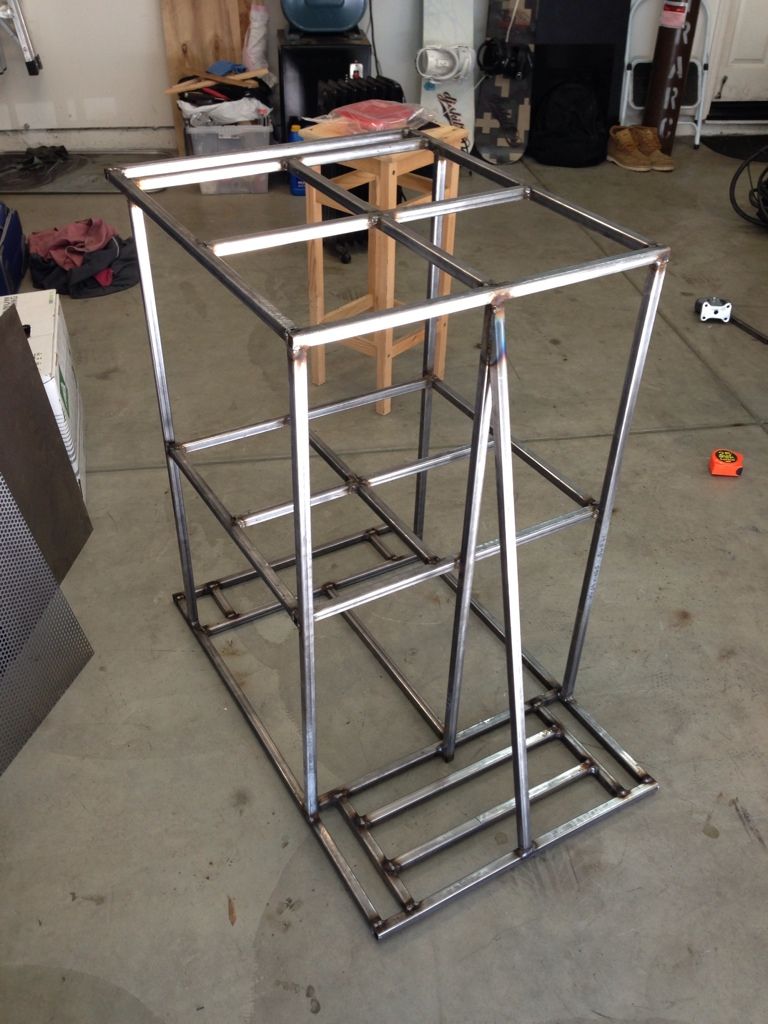
Then I added some bracing to the shelves...(compare to the old pics for reference)

Image


Now, time to assemble!

Image
Image
Image

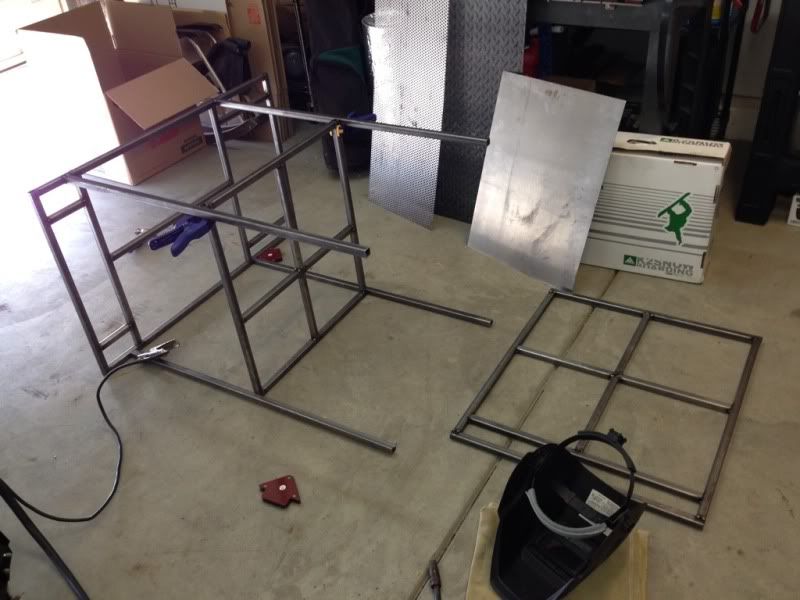
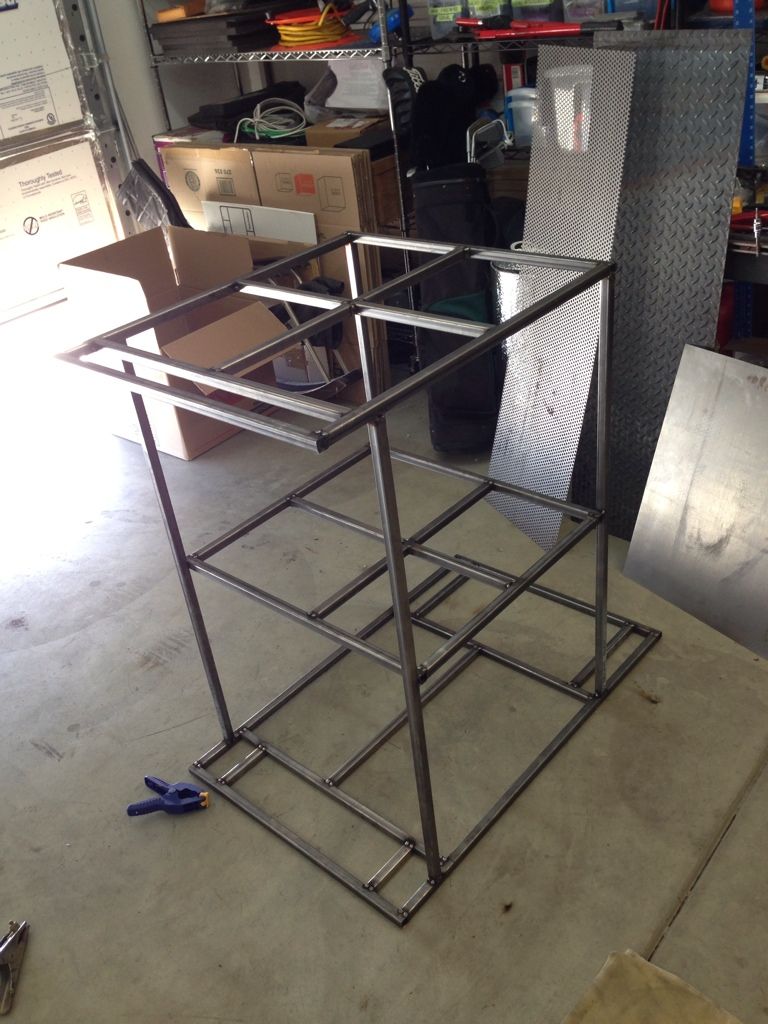
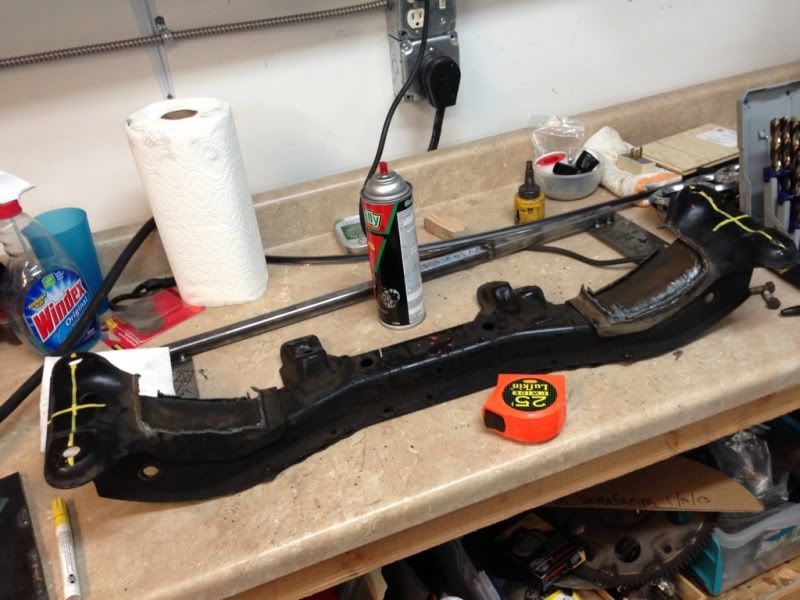
Added a brace for the tank shelf.

Image

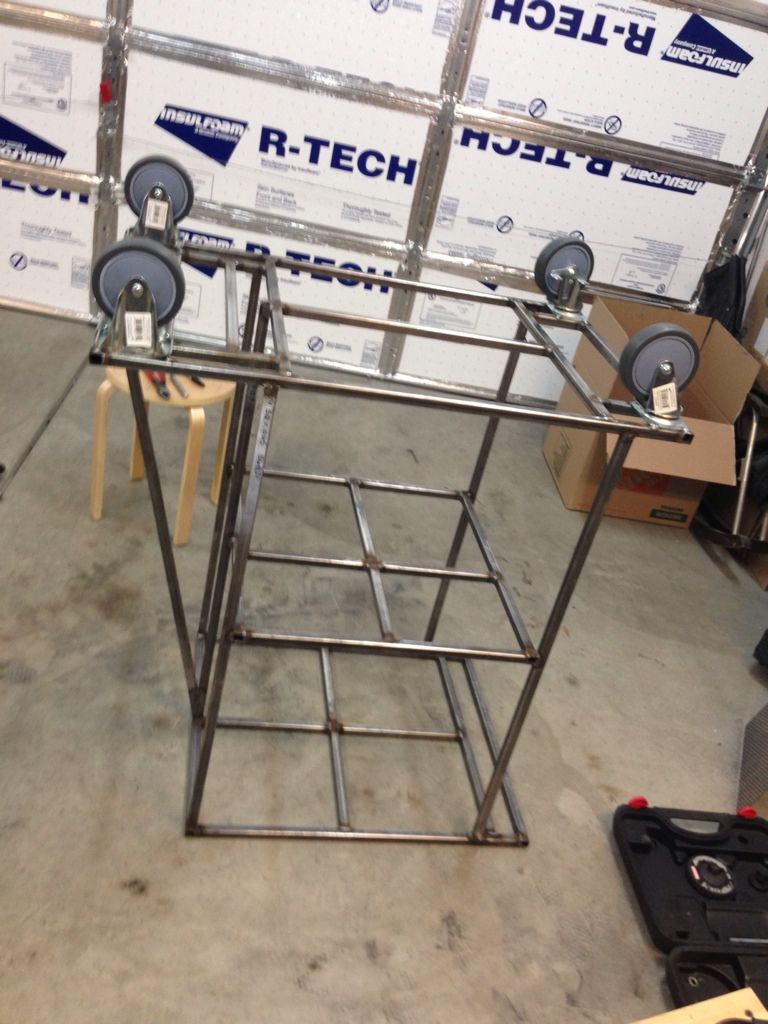
Added some casters..

Image


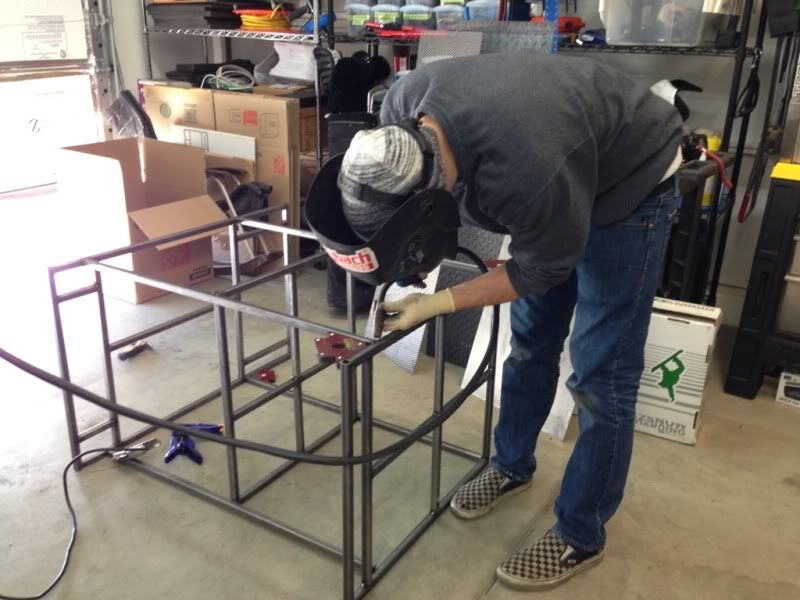
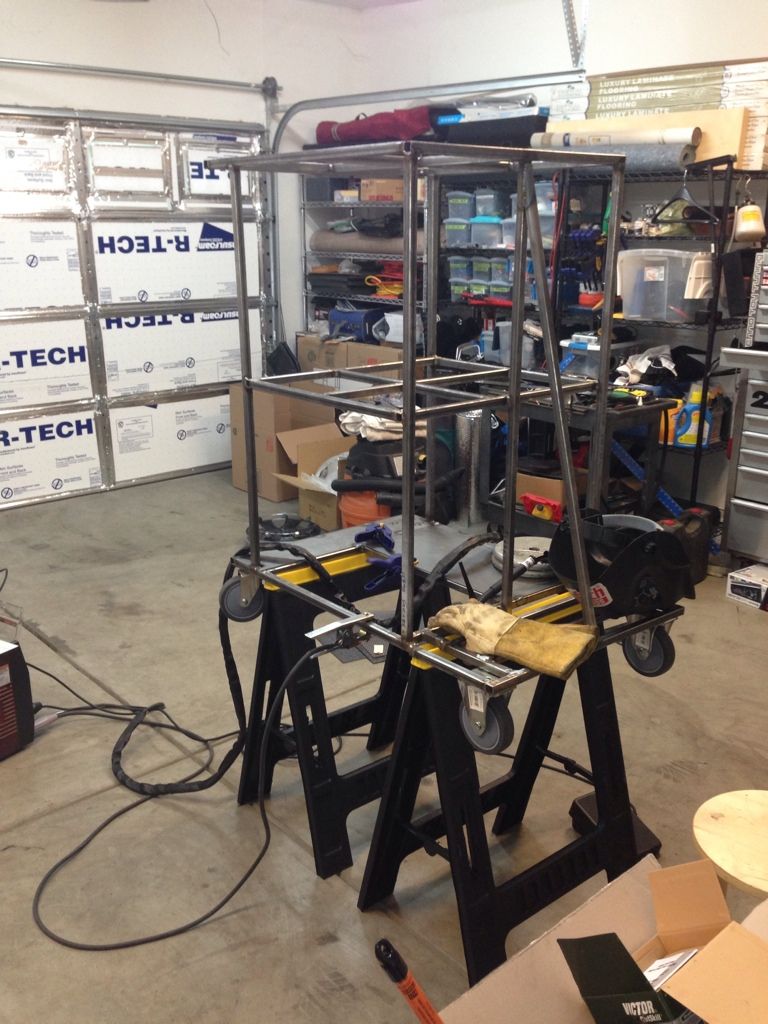
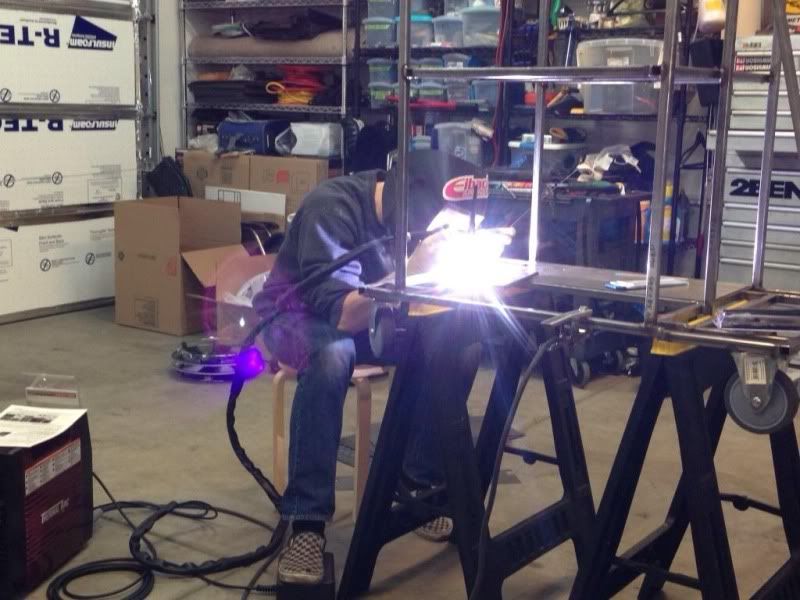
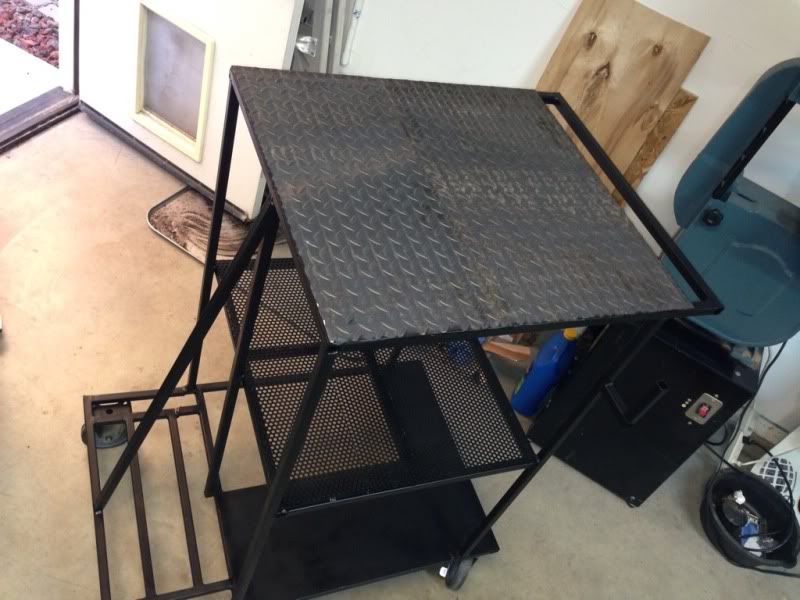
Set it up for some final welding.

Image


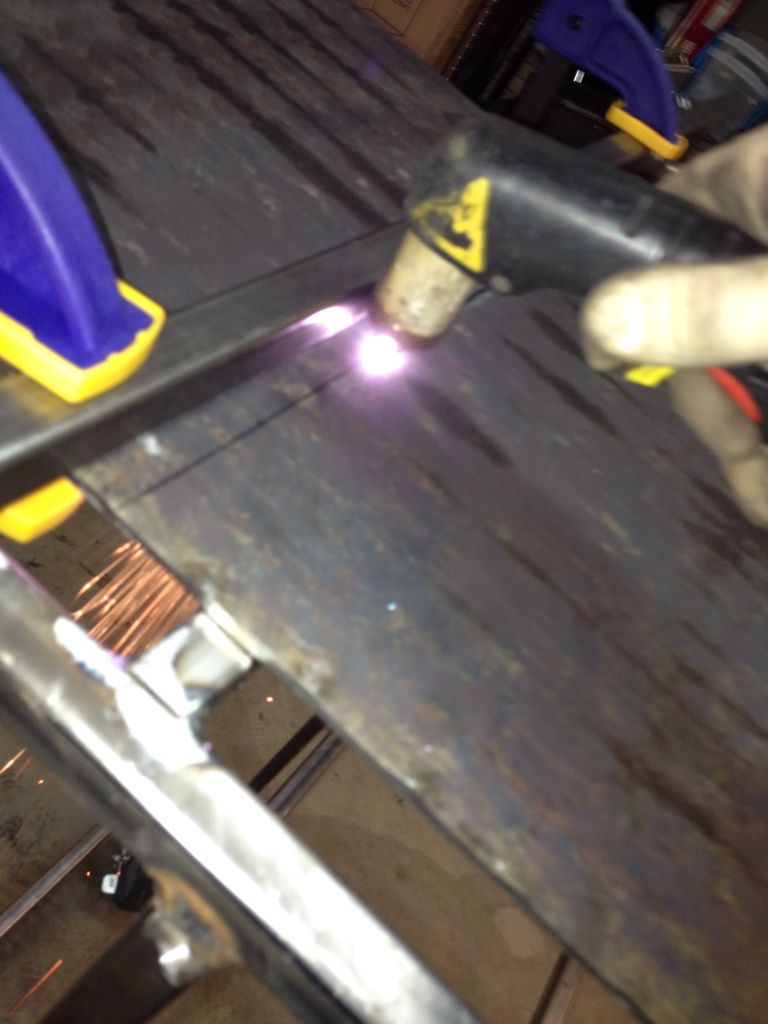
Best of all, I GOT TO USE MY NEW TIG!!

Image


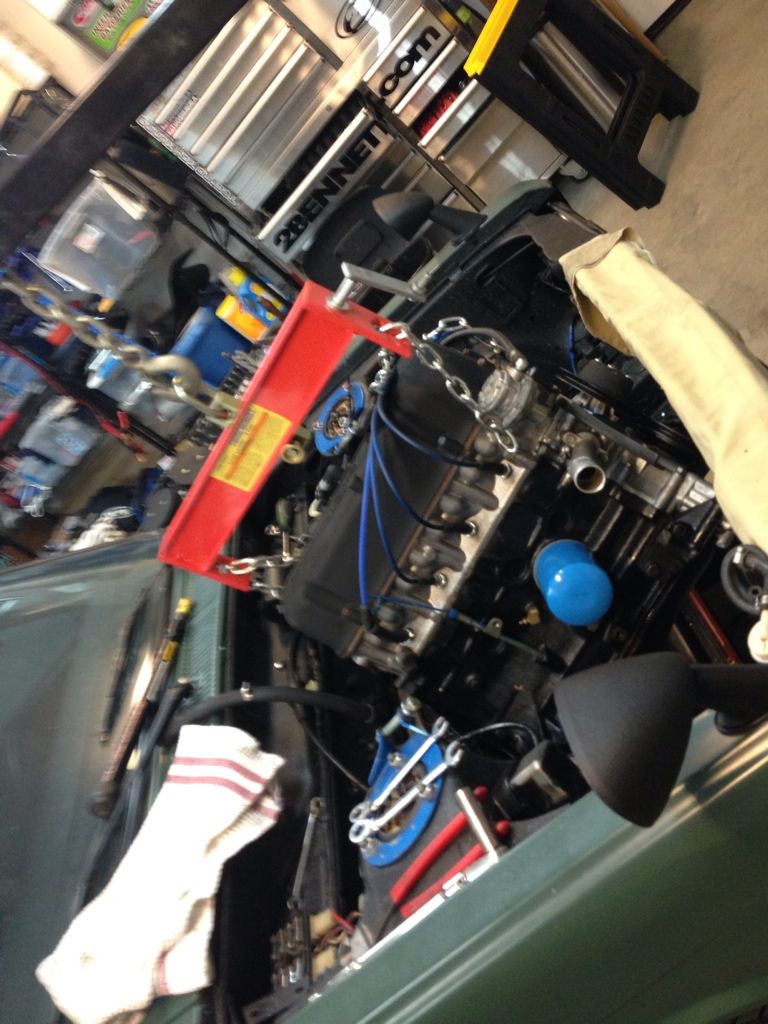
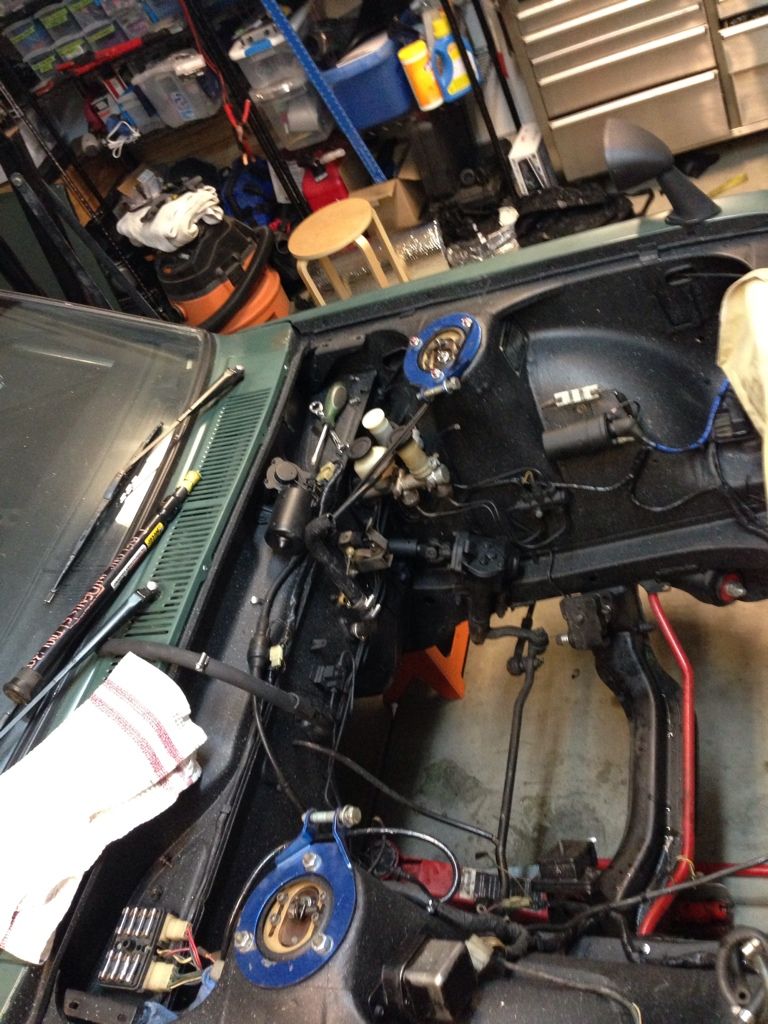
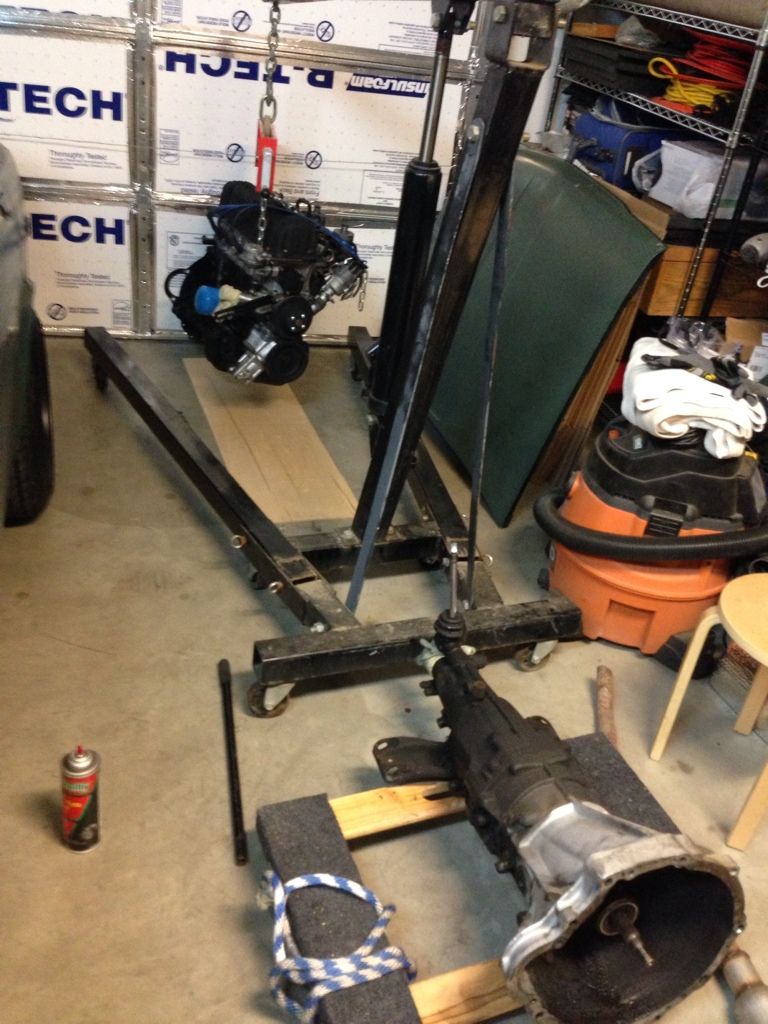
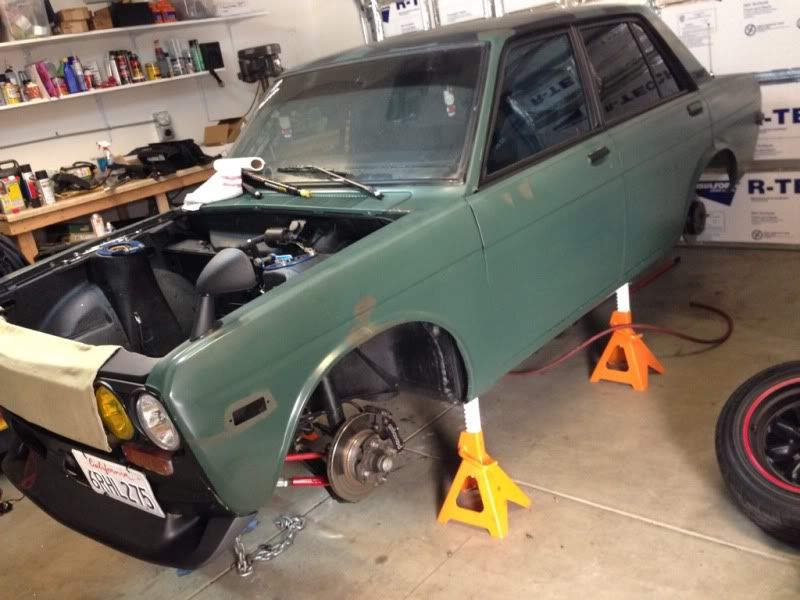
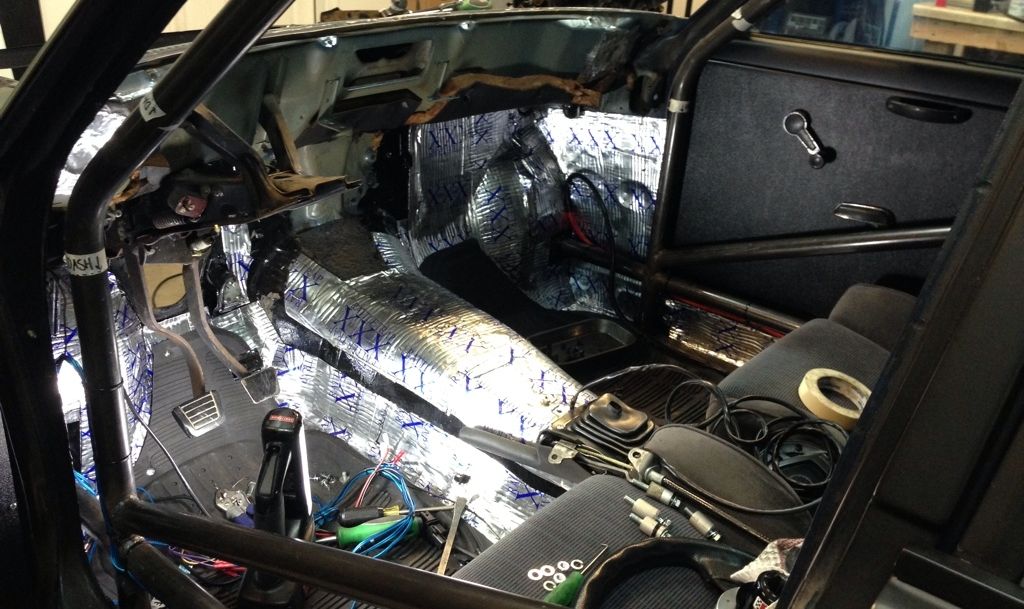
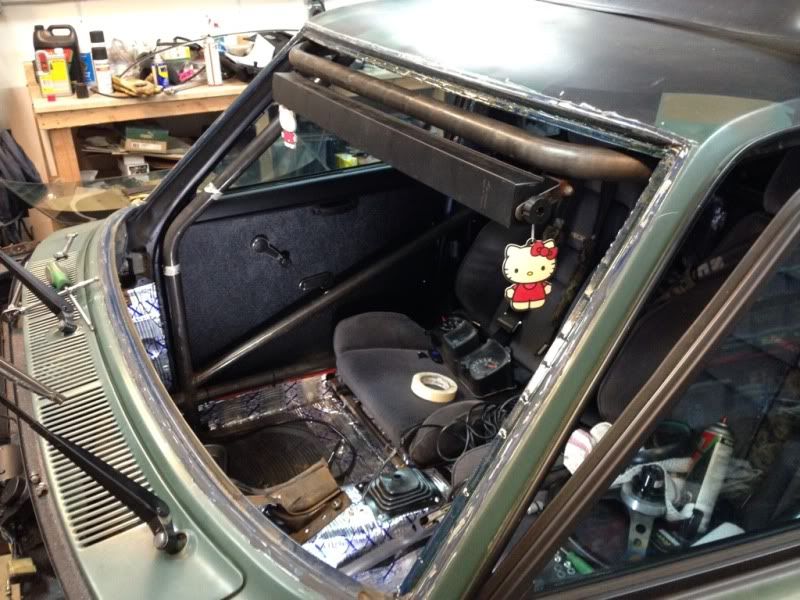
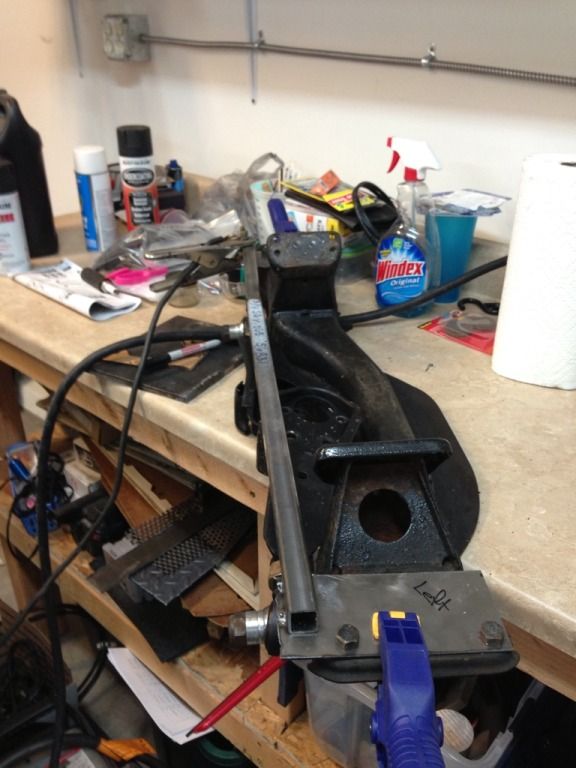
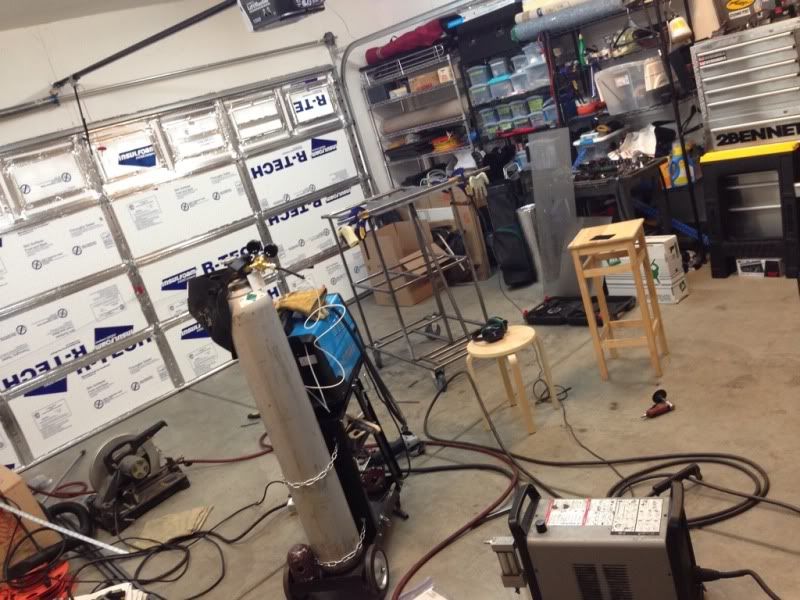
This is what the garage looked like 1/2 way through... the kind of chaos I can tolerate.. :D

Image


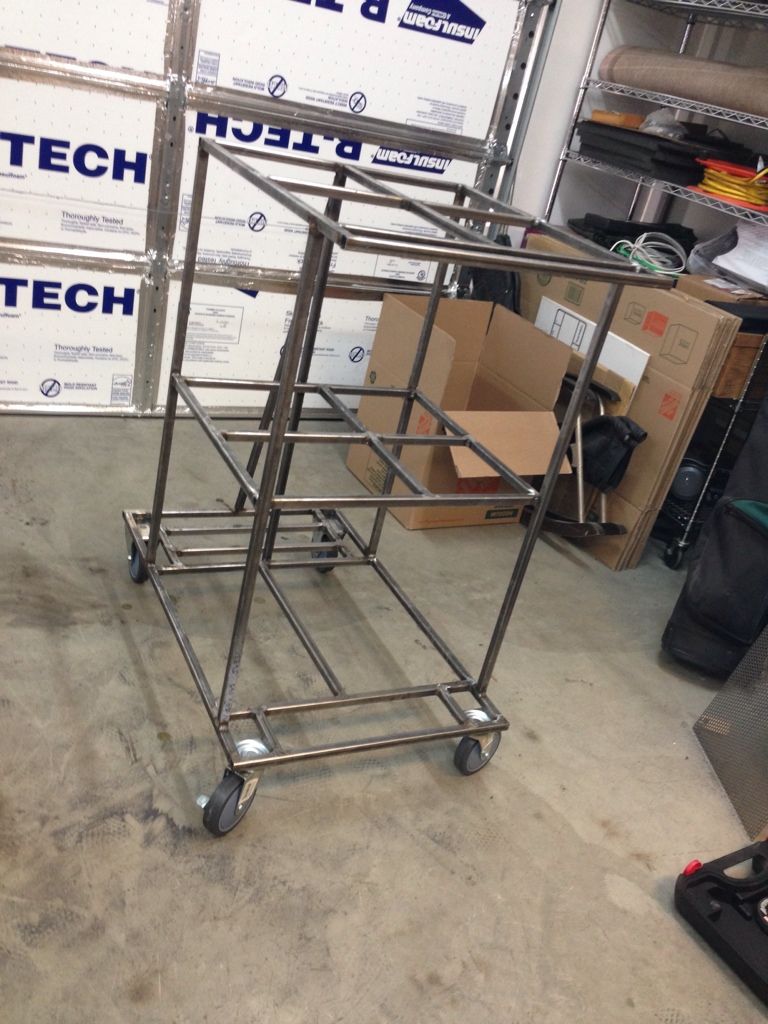
All welded up and ready for shelves.

Image


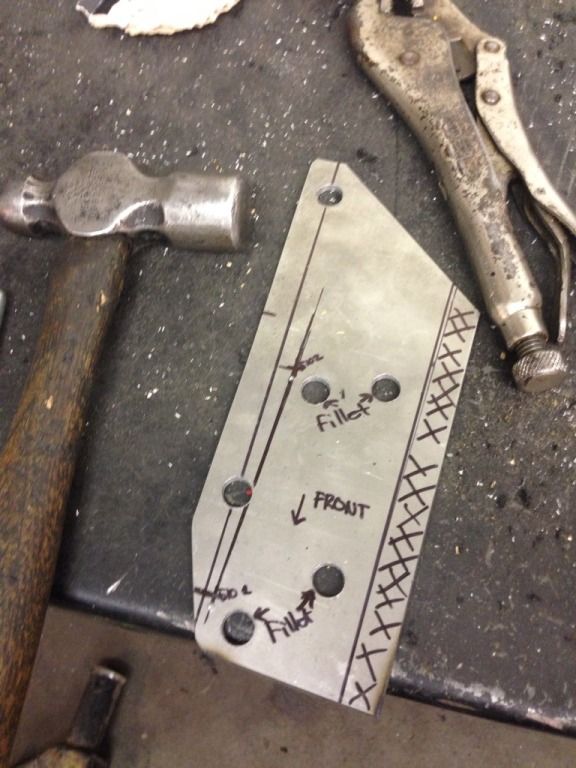
A friend of mine was kind enough to let me borrow his plasma cutter for the weekend. Cutting any sort of sheet metal without one is quite a CHORE.. Thanks, Tyler!

Image


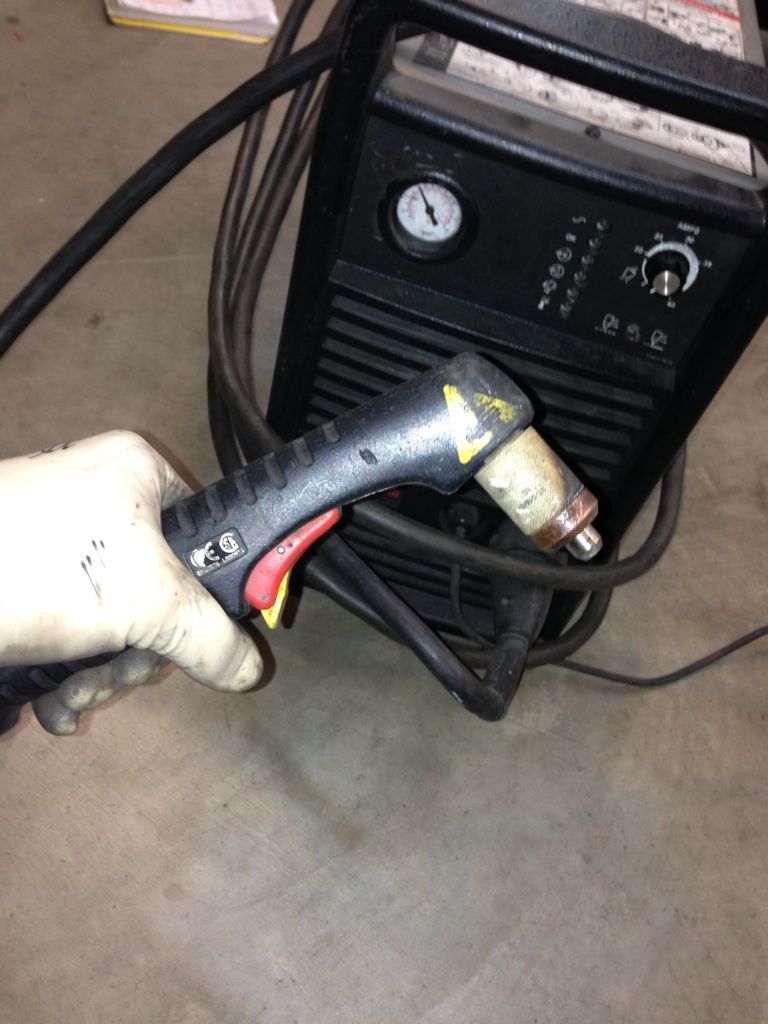
Made easy work of the plate..

Image


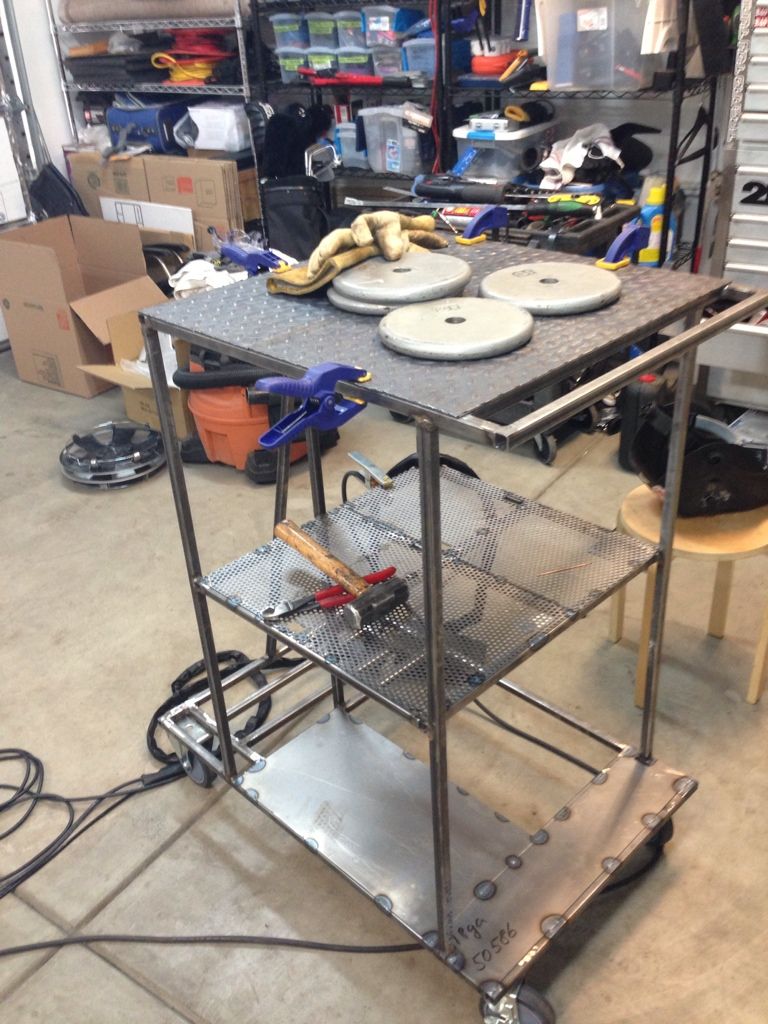
Installed and welded the shelves. (The weights are to keep the structure from warping while welding)

Image


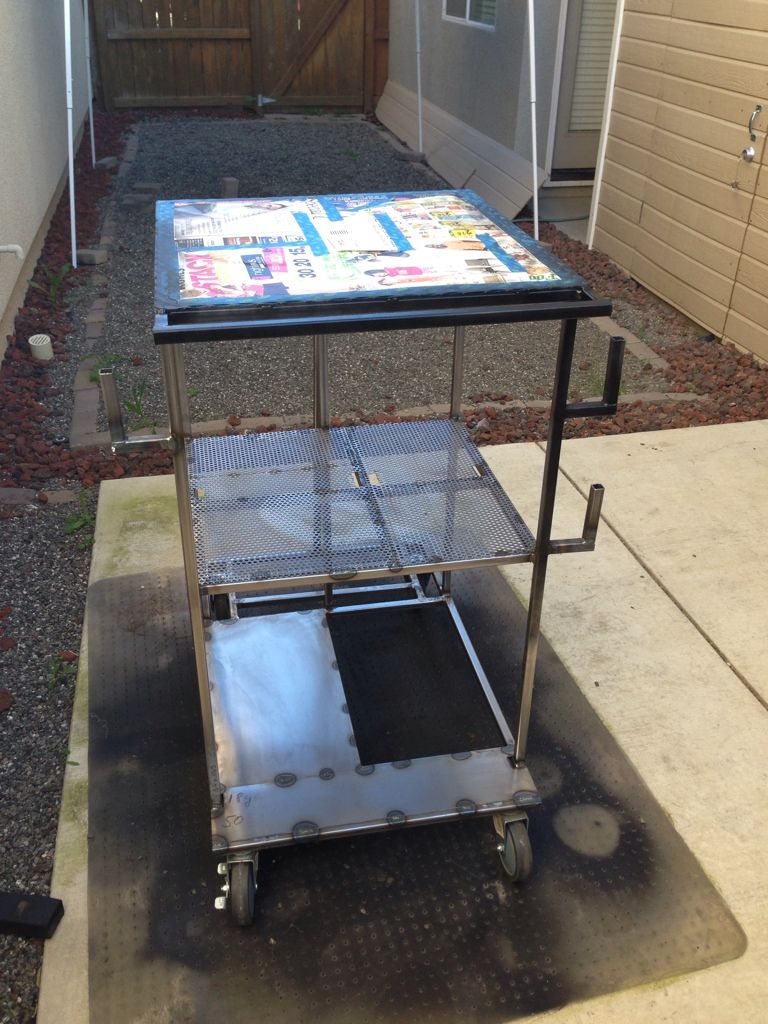
Did some prep work and off to paint..

Image


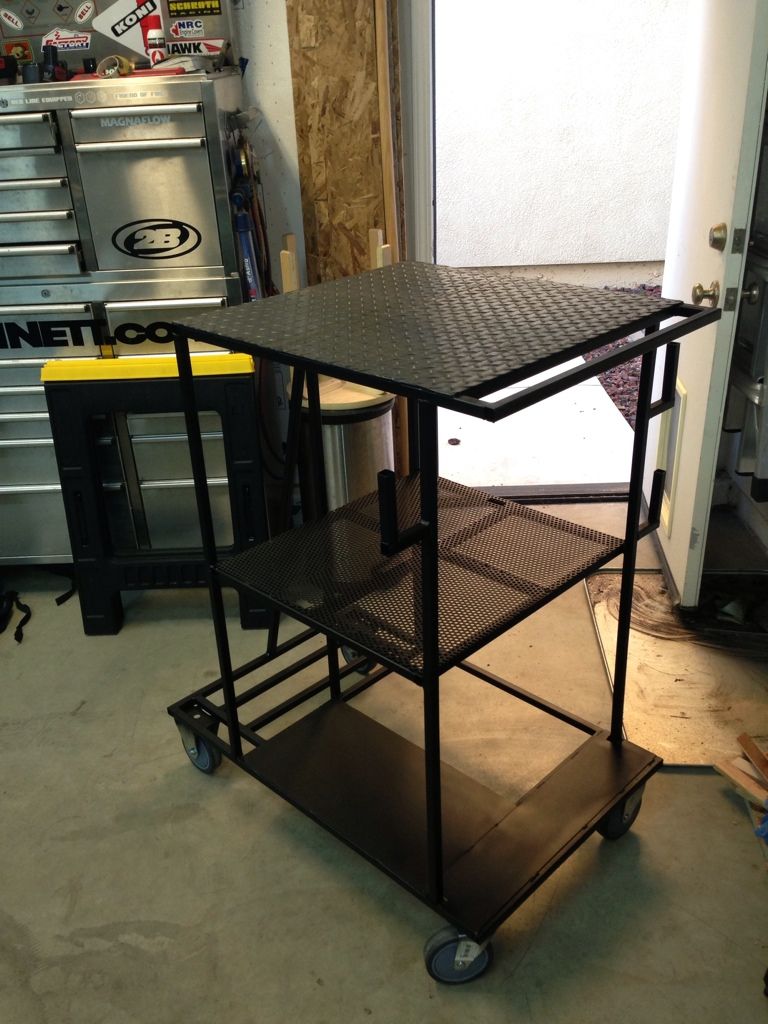
The finished product:

Image
Image


I decided to let the paint dry overnight before I set anything on it. I can't wait to see it all set up!
When you truly love your project, you won't cut corners!
goichi1
Supporter
Posts: 4064
Joined: 22 Jan 2008 21:57
Location: Fayetteville, GA

Re: '72 Sedan "Do It Right" build - denis.drc

Post by goichi1 »

Looks pretty nice! gives me the motivation to finish mine! might just get back on it tonight. Thanks!!
User avatar
denis.drc
Posts: 80
Joined: 06 Feb 2012 09:24
Location: Sacramento, CA

Re: '72 Sedan "Do It Right" build - denis.drc

Post by denis.drc »

goichi1 wrote:Looks pretty nice! gives me the motivation to finish mine! might just get back on it tonight. Thanks!!
I'm always happy to motivate! :P
When you truly love your project, you won't cut corners!
goichi1
Supporter
Posts: 4064
Joined: 22 Jan 2008 21:57
Location: Fayetteville, GA

Re: '72 Sedan "Do It Right" build - denis.drc

Post by goichi1 »

It's not like I just stop working on things, I tend to get too much going at once! but this reminds me that I need to get my cart done!
User avatar
denis.drc
Posts: 80
Joined: 06 Feb 2012 09:24
Location: Sacramento, CA

Re: '72 Sedan "Do It Right" build - denis.drc

Post by denis.drc »

goichi1 wrote:It's not like I just stop working on things, I tend to get too much going at once! but this reminds me that I need to get my cart done!
I completely understand. I do the same thing all too often... I think "medical professionals" call it "A.D.D." :roll: ...I call it wishful thinking!
When you truly love your project, you won't cut corners!
User avatar
denis.drc
Posts: 80
Joined: 06 Feb 2012 09:24
Location: Sacramento, CA

Re: '72 Sedan "Do It Right" build - denis.drc

Post by denis.drc »

Pulled the L16, transmission and cooling system last night.

I had a brief moment of sadness when the engine came out, but felt much better when I remembered that it's going into a more needy 510 and a great owner.

The process...

Removed hood & Front grille

Image
Image


Drain & Remove the radiator.

Image


Remove alternator & disconnect exhaust.

Image
Image


Out it comes..

Image


Looks so empty...

Image


Mike, this one is for you...Come and get 'em!

Image


I put a lot of work and love into this engine group, but am VERY EXCITED about the next stage. I'm starting to narrow down my engine options and am just about ready to go pick up the new suspension.
When you truly love your project, you won't cut corners!
User avatar
denis.drc
Posts: 80
Joined: 06 Feb 2012 09:24
Location: Sacramento, CA

Re: '72 Sedan "Do It Right" build - denis.drc

Post by denis.drc »

Been a little while since my last update.... finally getting caught up on work and life..

Decided on suspension swap components... jury is still out on the engine.

Front suspension:
-S13 subframe assembly
-S14 4-lug knuckles
-S13 P/S Steering rack
-Planning to keep the track to S13 spec.
-Will widen the strut towers to retain S13 suspension geometry.

Rear suspension:
-S14 rear sub frame
-S14 JDM LSD diff
-S14 4-bolt hubs/knuckles
-Planning to re-enforce & widen the upper shock mounting mounts

All parts are ordered, most are finally in-stock ready for pick up.
Plan is to start some major work this weekend and go from there..

Stay tuned!
When you truly love your project, you won't cut corners!
HudsonMC
Posts: 462
Joined: 30 Mar 2010 05:56
Location: San Antonio, TX

Re: '72 Sedan "Do It Right" build - denis.drc

Post by HudsonMC »

You figure out a bodywork/flare solution?
User avatar
denis.drc
Posts: 80
Joined: 06 Feb 2012 09:24
Location: Sacramento, CA

Re: '72 Sedan "Do It Right" build - denis.drc

Post by denis.drc »

HudsonMC wrote:You figure out a bodywork/flare solution?
I found a place that claims their 'ZG' style flares are 5" wide, but have yet to see one in person.

I'm also still considering box flares, but don't know if that's really the look I'm after..
When you truly love your project, you won't cut corners!
Cmac
Posts: 305
Joined: 26 Oct 2006 17:03
Location: Sacramento

Re: '72 Sedan "Do It Right" build - denis.drc

Post by Cmac »

what if you were to use the quattro coupe box flairs ?
User avatar
denis.drc
Posts: 80
Joined: 06 Feb 2012 09:24
Location: Sacramento, CA

Re: '72 Sedan "Do It Right" build - denis.drc

Post by denis.drc »

Cmac wrote:what if you were to use the quattro coupe box flairs ?
That's a good idea and one that I had considered originally.

However, having worked on and around Audis for many years I've come to understand how expensive UR-Quattro parts are. They're also all obsolete and are not easy to come by, especially in North America. I would not feel good about myself if I cut up 4 original fenders.. :oops:
They also aren't very wide. The OE flares are ~2" wide. I need a solid 5" of flare.

The wide-body kit we make for the Ur-Quattro (see below) is almost wide enough, but not quite... The flares are unfortunately also too long and require a considerable amount of composite lay-up and subsequent modification, resulting in a higher price than most off-the-shelf rivet-on flares. They are beautiful when used for the correct application, but just aren't for this project. I've also considered designing and shaping custom flares myself, just as we did for the URQ kit, but fear it would considerably increase the total project time.

Image
Image
When you truly love your project, you won't cut corners!
Cmac
Posts: 305
Joined: 26 Oct 2006 17:03
Location: Sacramento

Re: '72 Sedan "Do It Right" build - denis.drc

Post by Cmac »

The 2000 coupe is one of my all time favorite cars. That wide body kit was off the hook when it was done.

Speaking of the 2000 Coupe

http://www.speedhunters.com/2013/03/audi-ur-quattro/

Now back to your build keep up the great work ! I look forward to reading about the progress.
User avatar
denis.drc
Posts: 80
Joined: 06 Feb 2012 09:24
Location: Sacramento, CA

Re: '72 Sedan "Do It Right" build - denis.drc

Post by denis.drc »

Cmac wrote:The 2000 coupe is one of my all time favorite cars. That wide body kit was off the hook when it was done.

Speaking of the 2000 Coupe

http://www.speedhunters.com/2013/03/audi-ur-quattro/

Now back to your build keep up the great work ! I look forward to reading about the progress.
Thanks!

That URQ is amazing!
We ship a lot of parts out to that side of the world. There are some truly talented tuners out there!
When you truly love your project, you won't cut corners!
User avatar
denis.drc
Posts: 80
Joined: 06 Feb 2012 09:24
Location: Sacramento, CA

Re: '72 Sedan "Do It Right" build - denis.drc

Post by denis.drc »

Been a couple of weeks since the last update. Got a little done in the last few weeks. I wish I had done more but was too busy with other stuff.

Started by tearing the car apart more.

First, got it nice and high on some stands...with some assistance.

Image
Image


Then pulley some bodywork.

Image
Image


While planning more of the project, I decided to update the whole electrical system to a modern harness. So, the old engine and interior harness had to come out.

Image
Image


I love how much cleaner everything looks with the harness removed!

Image


Pulled the brake lines too. Not planning to use those again..

Image


I then decided to also pull windshield to get even more access. I was hoping to avoid pulling the glass, but running the additional tubing from the cage would have been much more difficult..

Pulling the glass turned out to be more of a PITA then I planned. The window gasket was rock hard -probably the original one.. Also, the previous owners decided to do me a favor and use some residential silicone all over the sealing surface...FUN TO REMOVE!

Image
Image


I also decided to ditch the steering column for an S13 unit, so I got the old one out of the way.

Image
Image
Image


With those things gone, all that's left is the dash...might as well pull that too..

Image
Image


I have to say, there is something peaceful about looking at a completely stripped down front end.. :wink:

I also made some progress on the front subframe swap... I'll add info ASAP.
When you truly love your project, you won't cut corners!
User avatar
denis.drc
Posts: 80
Joined: 06 Feb 2012 09:24
Location: Sacramento, CA

Re: '72 Sedan "Do It Right" build - denis.drc

Post by denis.drc »

Moving right along..

Started by letting the car get a feel for the new subframe (Dog whisperer style... :wink: )

Image


Then pulled the 510 subframe and started comparing, measuring and planning.

Image


Made a bolt spacing jig of the 510 subframe to reduce repeated measuring and create a guide.

Image
Image


Removed the engine mount towers from the subframe (the new mounts will be much different), then market it for measuring.

Image
Image


Finished the night by making some plates to mount the new (wider) subframe to the 510 frame horns. I had hoped to keep the whole thing a "bolt-on" affair with the adapters, but the necessary offset made that nearly impossible. So the plates will end up welded on after I get them in the correct location.

Image
When you truly love your project, you won't cut corners!
Post Reply