
Agreed ^^ -
The chance you are going to be back in there is minimal. Peen it and never worry. Real bummer if it lets go in the middle of corner.
Project Miracle Whip - 1968 510 4door s13 sr20det
Re: Project Miracle Whip - 1968 510 4door s13 sr20det
Finished is better than perfect......
-
StrutlessWonder

- Supporter
- Posts: 334
- Joined: 03 Mar 2012 12:59
- Location: Menlo Park, CA
Re: Project Miracle Whip - 1968 510 4door s13 sr20det
Unless you choose to use the "newer" version of the nut I posted that don't require peening (they are sort of "pre-peened").
Kurt Hafer
'70 2dr VG30et "Strutless Wonder"
'70 2dr VG30et "Strutless Wonder"
Re: Project Miracle Whip - 1968 510 4door s13 sr20det
And I'm baaaaaaaaaaaaaaaaaaaaaaaaack!
For those of you who didn't catch James' body and paint thread on Project Miracle Whip, you really owe it to yourself to see how far he took this project. I reviewed it again tonight and was truly astonished at what he was able to do. I can't speak highly enough about his quality of work, professionalism and unmatched expertise with the Datsun. Some things are truly worth the wait.
You can read about that here: http://community.ratsun.net/topic/66790 ... uh-datsun/
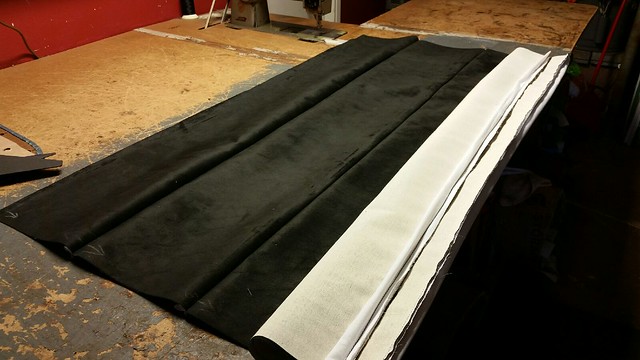
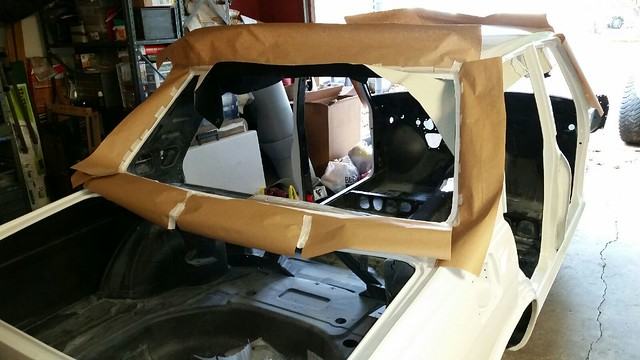
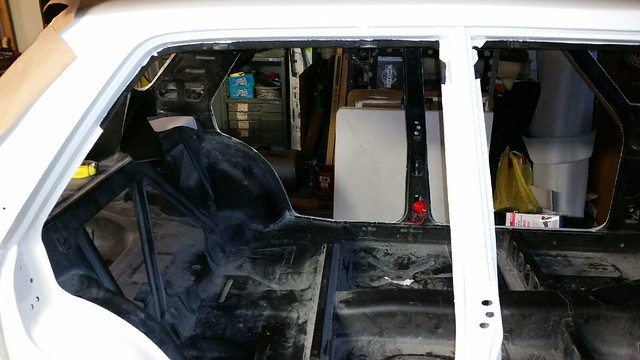
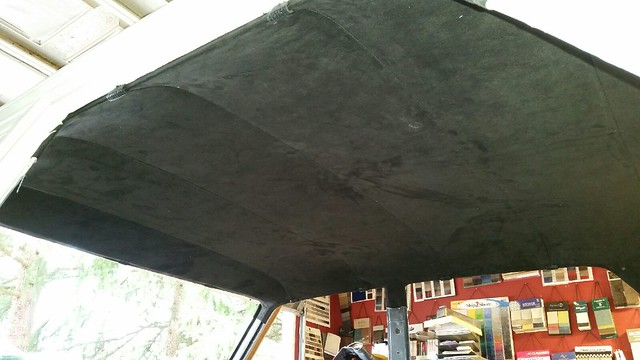
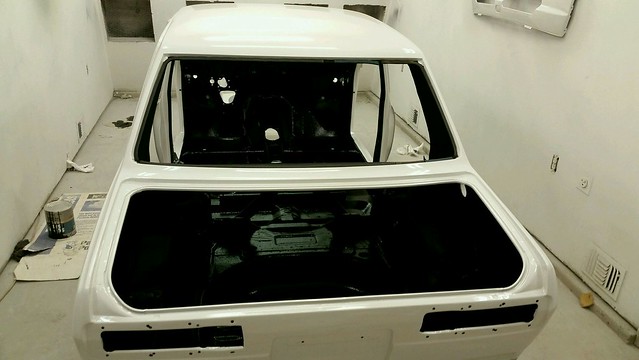
So where is she now and what has happened? James' recommended and linked me up with Todd from Todd's Upholstery in Oregon. A recommendation from James has not disappointed me yet. I am still deciding on interior details, but wanted to get the headliner installed and moving. Todd consulted with me and we elected to go with a black suede headliner, sun visors and rear panel deck. Check it out:


For those of you who didn't catch James' body and paint thread on Project Miracle Whip, you really owe it to yourself to see how far he took this project. I reviewed it again tonight and was truly astonished at what he was able to do. I can't speak highly enough about his quality of work, professionalism and unmatched expertise with the Datsun. Some things are truly worth the wait.
You can read about that here: http://community.ratsun.net/topic/66790 ... uh-datsun/
So where is she now and what has happened? James' recommended and linked me up with Todd from Todd's Upholstery in Oregon. A recommendation from James has not disappointed me yet. I am still deciding on interior details, but wanted to get the headliner installed and moving. Todd consulted with me and we elected to go with a black suede headliner, sun visors and rear panel deck. Check it out:
Re: Project Miracle Whip - 1968 510 4door s13 sr20det
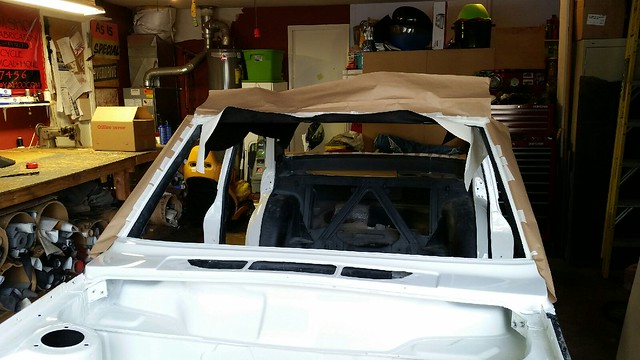
Todd spent a lot of time working the fabric and getting things just right. It was a bit scary to let someone have a freshly painted car to work in, but as you can tell from the photos he went above and beyond to protect my baby.
Re: Project Miracle Whip - 1968 510 4door s13 sr20det
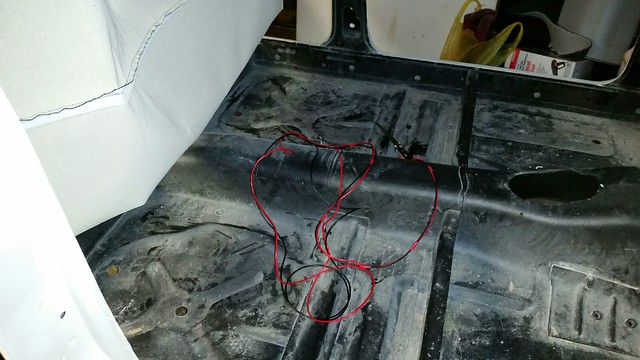
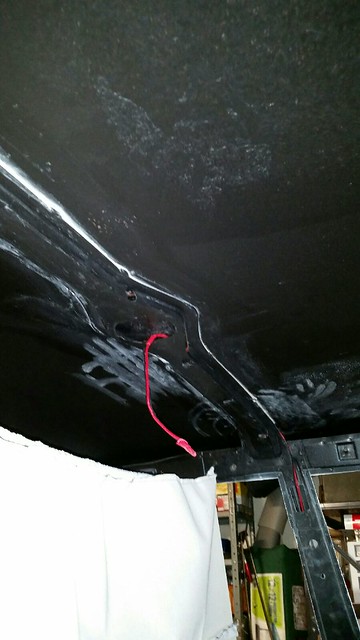
Todd took the liberty of running the wiring for the dome light for me and providing a ton of extra wire so that it can be run to the fuse box with no issues later on.
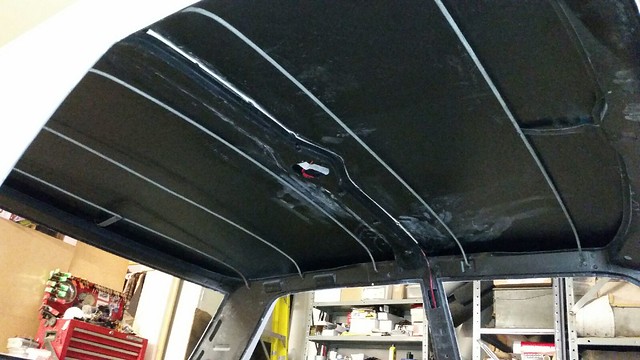

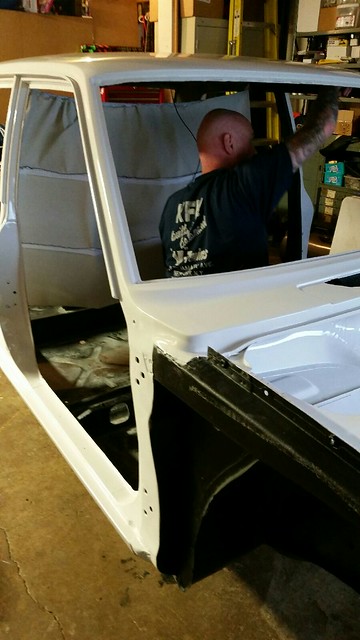
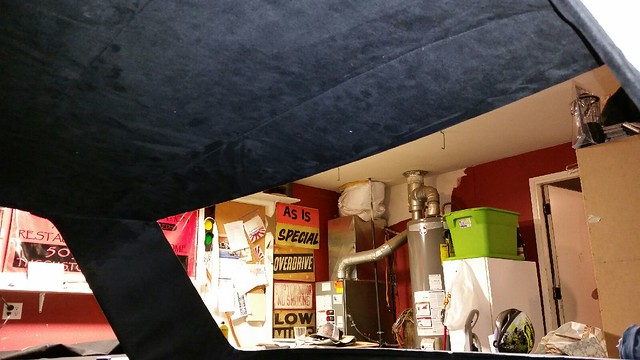
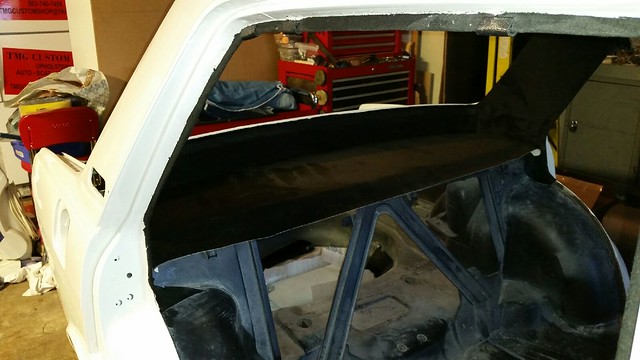
Here you can see the headliner really starting to come together:
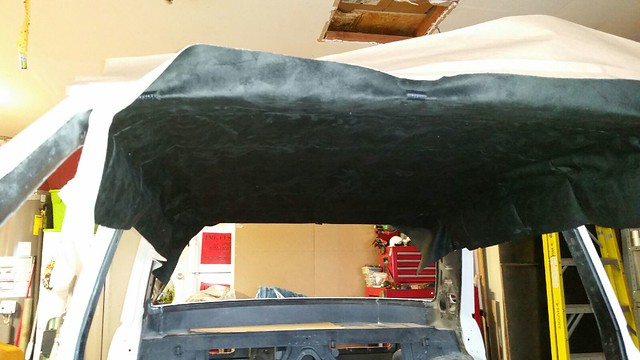
Here you can see the headliner really starting to come together:
Re: Project Miracle Whip - 1968 510 4door s13 sr20det
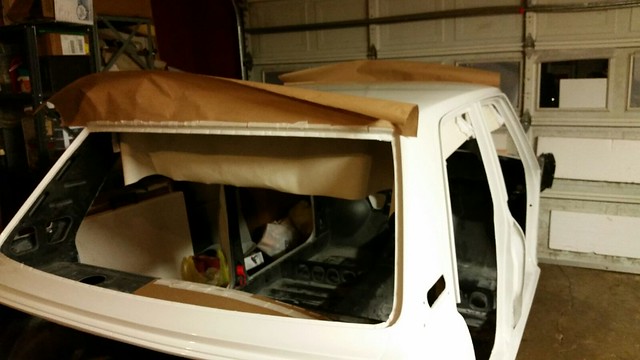
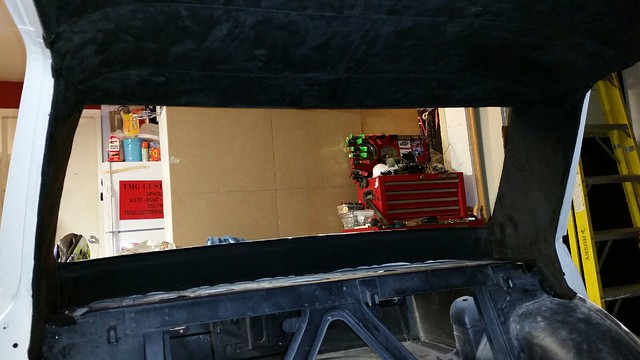
Some teasers of the soon to be delivered finished product:

Re: Project Miracle Whip - 1968 510 4door s13 sr20det
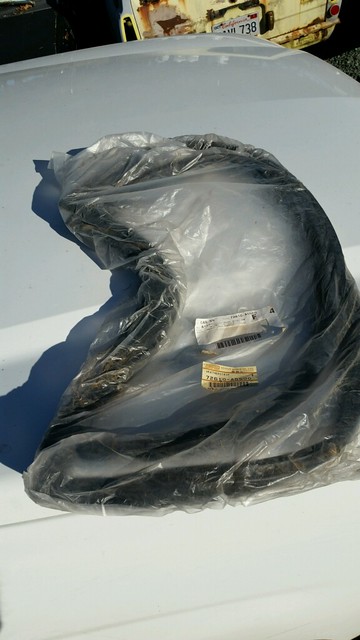
Then James came through with NOS Front Windshield rubber and a brand spanking new front windshield. Its a miracle!!!!

And that is it for now. A LONG, LONG time in the making. I couldn't be happier to be back in the swing of things. James should have her delivered this weekend sometime and we will have the rear glass put in with another OEM rear glass rubber seal. I have meetings scheduled with my builders to finish the engine and suspension installation. Sad, but true, that years later I no longer have the time to do the work myself. I learned a ton along the way from all the DIY. I still plan to do the final assembly on my own, but for the major work, I will have that outsourced so that people with greater skill than my own can do...... well, better.
I can't tell you how much James has come through and salvaged what I thought would be a sure dead project. Project Miracle Whip truly lives up to her name. More pictures and updates to come this weekend.
Re: Project Miracle Whip - 1968 510 4door s13 sr20det
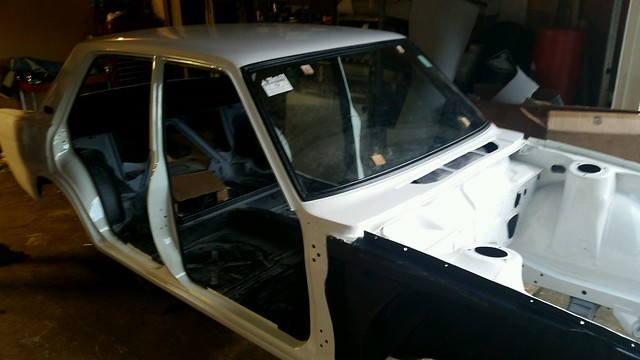
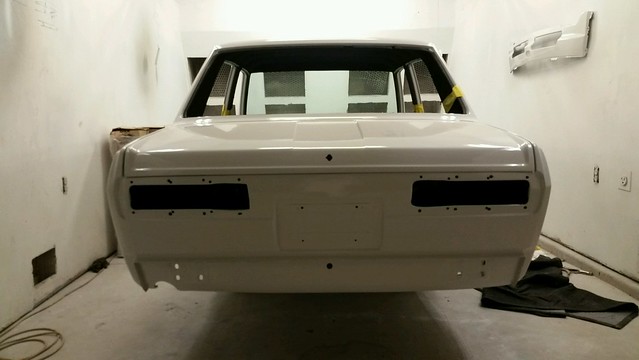
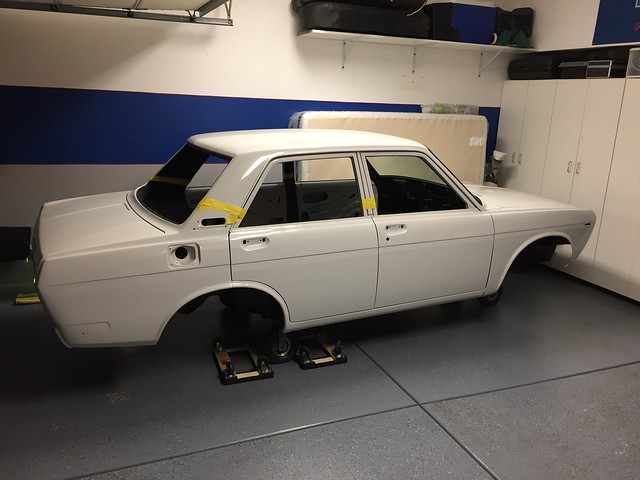
It feels almost like the night before Christmas. James shot over pictures of the final assembly after laying down an extra coat of paint on the interior. Tomorrow morning, Project Miracle Whip comes home.
Re: Project Miracle Whip - 1968 510 4door s13 sr20det
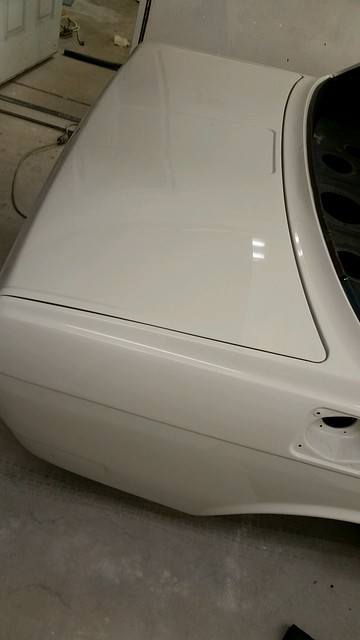
Panel alignment showing the flawless bodywork and paint.

Re: Project Miracle Whip - 1968 510 4door s13 sr20det
So the day started off with a visit to my engine and suspension shop down in San Diego. We planned for what was to come and the timing of the next stages. As luck would have it, their next big project canceled and Project Miracle Whip is the next on the docket. Now I just have to find the best way to transport it down to SD. At the moment renting a trailer may be the best option; however, I am going to look at what AAA can do for me.
Meanwhile James was getting ready for departure:
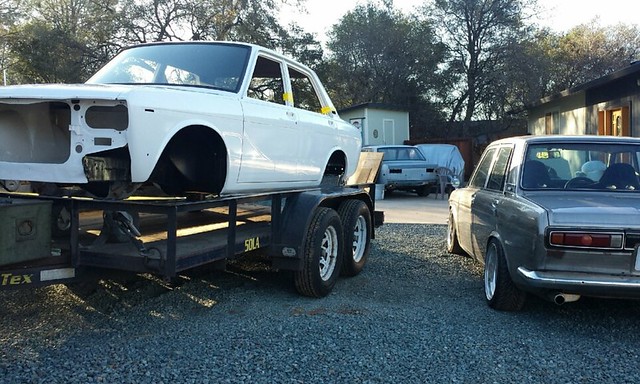
It is nerve racking to know that your freshly painted and better than new body is en route via a very long drive from Northern California to Southern California. So many things could have gone wrong!

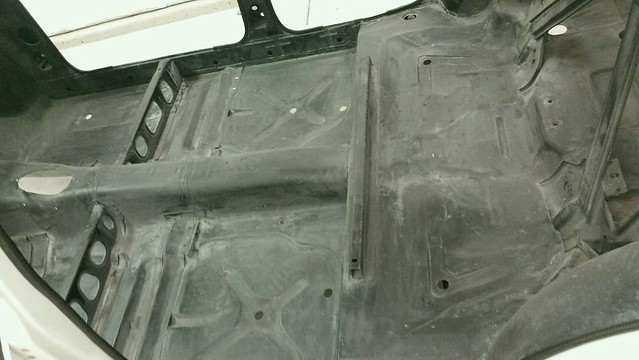
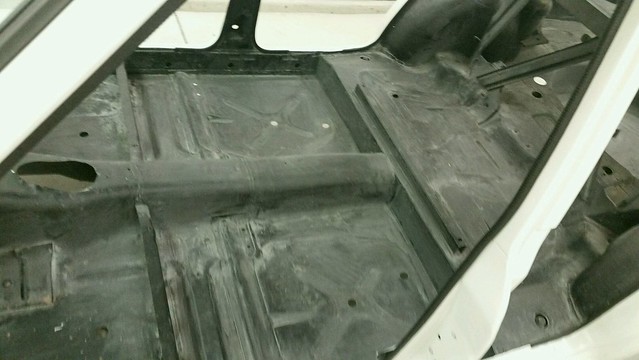
So I did the normal automotive minded male thing. Found something to play with. James and I had intended on installing the rear glass, but I was not happy with the final product of my buffing and polishing. I started with this:
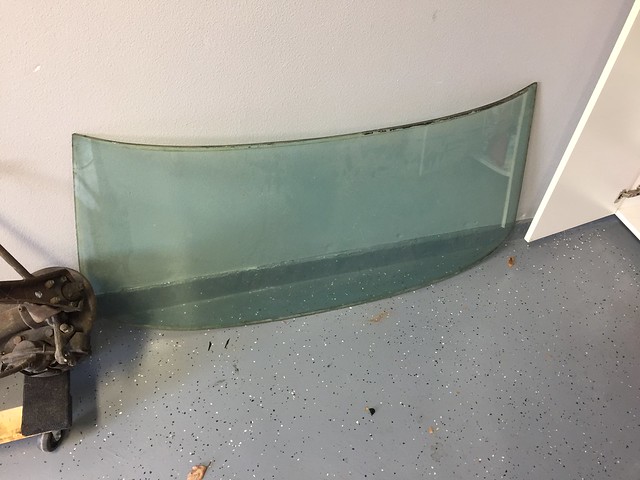
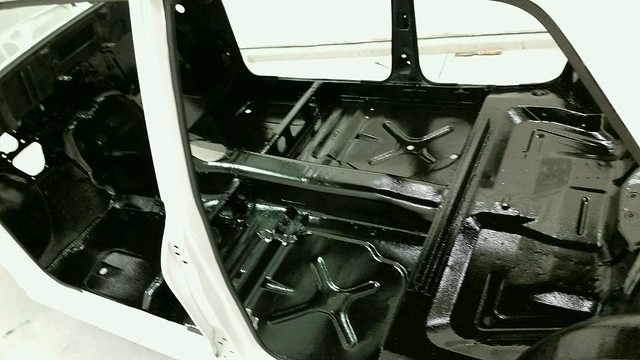
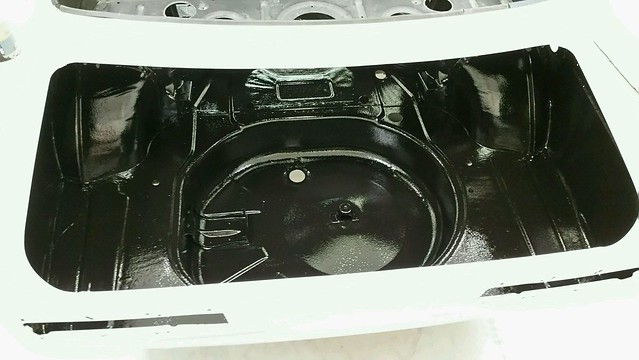
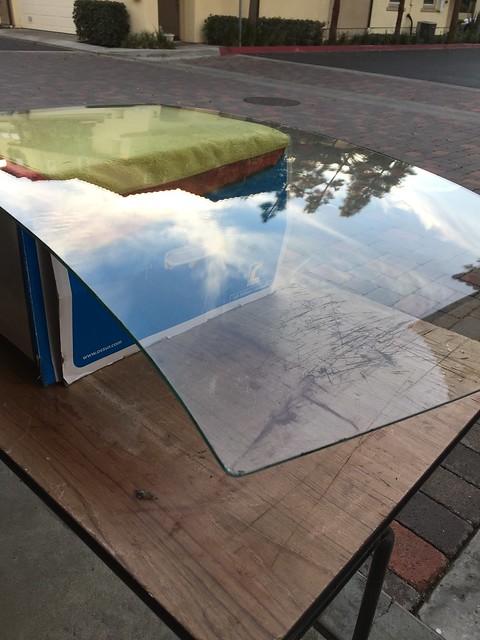
And ended with this:

It definitely was not a bad clean up, but the exterior could use a good buff and polish with a wheel. And we all know that it would be one hell of a lot easier with the rear window not installed. So James and I decided to wait even though we got the glass pretty shiny:
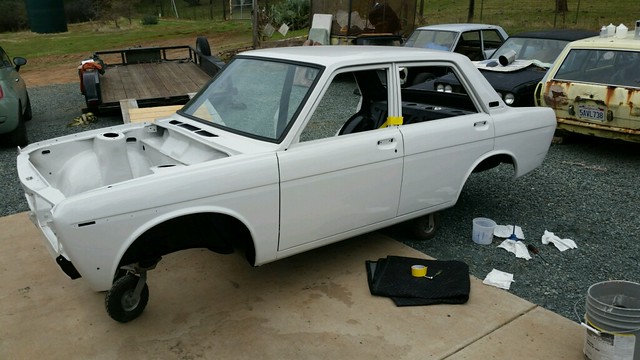
After a full day of tinkering in the garage, we wound up with my baby all tucked away in the garage. It has been so long since I have seen her there that I forgot the feeling of having her home.

Meanwhile James was getting ready for departure:
It is nerve racking to know that your freshly painted and better than new body is en route via a very long drive from Northern California to Southern California. So many things could have gone wrong!
So I did the normal automotive minded male thing. Found something to play with. James and I had intended on installing the rear glass, but I was not happy with the final product of my buffing and polishing. I started with this:
And ended with this:
It definitely was not a bad clean up, but the exterior could use a good buff and polish with a wheel. And we all know that it would be one hell of a lot easier with the rear window not installed. So James and I decided to wait even though we got the glass pretty shiny:
After a full day of tinkering in the garage, we wound up with my baby all tucked away in the garage. It has been so long since I have seen her there that I forgot the feeling of having her home.
Re: Project Miracle Whip - 1968 510 4door s13 sr20det
As would be par of the course, today's work would also be all sorts of messed up.
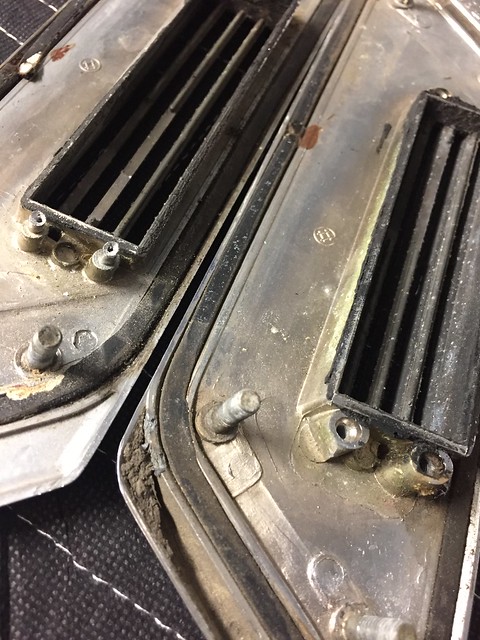
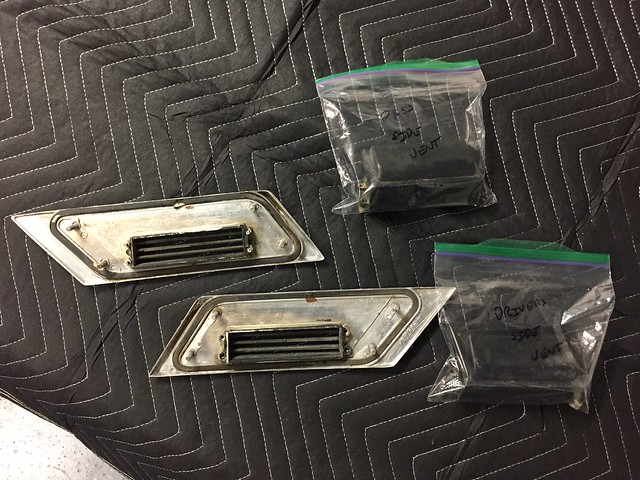
I started by looking at the parts that need to go on before the rear glass. Naturally that means the side vents. I was fortunate enough to have a 1968 with metal vents and a good chrome was in order. Tonight's mission, dismantle.
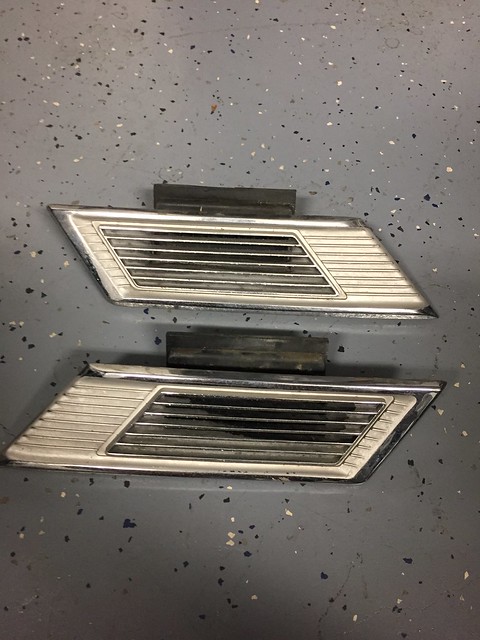
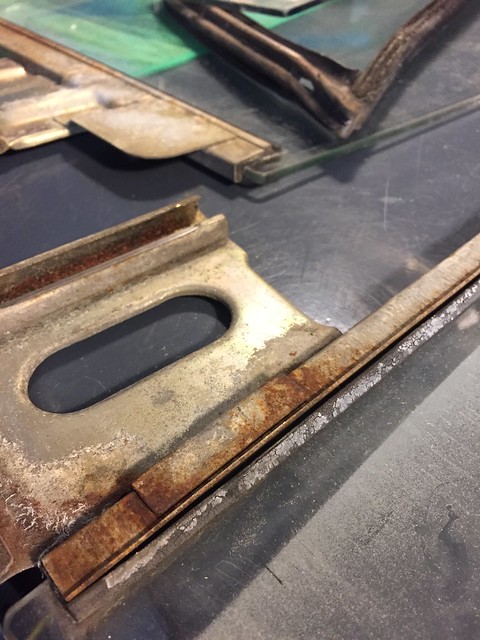
As soon as I turned them over, I knew there was trouble in paradise. It would take a keen eye to spot the difference.
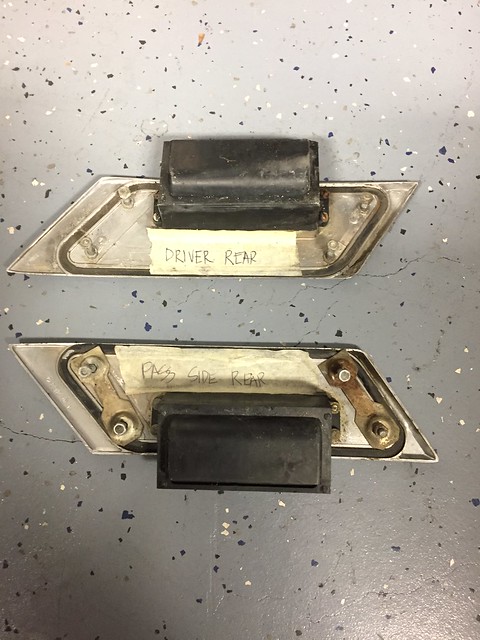
It turns out that one side was attached to the plastic backing via screws. Easy. The other vent, not so easy. It was held in place with rivets. WHY?!? For the love of all things holy, WHY?!?!
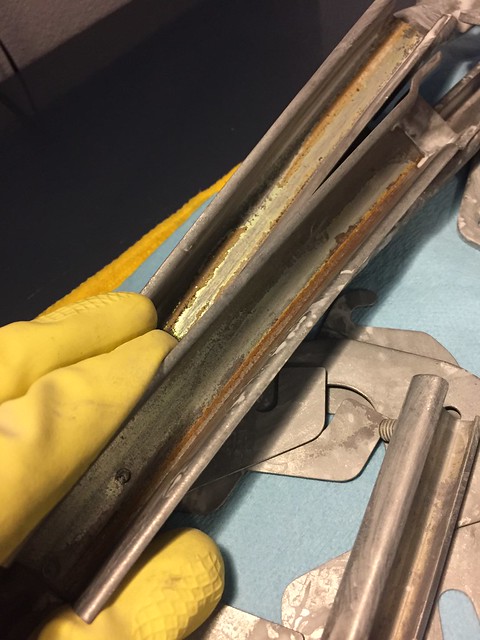
So I did the responsible thing. Got a drill and got angry.
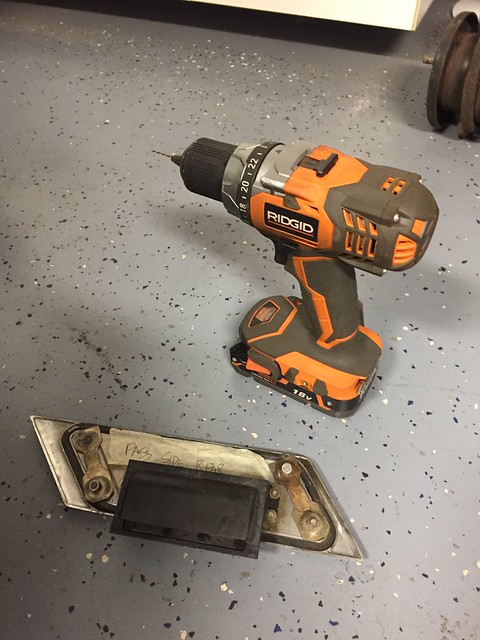
A few precious and cautious moments later, we were all done.
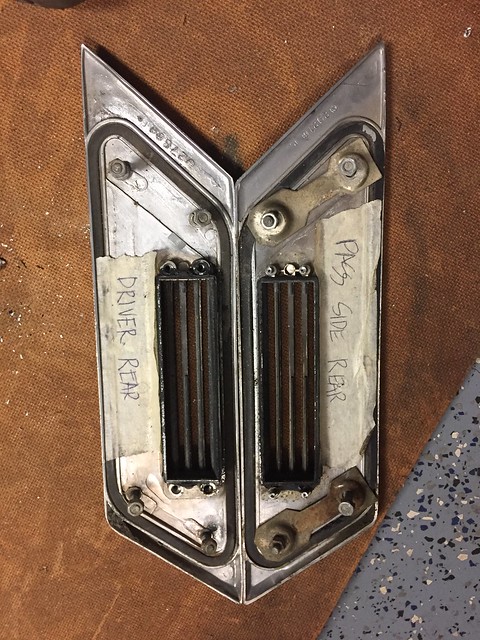
A close up of the trauma.
And now I have to figure out how the hell I am going to reattach the rivet version. I assume the most realistic answer would be to cut off the rivet and super carefully drill and then screw in four screws super carefully. Anyone have any good ideas? This is where I ended for the night out of fear of screwing things up more. Oh, and also, only one of the two vents had rear brackets for installation. WHAT THE SHIT??? I'm going to need to fabricate those bad boys now too. Ugh.
I started by looking at the parts that need to go on before the rear glass. Naturally that means the side vents. I was fortunate enough to have a 1968 with metal vents and a good chrome was in order. Tonight's mission, dismantle.
As soon as I turned them over, I knew there was trouble in paradise. It would take a keen eye to spot the difference.
It turns out that one side was attached to the plastic backing via screws. Easy. The other vent, not so easy. It was held in place with rivets. WHY?!? For the love of all things holy, WHY?!?!
So I did the responsible thing. Got a drill and got angry.
A few precious and cautious moments later, we were all done.
A close up of the trauma.
And now I have to figure out how the hell I am going to reattach the rivet version. I assume the most realistic answer would be to cut off the rivet and super carefully drill and then screw in four screws super carefully. Anyone have any good ideas? This is where I ended for the night out of fear of screwing things up more. Oh, and also, only one of the two vents had rear brackets for installation. WHAT THE SHIT??? I'm going to need to fabricate those bad boys now too. Ugh.
Re: Project Miracle Whip - 1968 510 4door s13 sr20det
And I'm back. I feel like the forums are less active these days. Is it me or is it true? Anyway.. Let's update.....
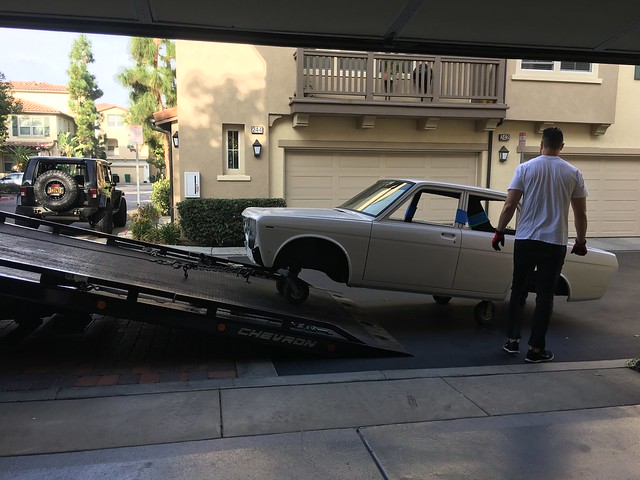
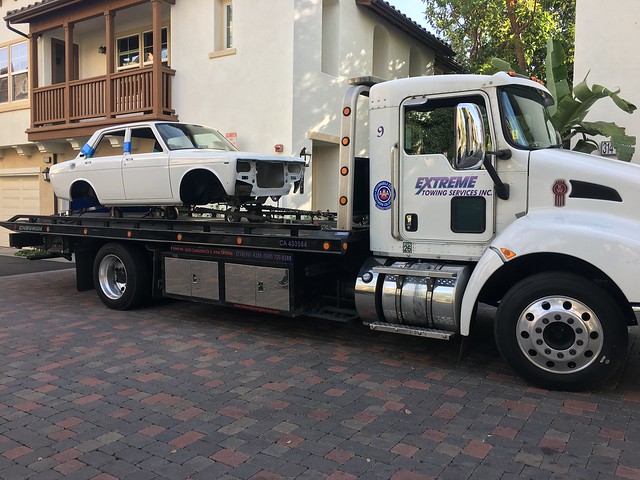
As soon as Project Miracle Whip was home, she left again. Off to get wired, engine and suspension install. The next time she comes home, she will be doing so under her own power.
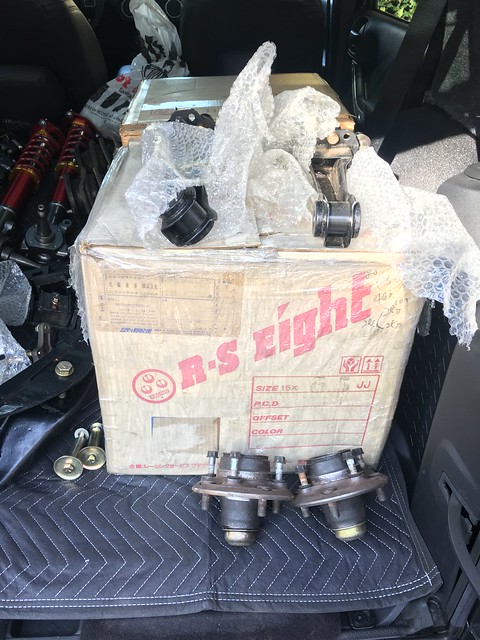
What delivery would be complete without fresh NOS parts?
As soon as Project Miracle Whip was home, she left again. Off to get wired, engine and suspension install. The next time she comes home, she will be doing so under her own power.
What delivery would be complete without fresh NOS parts?
Re: Project Miracle Whip - 1968 510 4door s13 sr20det
Next it was time to get started on some of the details I had not had the chance to pay attention to. This meant time to get dirty again. Fucking rust!
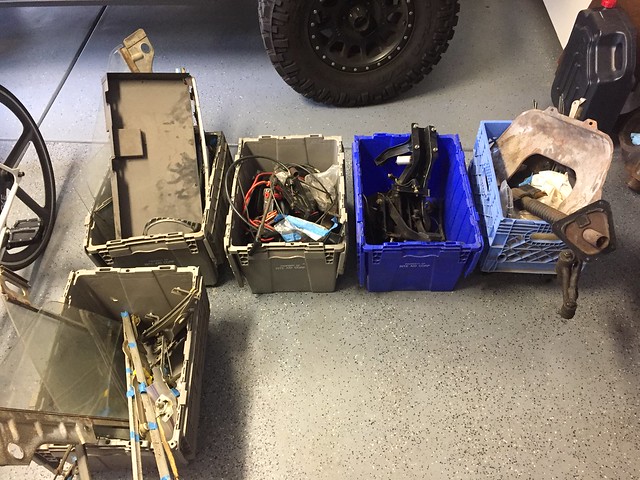
These boxes hold all of the door internals and needed to be sorted through..
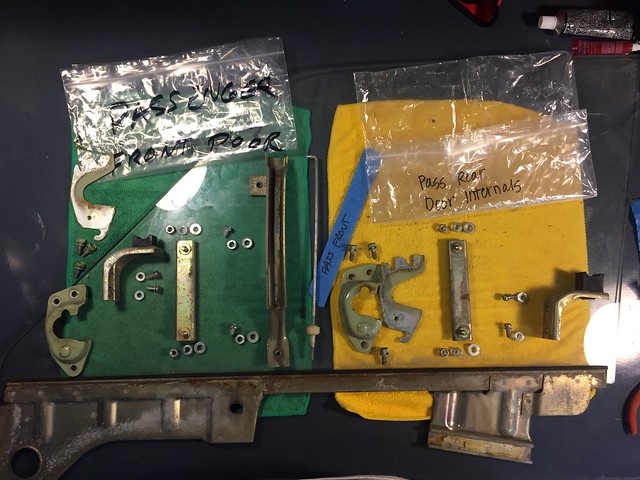
Passenger side doors, minus window and locking mechanism...
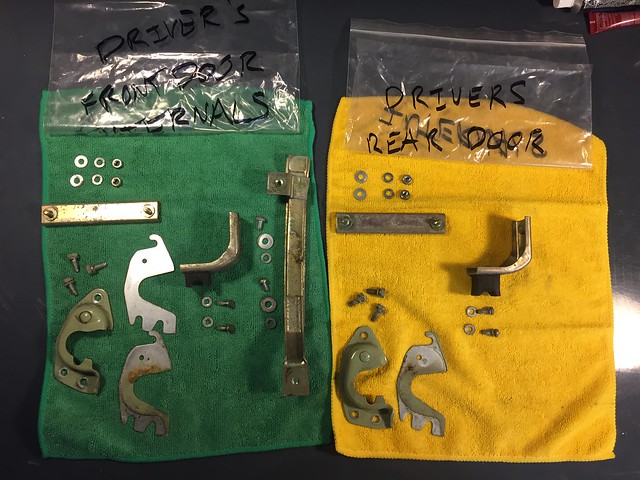
Driver's side, same thing...
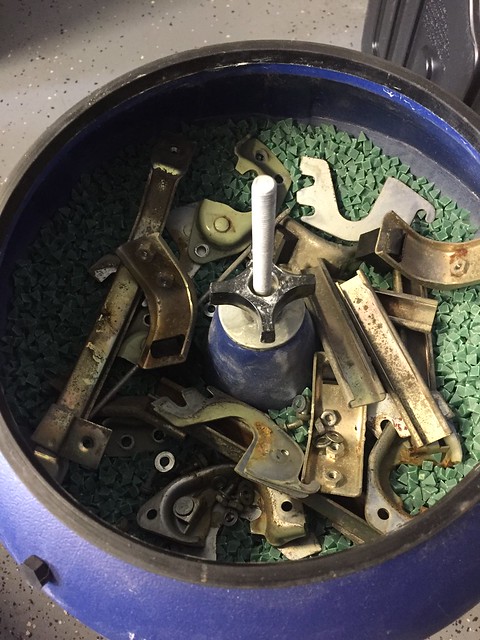
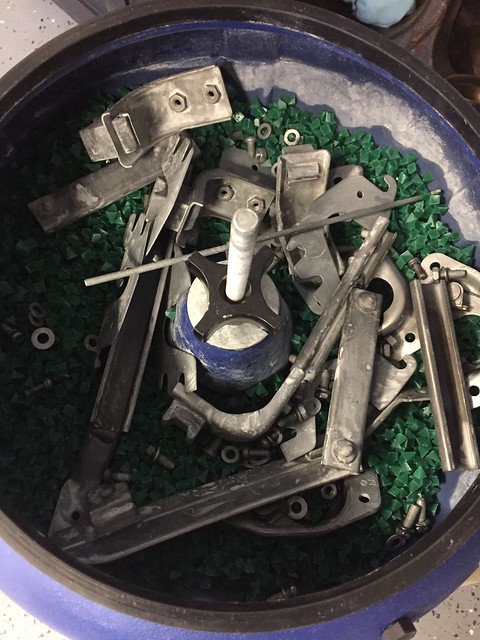
Then it was off to the vibratory tumbler for the smaller parts...
Does anyone know how to separate the windows from the tracks? I don't want to damage anything and I badly need to replace them and replace the rubber.
These boxes hold all of the door internals and needed to be sorted through..
Passenger side doors, minus window and locking mechanism...
Driver's side, same thing...
Then it was off to the vibratory tumbler for the smaller parts...
Does anyone know how to separate the windows from the tracks? I don't want to damage anything and I badly need to replace them and replace the rubber.
Re: Project Miracle Whip - 1968 510 4door s13 sr20det
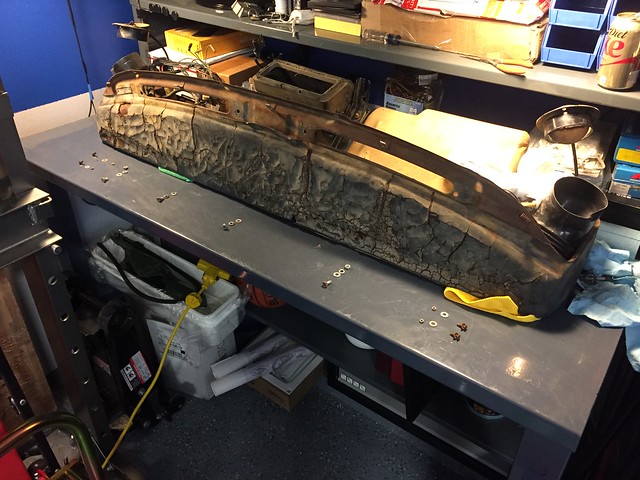
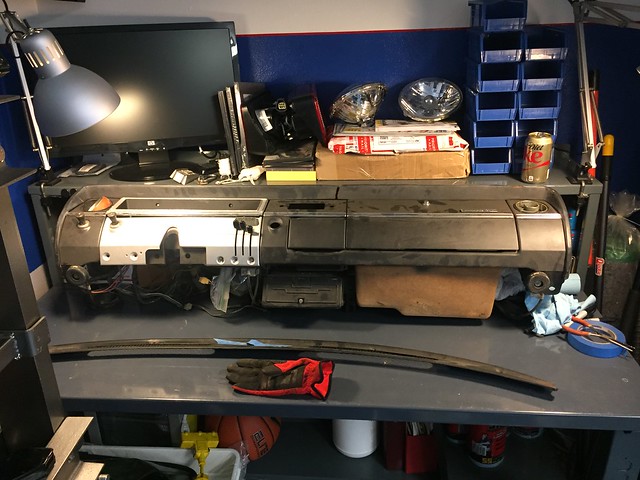
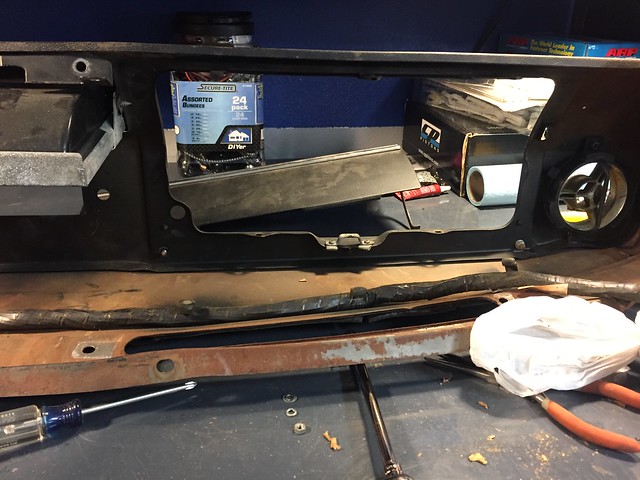
While the tumbler was doing its job, I moved on to the 1969 Canadian dash. The dash pad is toast, but the frame itself is in tact and the front looks really good.
Then a few bolts on the side needed to go before I tackled the internals..
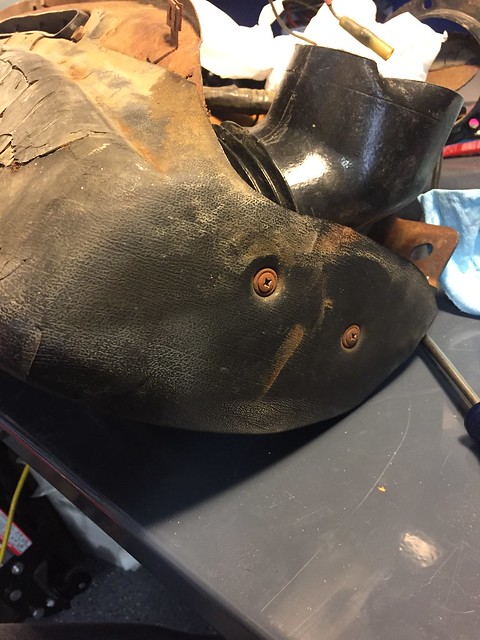
First to go were the vents...

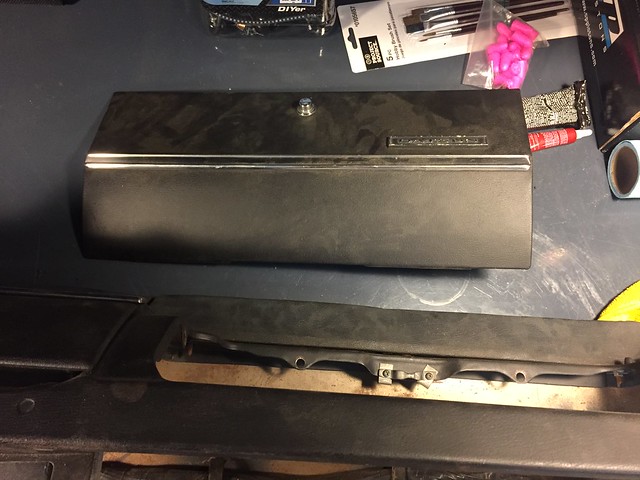
Then the glove box was a distant memory..
Then bye bye heater core...
Then bye bye ash tray..
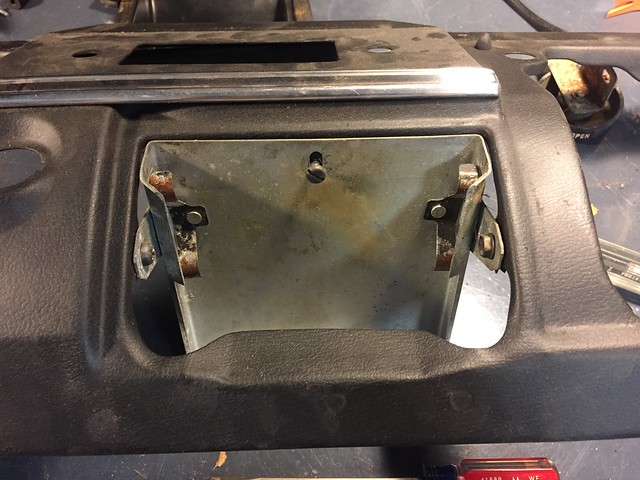
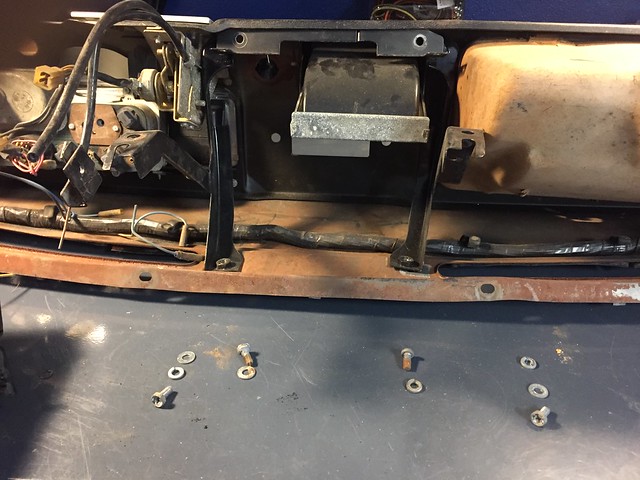
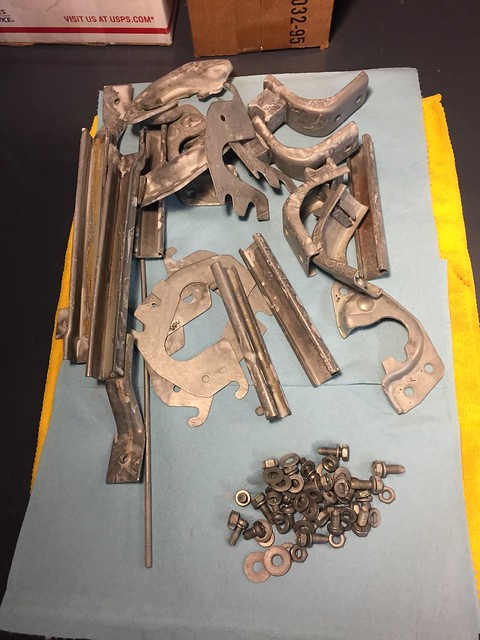
Boom! Dash skeleton. Now it is time to clean the F out of this thing. Plated nuts, clean rust, repaint, reassemble and have a few beers.
Going with a digital data logger dash, so 90% of the electronics and wiring are gone. Going to keep the ignition, lights, turn signals and thats about it.
Then a few bolts on the side needed to go before I tackled the internals..
First to go were the vents...
Then the glove box was a distant memory..
Then bye bye heater core...
Then bye bye ash tray..
Boom! Dash skeleton. Now it is time to clean the F out of this thing. Plated nuts, clean rust, repaint, reassemble and have a few beers.
Going with a digital data logger dash, so 90% of the electronics and wiring are gone. Going to keep the ignition, lights, turn signals and thats about it.
Re: Project Miracle Whip - 1968 510 4door s13 sr20det
Popped open the tumbler to see my almost new looking door internals looking back at me. Ahhh, the amount of sexy in this picture was captivating...
Not all of the paint came off and I was F-ing tired of waiting for the damn tumbler to rattle it all off.... argh.. the plater will take care of it anyway right??
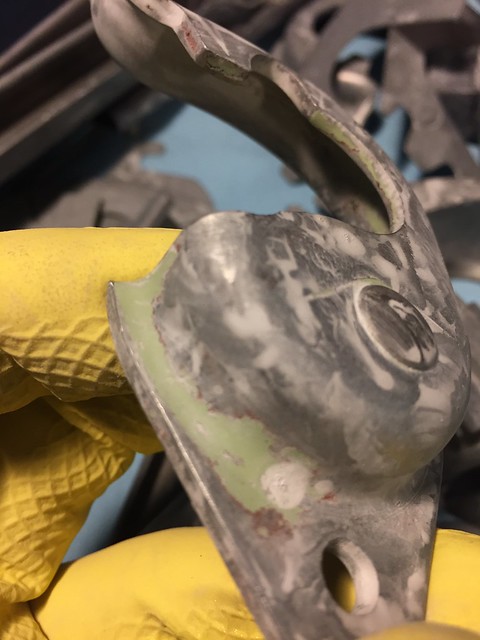
And, FML, not all of the rust came off either. I had to do something!
So pulled it all out and busted out the good old handy dandy dremel with a wire wheel attachment....

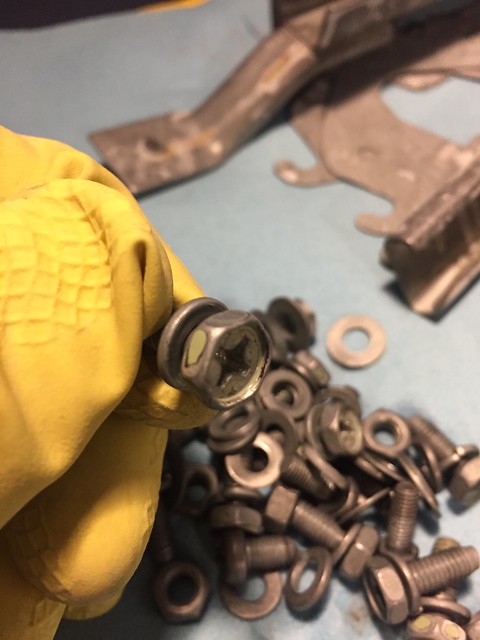
Left off with it all in the polishing medium overnight for the bling bling effect.

Not all of the paint came off and I was F-ing tired of waiting for the damn tumbler to rattle it all off.... argh.. the plater will take care of it anyway right??
And, FML, not all of the rust came off either. I had to do something!
So pulled it all out and busted out the good old handy dandy dremel with a wire wheel attachment....
Left off with it all in the polishing medium overnight for the bling bling effect.