Page 7 of 10

Re: Project Miracle Whip - 1968 510 4door s13 sr20det

Posted: 07 Dec 2016 21:26
by sssexxx
More deliveries today...

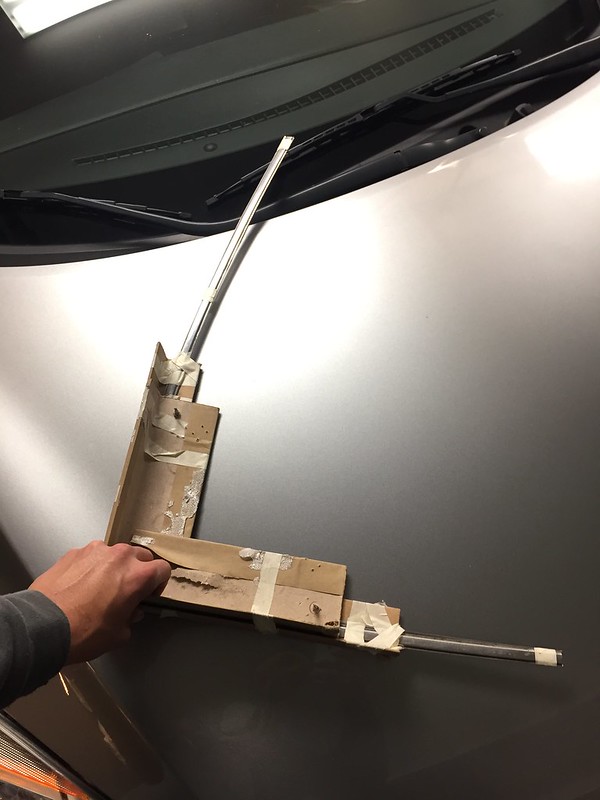
Got some pieces of the much needed window trim to go in my NOS rubber:

Image

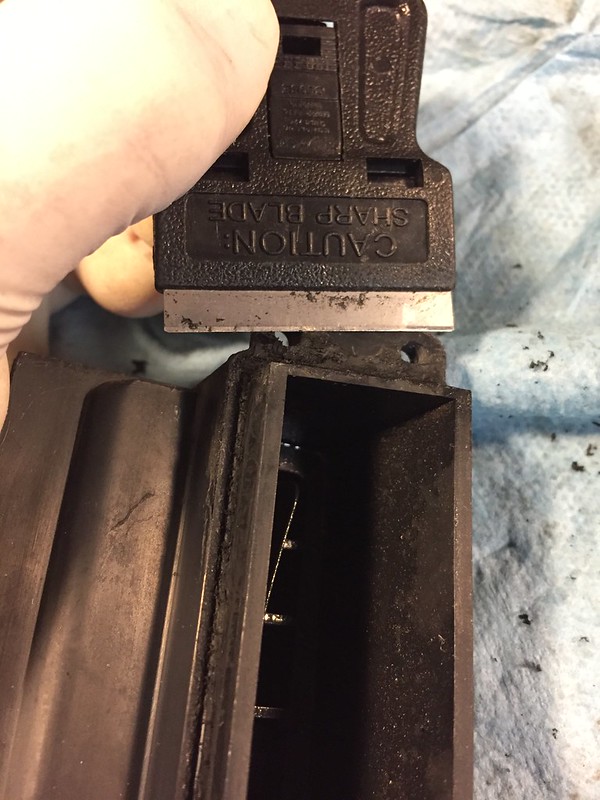
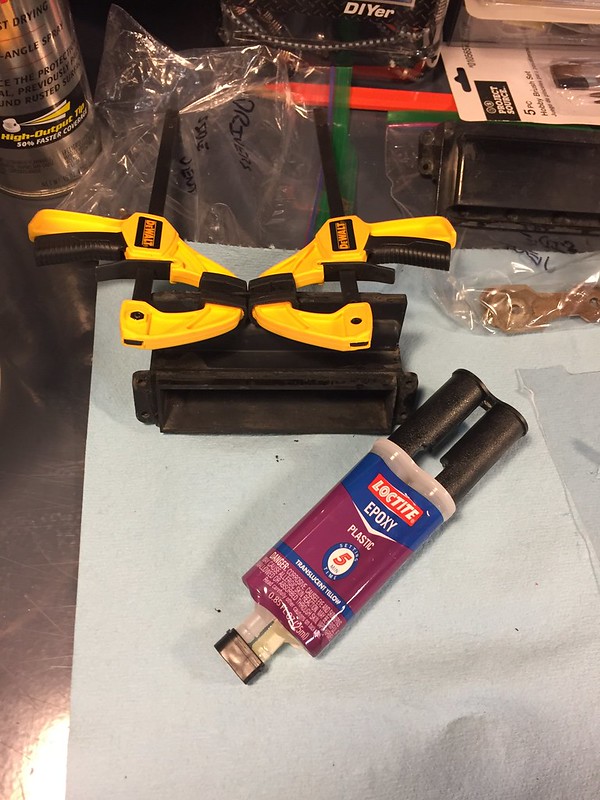
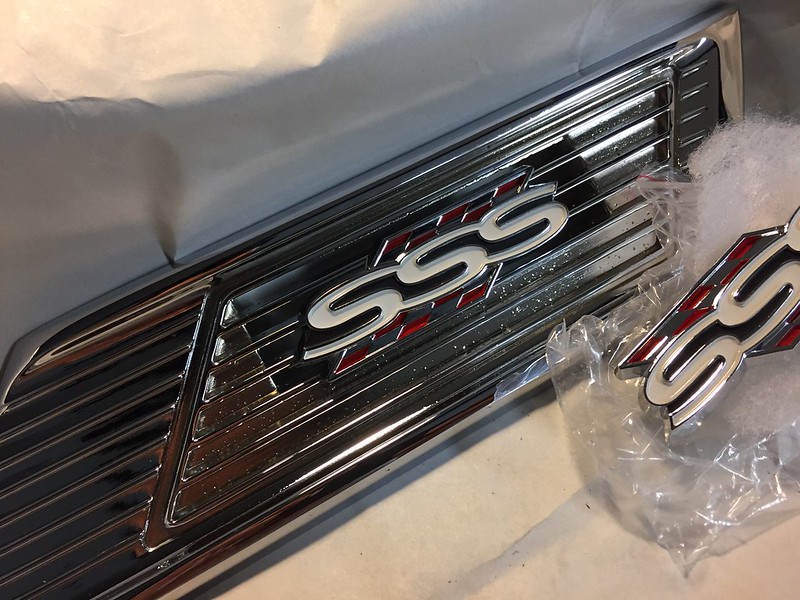
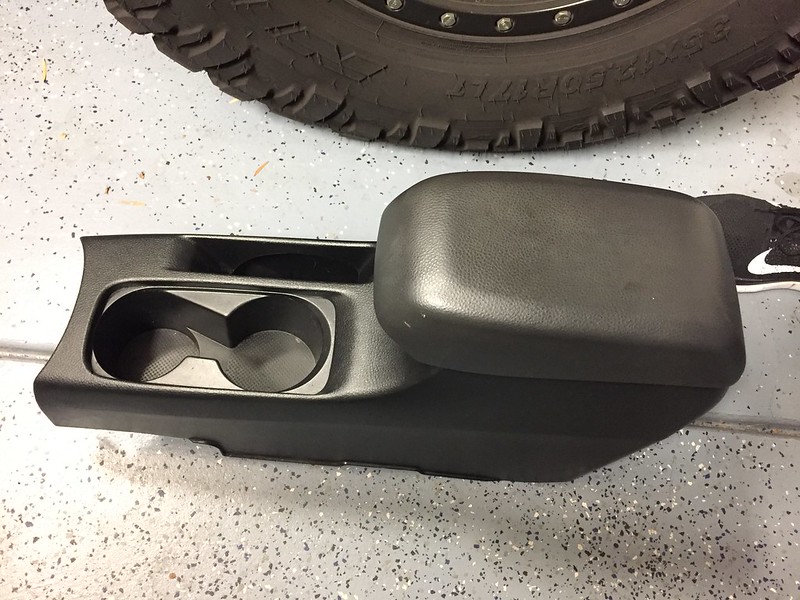
The other part of my soon to be center console. I found out the hard way that some models have unneeded buttons on them. I am trying to be as minimal as possible with buttons, gauges and unnecessary distractions.

Image

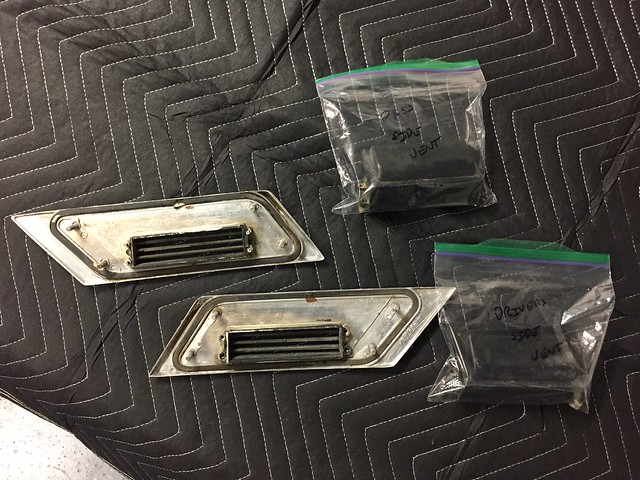
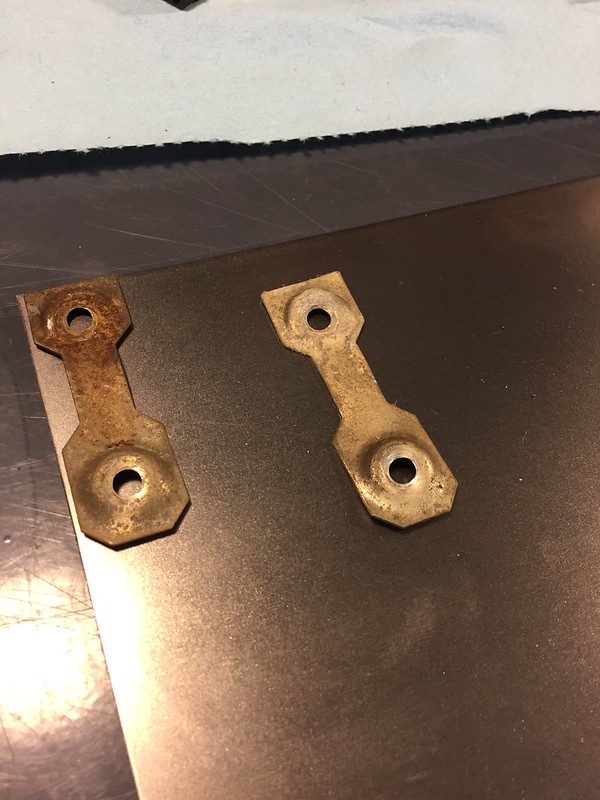
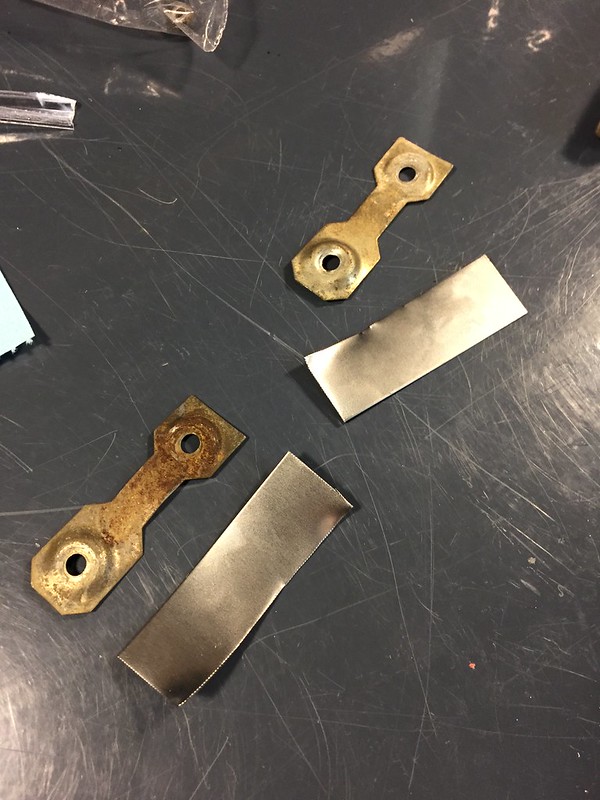
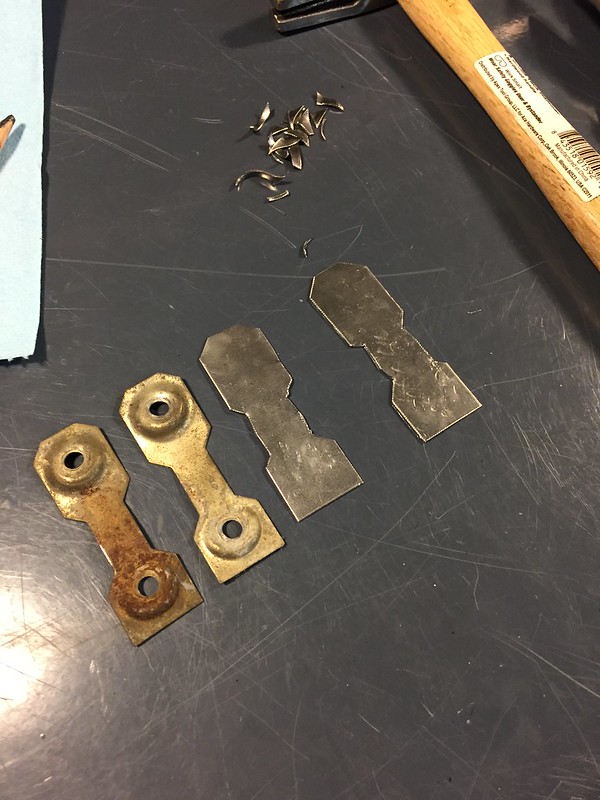
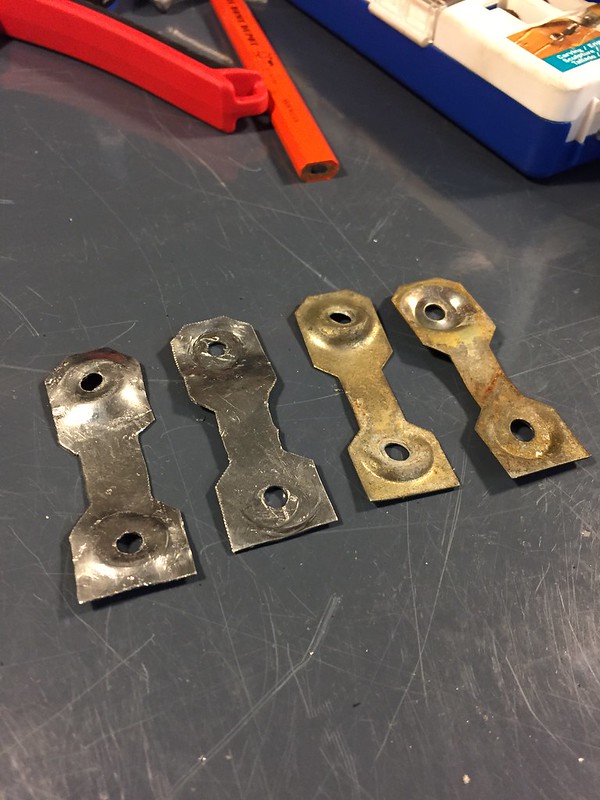
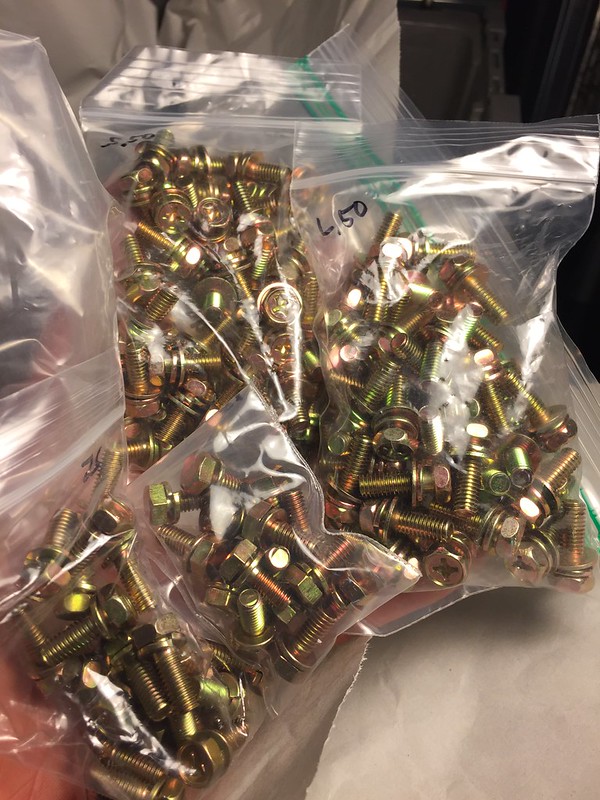
Last, but not least an early Christmas miracle. Original hardware, yellow zinc plated, from the original manufacturer to Nissan during the 1960s through the 1980s. Period correct and already plated. These bad boys should save my rear end a thousand times over. They also perfectly match the new plating picked up yesterday.

Image

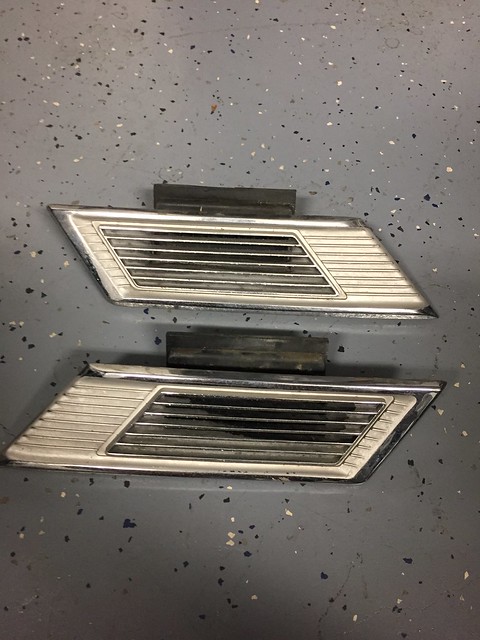
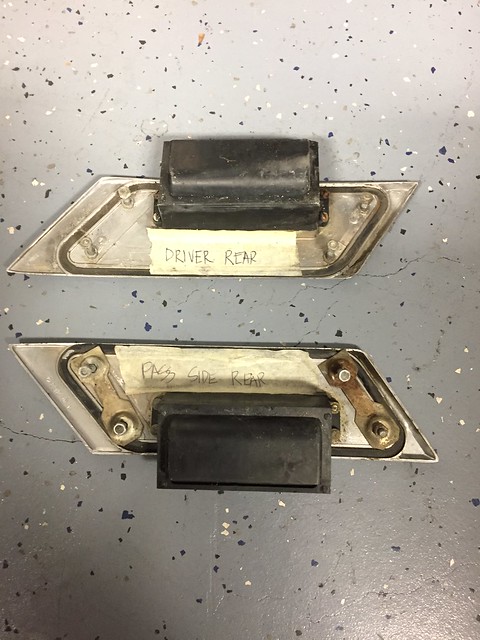
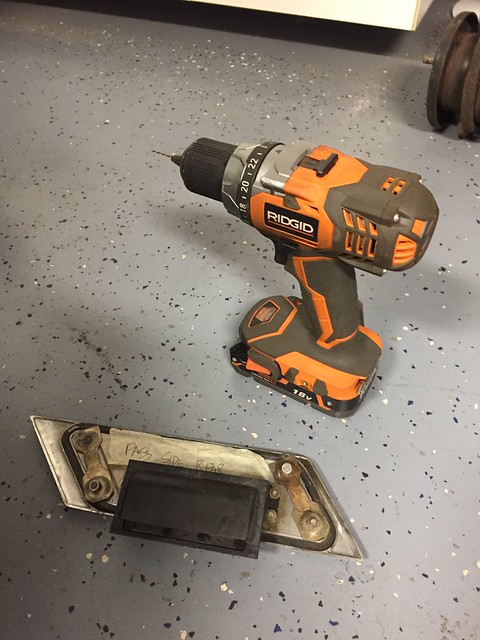
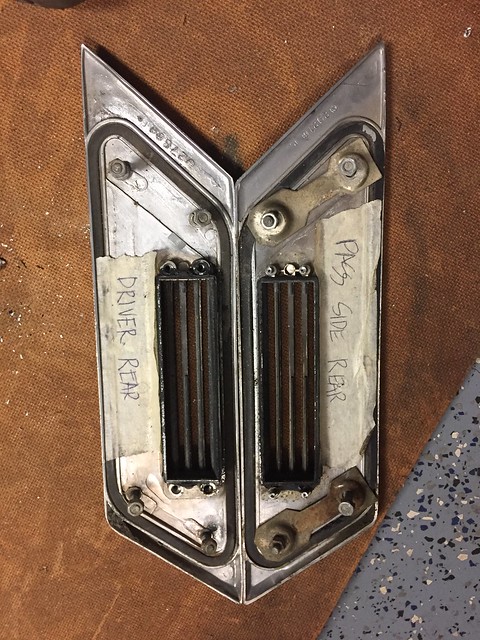
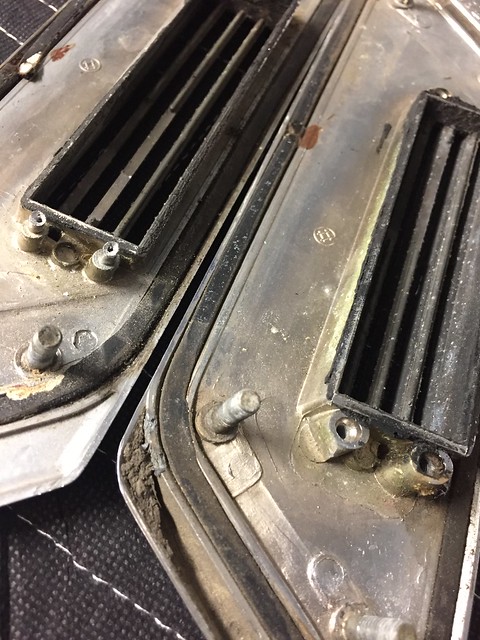
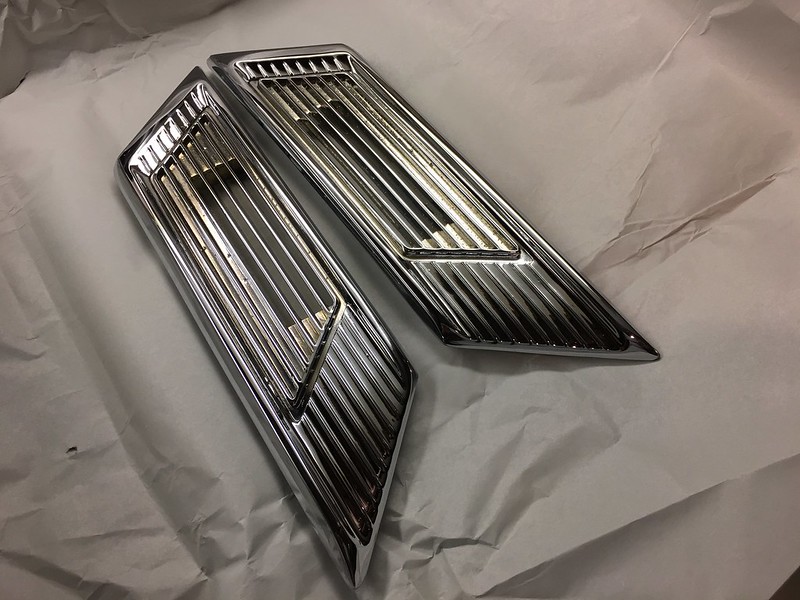
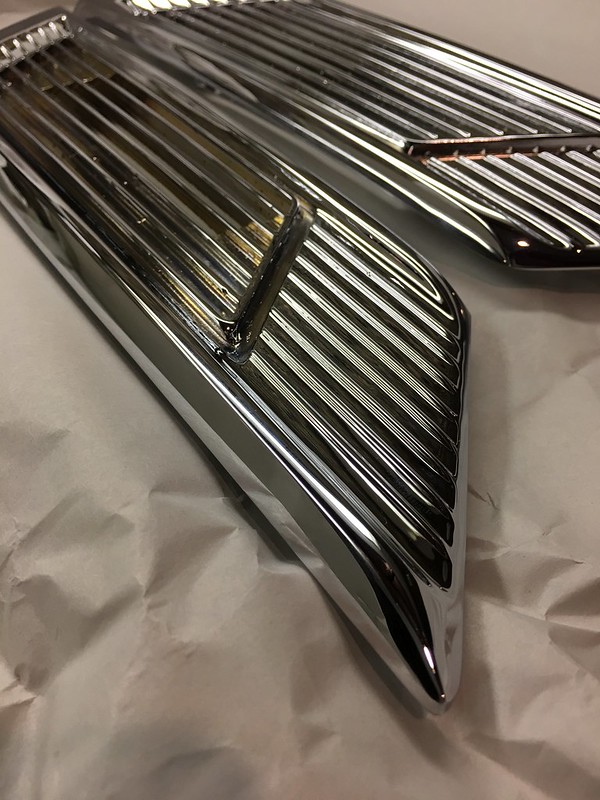
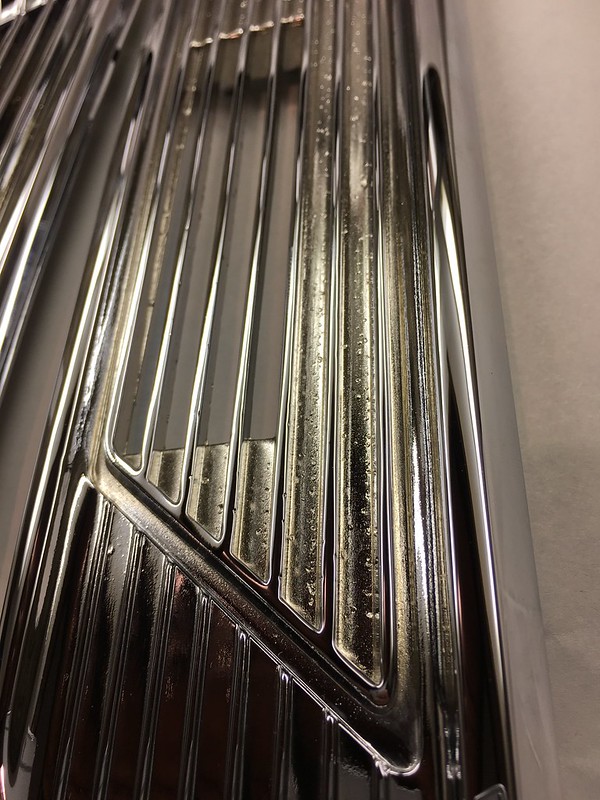
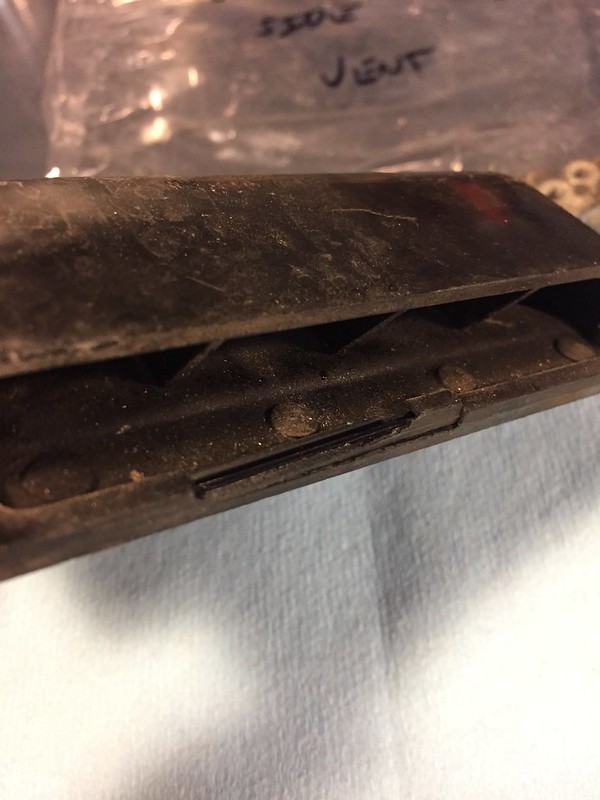
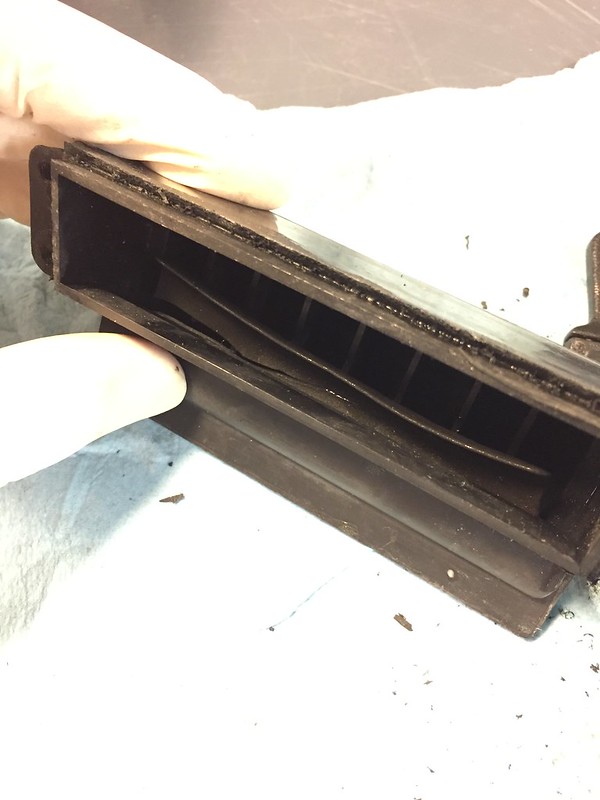
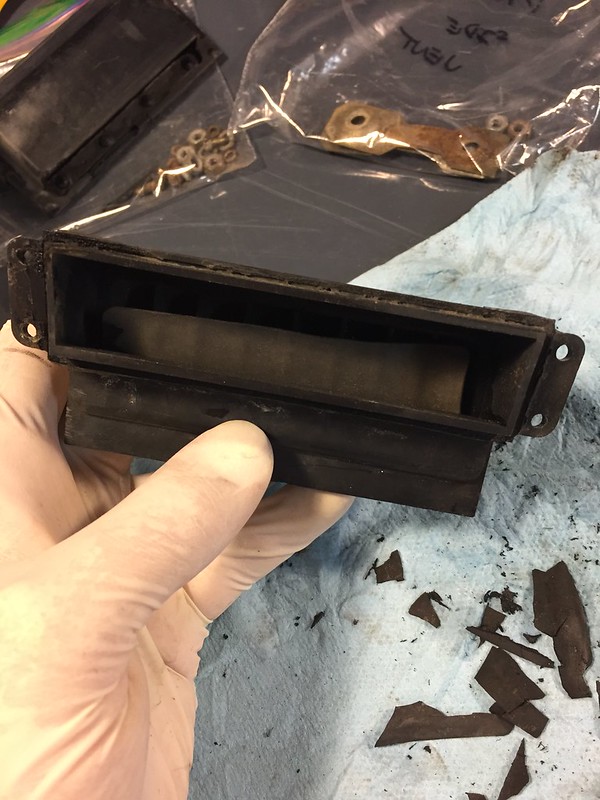
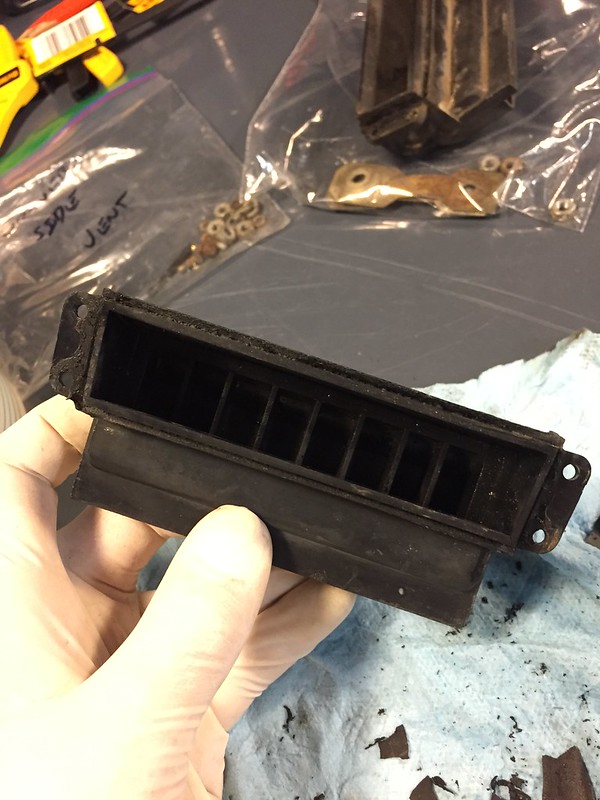
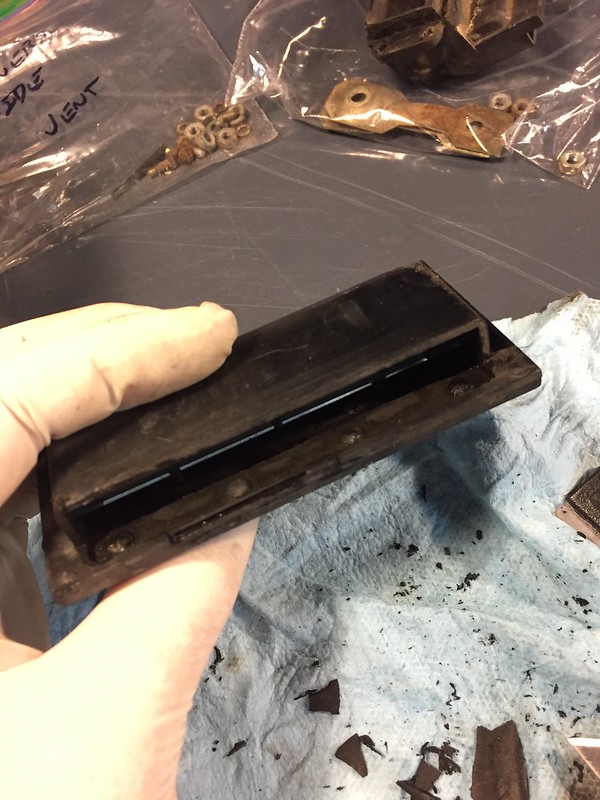
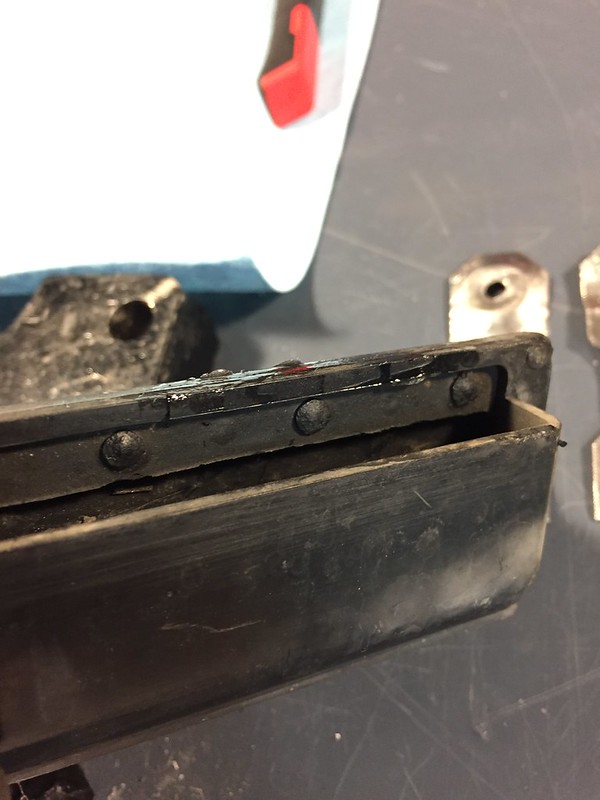
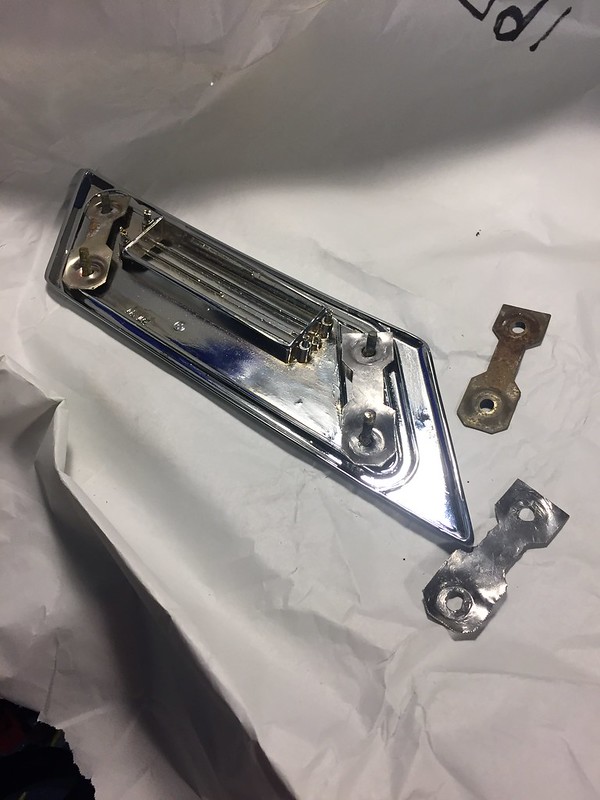
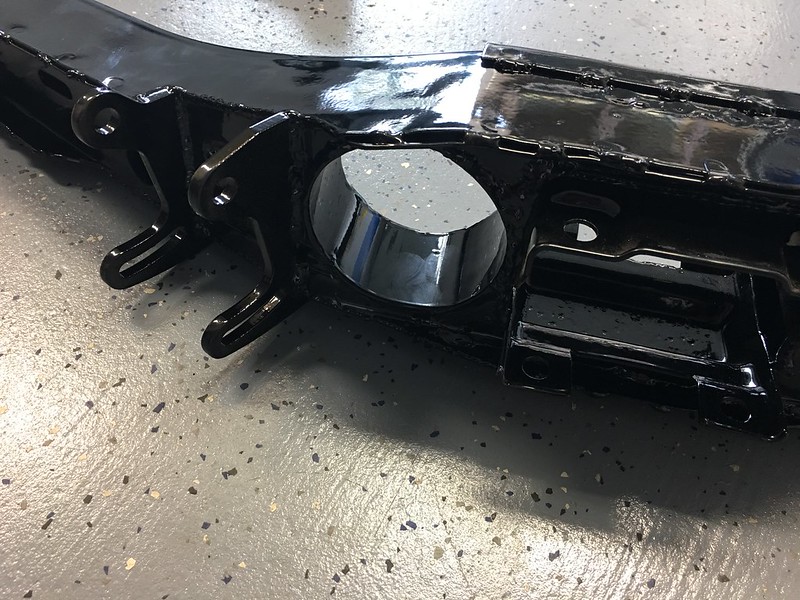
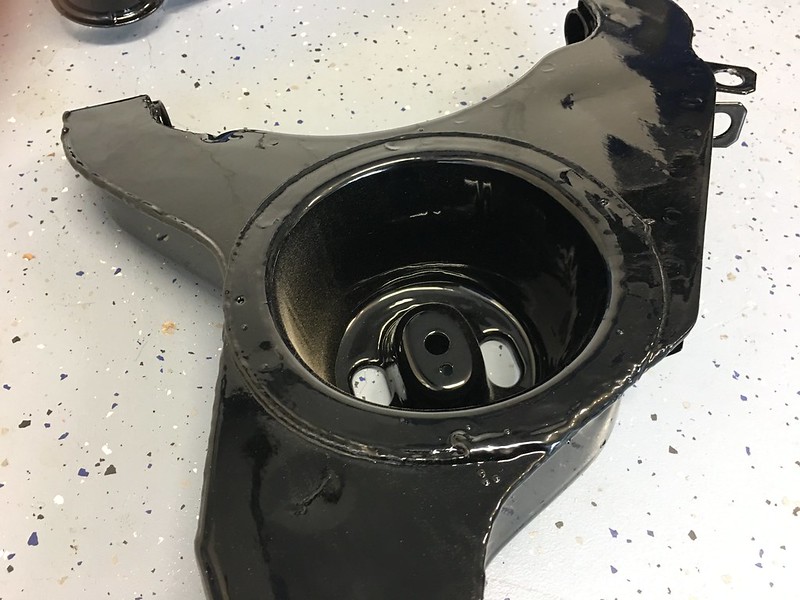
I got a call from the chrome shop. My 1968 size vent are done and read for me to pick them up. I will need to paint them in the concave portion in a matte black. Then I will need to drill and thread was use to be a rivet on one of them. Still surprising and weird.

I am contemplating chroming the trim for the rubber windshield as well as the exterior accent door pieces. Anyone have any thoughts on chrome versus polished?

Re: Project Miracle Whip - 1968 510 4door s13 sr20det

Posted: 07 Dec 2016 22:42
by two_68_510s
OKAY, where did you source the great hardware, I need a pile like that!

A rivet on your side vent? Photos please...

Re: Project Miracle Whip - 1968 510 4door s13 sr20det

Posted: 08 Dec 2016 06:19
by okayfine
sssexxx wrote:I am contemplating chroming the trim for the rubber windshield as well as the exterior accent door pieces. Anyone have any thoughts on chrome versus polished?
The stainless will polish up, just a fair bit of effort involved. IMO if it will polish up, why chrome it? Pot metal (like the c-pillar vents) got chrome because, well, pot metal. Same with the '69 Coupe headlight bezels I needed to repair.
IMG_0843.jpg
IMG_0843.jpg (235.8 KiB) Viewed 4859 times

Re: Project Miracle Whip - 1968 510 4door s13 sr20det

Posted: 08 Dec 2016 08:48
by sssexxx
two_68_510s wrote:OKAY, where did you source the great hardware, I need a pile like that!

A rivet on your side vent? Photos please...
PM sent on the bolts.

Rivets.... See below
sssexxx wrote:As would be par of the course, today's work would also be all sorts of messed up.

I started by looking at the parts that need to go on before the rear glass. Naturally that means the side vents. I was fortunate enough to have a 1968 with metal vents and a good chrome was in order. Tonight's mission, dismantle.

Image

As soon as I turned them over, I knew there was trouble in paradise. It would take a keen eye to spot the difference.

Image

It turns out that one side was attached to the plastic backing via screws. Easy. The other vent, not so easy. It was held in place with rivets. WHY?!? For the love of all things holy, WHY?!?!

So I did the responsible thing. Got a drill and got angry.

Image

A few precious and cautious moments later, we were all done.

Image

A close up of the trauma.

Image

And now I have to figure out how the hell I am going to reattach the rivet version. I assume the most realistic answer would be to cut off the rivet and super carefully drill and then screw in four screws super carefully. Anyone have any good ideas? This is where I ended for the night out of fear of screwing things up more. Oh, and also, only one of the two vents had rear brackets for installation. WHAT THE SHIT??? I'm going to need to fabricate those bad boys now too. Ugh.

Image

Re: Project Miracle Whip - 1968 510 4door s13 sr20det

Posted: 08 Dec 2016 08:53
by sssexxx
okayfine wrote:
The stainless will polish up, just a fair bit of effort involved. IMO if it will polish up, why chrome it? Pot metal (like the c-pillar vents) got chrome because, well, pot metal. Same with the '69 Coupe headlight bezels I needed to repair.
I guess I had never thought about it. I just figured since I was dropping off chrome anyway, that I would drop off the trim too if the cost was nominal. But I suppose a good polishing session is in order anyway for other pieces of trim and now is as good a time as any to learn.

PS - I am not sure I've ever seen those headlight bezels before. They look great!

Re: Project Miracle Whip - 1968 510 4door s13 sr20det

Posted: 08 Dec 2016 13:54
by two_68_510s
Hi I am still a little confused about why you were taking your side vents apart. Was some of the plastic part broken?.

Re: Project Miracle Whip - 1968 510 4door s13 sr20det

Posted: 08 Dec 2016 14:02
by sssexxx
Oh. I needed to re-chrome them anyway. The piece with the rivets had cracks around the plastic and was brittle. It probably would not have survived chrome in tact. So needed to fix that. The other was just screwed on and an easy fix. I was considering painting the inside black, but they came out great. Will post pics tonight. Does that make sense?

Re: Project Miracle Whip - 1968 510 4door s13 sr20det

Posted: 11 Dec 2016 09:32
by sssexxx
Got the 1968 side vents back from the chrome shop and as soon as I saw them I changed my mind on what I was going to do. The chrome came out clean. I was going to paint the entire recess with the edges left chrome. Now, I think I will only chrome the deep recess around the center vent and inside of it.

Take a look. Also thinking of adding SSS badges to help cover up some of the bumps in that space after they are blacked out.

Image

Image

Here you can see the recesses that I want to paint that are pitted. Damn pot metal!

Image

Re: Project Miracle Whip - 1968 510 4door s13 sr20det

Posted: 11 Dec 2016 17:02
by BrandonS
Well that's a let down. I always thought they filled in pits and such when they chromed things. But I've not ever had anything chromed.

I wonder if you could get some filler in there and smooth it out before spraying matte black in. Noone would be the wiser looking at them.

Overall they do look very nice.

Re: Project Miracle Whip - 1968 510 4door s13 sr20det

Posted: 12 Dec 2016 21:11
by sssexxx
BrandonS wrote:Well that's a let down. I always thought they filled in pits and such when they chromed things. But I've not ever had anything chromed.

I wonder if you could get some filler in there and smooth it out before spraying matte black in. Noone would be the wiser looking at them.

Overall they do look very nice.
Thank you. There will be a way to make them look good. Just need to science the sh!t out of it.

Done at a classic car chrome shop in Santa Ana, CA. PM me if you want more information. It was not cheap, but they know what they are doing.

It was time to get back to work on my 1968 side vents. First was the basics, clean the nasty off.

The old adhesive had to go for the new adhesive to work right?

Image

Then there was the matter of the cracking plastic. Nothing some locktite plastic glue can't fix right?

Image

Awwwww, my baby clamps are sooooooo cute???? Real men use small clamps....

Image

While one was drying, I was cutting out this flap inside both pieces. I know it had something to do with airflow, but you can see in the picture, the piece had seen much better days. So, I took the liberty of cutting the bad boy out. Now, who wants to be the first to tell me that my car will now explode or sound like its in a hurricane....

Image

Before:

Image

After:

Image

You can see how I cut the flap from the back here:

Image

And by now, the glue was dry. It looks rough, but that is just the shine from the locktite. Otherwise it is good as new.

Image

Next up, what to do about the one vent with two washer brackets and another with none. You know my OCD just could not handle knowing the imbalance was there. I could have just bought four big washers. But, I'm too crazy for that.

Here was the start of a very bad idea. 22 gauge steel and two old brackets:

Image

Image

Then, progress...

Image

A little snipping and more progress..

Image

Clearly I am not a fabricator, but do they work?

Image

Yes they do!!!!

Image

Now, all thats left is to figure out if I am going to paint the recess matte black, make new seals, attach some SSS logos, restore and paint my fancy brackets, reassemble and install on car. Why does that sound like a lot?? This car will be the death of me... damn OCD!!

Re: Project Miracle Whip - 1968 510 4door s13 sr20det

Posted: 13 Dec 2016 06:31
by okayfine
Nicely done!

Re: Project Miracle Whip - 1968 510 4door s13 sr20det

Posted: 13 Dec 2016 18:46
by sssexxx
When you are building a car, some days are better than others. Today was one of the days where I feel like I might actually be making some progress.

Rear subframe with adjustable brackets came back from powder coating looking glossy and fresh.

Behold the sexiness....

Image

Image

Image

Image

Re: Project Miracle Whip - 1968 510 4door s13 sr20det

Posted: 13 Dec 2016 23:39
by sssexxx
The side vents are almost ready to go back together. More presents from the delivery gods. Still need to figure out the paint scheme, but these bad boys should cover up some of the pot metal deformities...

Image

Re: Project Miracle Whip - 1968 510 4door s13 sr20det

Posted: 14 Dec 2016 04:58
by two_68_510s
Looks great! You are very dedicated, fun to watch! I have some factory NOS SSS 68 side vents, I will post pics for reference when I dig them out.
.

Re: Project Miracle Whip - 1968 510 4door s13 sr20det

Posted: 14 Dec 2016 07:32
by Byron510
sssexxx wrote:
Image
Nice Brackets! :-)

Installation looks good. I did the same with the large tube for the exhaust on the Bronze build many years ago.

How much extra space did you use to get enough clearance for the power coating when you welded the brackets on?

Byron