Page 4 of 11
Re: Noob build
Posted: 13 Mar 2017 15:19
by Tank510
Who did the second diagram that's wrong? I've never seen that before.[/quote]
Page 17 of your how-to thread. I missed it when I initially compared the two.
http://community.ratsun.net/topic/537-h ... ng/page-17
Re: Noob build
Posted: 13 Mar 2017 15:23
by Tank510
icehouse wrote:Tank510 wrote:So after a week of painful head scratching it FINALLY RUNS! Only for five seconds, then it dies, but that'll be dealt with later. A couple of problems I had:
1. Engine came without Ignition module - didn't realize it and when I sourced one I had spark.
2. Wiring diagram I used had the ECU BUP and ECU LSS ports backwards.
3. Forgot to terminate the starter wire to the ECU
Everything else went well. I bought a fuel pressure gauge to put in permanently and depending on what is causing it to die after 5 seconds I'll just get to spend more money. I'm thinking bad idle air control or fuel pressure.
https://www.youtube.com/watch?v=f2Ldtkr ... e=youtu.be
Below are the two reference diagrams for the KA24 CanAm Box, you can see the mixup.
Correct:
CANAM box wiring diagram.jpg
Incorrect (ECU BUP and ECU LSS are switched):
KA simplified.jpg
Next up is to fix the idle, then do an exhaust which will be a huge job, finish the last brake line, bolt up drive and half shafts until I can finally get onto permanent wiring and interior work

Who did the second diagram that's wrong? I've never seen that before.
See above
Re: Noob build
Posted: 04 Apr 2017 15:14
by Tank510
As luck would have it the new ECU didn't show up till the day I left on vacation. It was probably better that way since the engine still only runs for 5 sec unless the MAF is disconnected or I rev the piss out of it. Made the decision to keep going, just rewire the mess at the front of the motor and then see if it does it once I've done that.
Also, was doing some research on the headers. It's clear that the 4-2-1 is much better for midrange so I'll bite the bullet and spend some time cutting it again and tucking it closer to the body.
On the bright side I found an alternative to replacing the stock heater valve. Not only was my valve push rod broken but the chord was also done. So, the best alternative was to find a 5/8" electric solenoid valve and put it in its place. I'll mount a switch behind the heater controls such that when Heat is selected the switch is pushed in. Similar to a door switch. Cost of the solenoid was $12. Cost of a 620 Valve was $120, new chord unavailable. All it took was two small welds to make it mount in the correct spot, one has to be careful not to make it too hot or the plastic on the solenoid starts to melt.

- 77.JPG (115.21 KiB) Viewed 5363 times

- 78.JPG (112.65 KiB) Viewed 5363 times
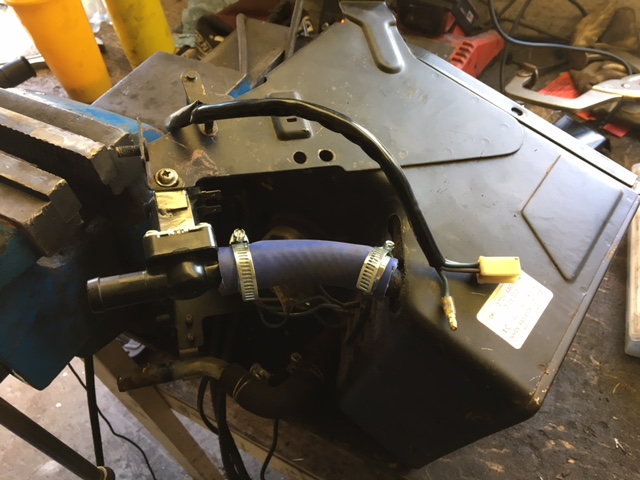
- 79.JPG (110.04 KiB) Viewed 5363 times
Next up was the battery mount. This will go in the trunk next to the sub box. I didn't want to spend the $300 on an optima battery plus the mount, so I bought this one instead for $190 and a $50 uncoated mount. The top was just too tight and didn't have the right step, a bit of work and now it's good. Will powder coat it eventually. To put it in the trunk I'm going to get some square tube, weld square washers to it and weld the tube to the trunk floor in order to elevate the tray. Otherwise it would sit all cockeyed in the back...
Unfortunately I am gone from the shop for two weeks so that'll be it for now.

- 80.JPG (124.53 KiB) Viewed 5363 times

- 81.JPG (121.25 KiB) Viewed 5363 times
Re: Noob build
Posted: 24 Apr 2017 13:16
by Tank510
Well this weekend was good, the car now runs for more than 5 seconds after I got a different MAF. I used the MAF out of my neighbors old Auto 240SX, car runs and doesn't bog out after 5 sec. I plug my old MAF into his car, it runs fine. Now mine won't idle properly so it appears I might have a vacuum leak somewhere or something else is wrong.
Also, I got a nice oil leak at the crank seal that comes on only when the motor is warm. That will be a fun one to address.
Otherwise it was counterproductive, my friends bachelor party cut out most of the weekend. I did finish up the actuator for the heater valve solenoid, now I just need to run power to the switch and the solenoid will open when I push the lever to the far right. It's not as good as the stock valve since there is no incremental increase in flow, it's either on or off, but with parts being unavailable it's the best I could muster.
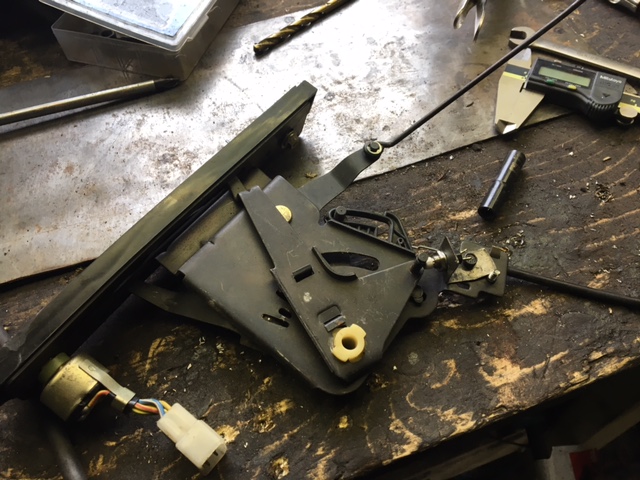
- 82.JPG (142.42 KiB) Viewed 5318 times

- 83.JPG (98.57 KiB) Viewed 5318 times
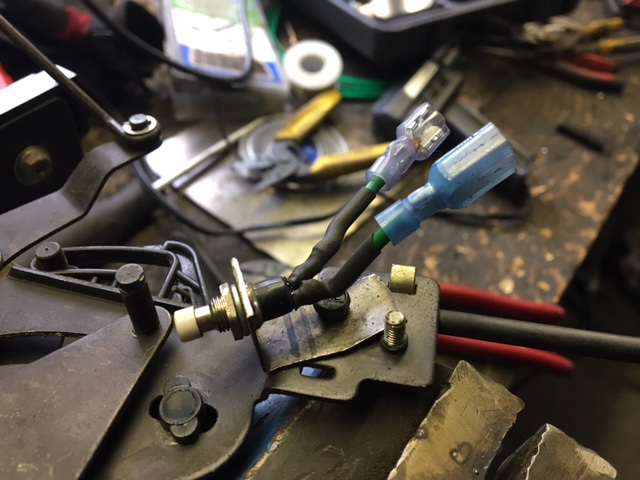
- 84.JPG (108.66 KiB) Viewed 5318 times
Re: Noob build
Posted: 01 May 2017 11:28
by Tank510
Re: Noob build
Posted: 16 Jul 2017 12:47
by Tank510
Re: Noob build
Posted: 16 Jul 2017 16:26
by two_68_510s
Must be cool to even drive it up and down the ally, good going.
Re: Noob build
Posted: 08 Nov 2017 21:32
by Tank510
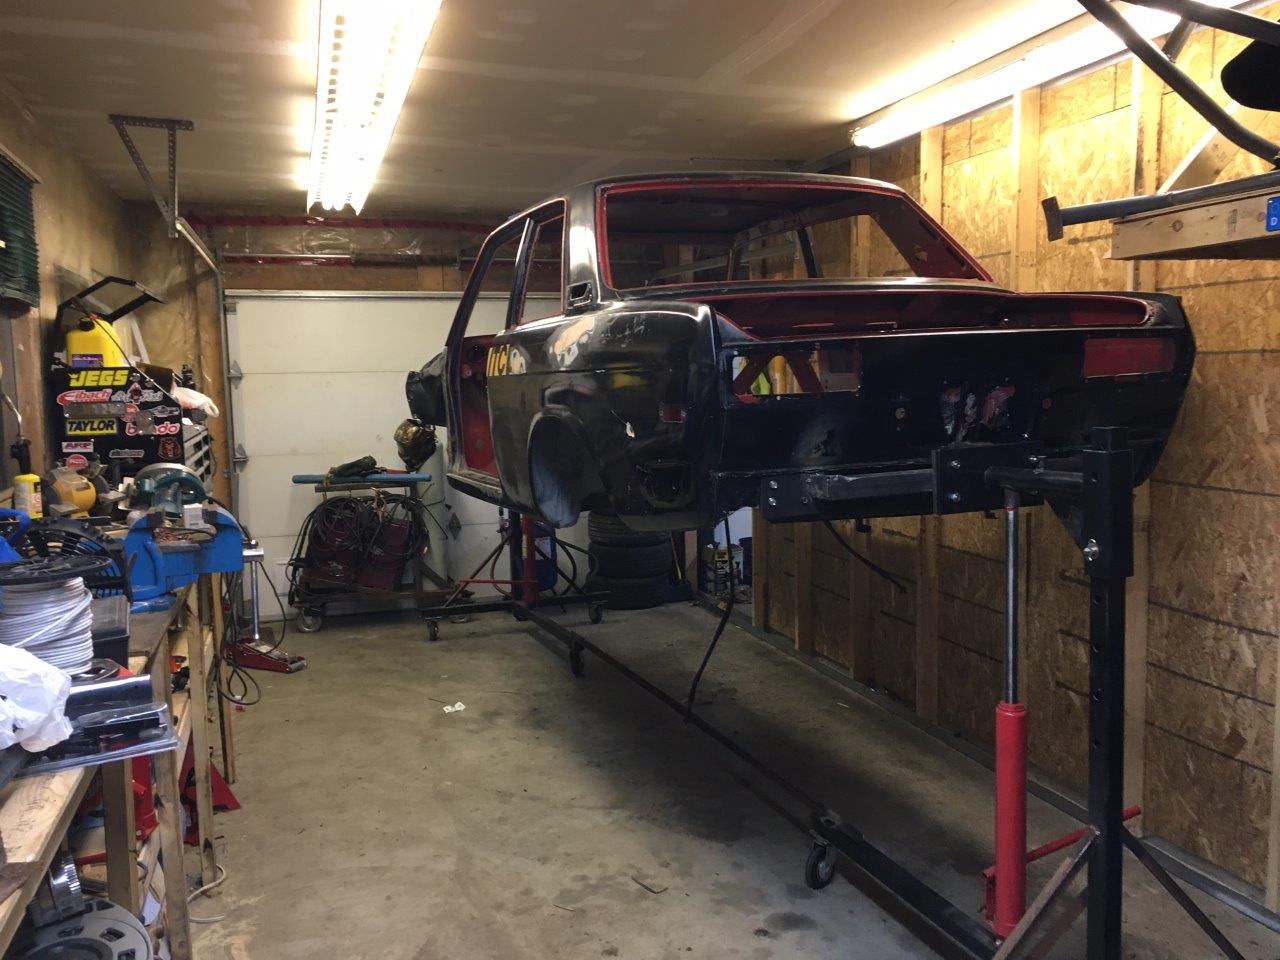
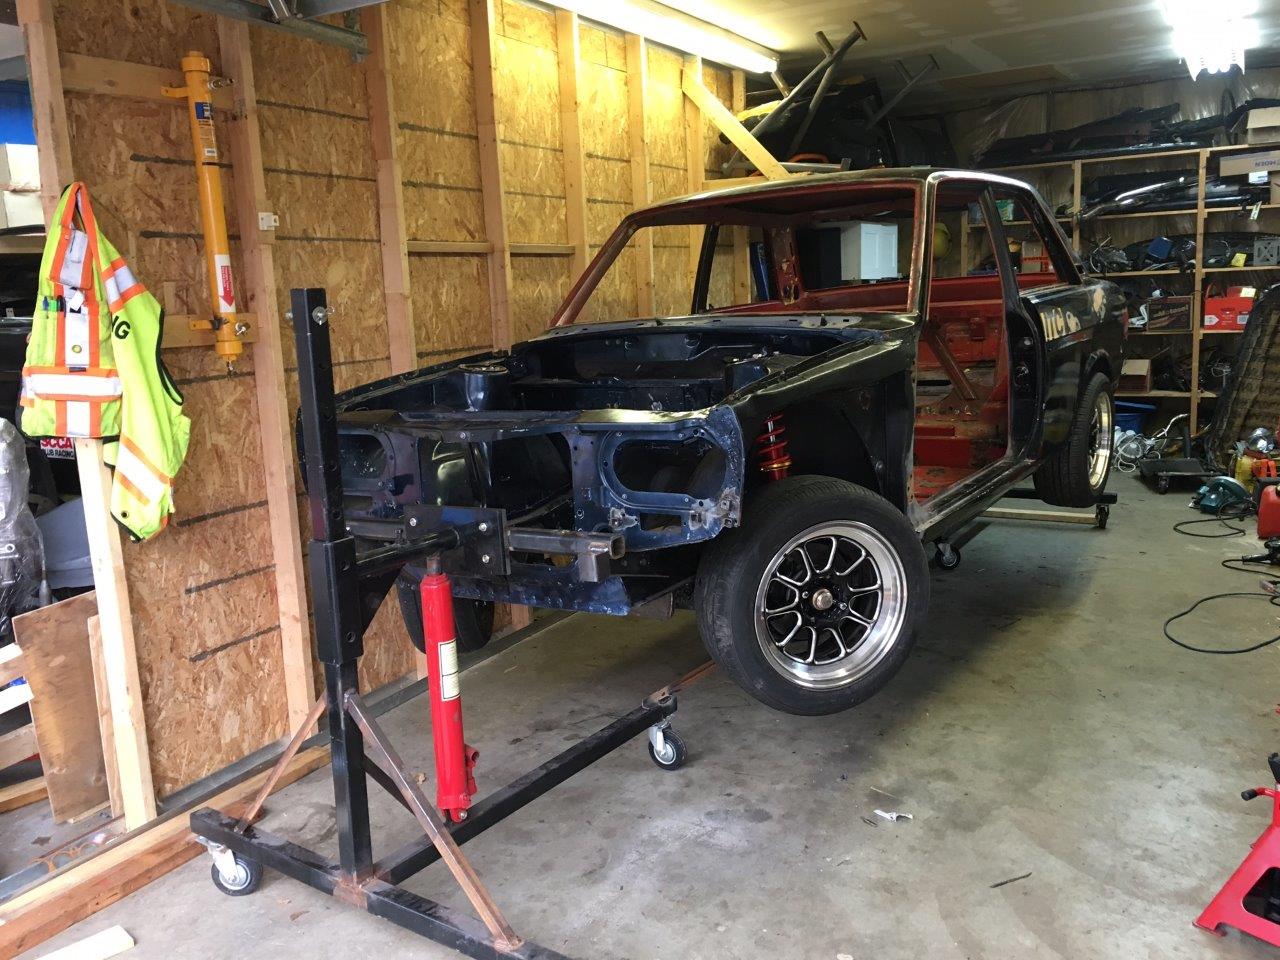
After a bit of a hiatus due to a renovation renovation and moving back to the island, as well as fixing everybody else's stuff first, the car is finally at the shop and getting some attention. She's all stripped down, I made the rotisserie attachments and it should be in the air this weekend. Been screwing around with cooling and subsequent moisture trapping ideas for the compressed air system so we'll see how that works, should know soon. Here's two pictures of the car stripped for the time being. Goal is to have the underside blasted and all the little things done that I didn't want to do laying on my back by the end of this weekend so I can lay the epoxy primer and undercoating next week

- 95.jpg (170.72 KiB) Viewed 4890 times

- 96.jpg (176.87 KiB) Viewed 4890 times
Re: Noob build
Posted: 09 Nov 2017 05:47
by Byron510
I noted your comment about cooling the compressed air;
At my fathers house where I’ve done most of my painting, I ran the line out of the compressor outside the shop and up and under the eves in copper line from one end of the shop to the other and back again before running the line back inside and into the water trap - total length of the copper line between the compressor and the trap was 110 feet. This did work at cooling and condensing the air and I didn’t have an issue with water in the lines after the trap. I may have to do something similar at my shop now
Byron
Re: Noob build
Posted: 09 Nov 2017 07:46
by Tank510
Byron,
That's good feedback and similar to what I have in mind. I have a 25' long coiled copper pipe that fits in a bucket with two quick connects on the end. I'll fill the bucket with cold water when painting / sandblasting is happening to cool the air sufficiently before it goes into the dryer. So time will tell how well that will work. I'll keep you posted.
Re: Noob build
Posted: 11 Nov 2017 22:05
by Tank510
Today was productive. The car is on the rotisserie and the under body work will start tomorrow morning.
- 98.jpg (195.41 KiB) Viewed 4839 times
- 100.jpg (164.25 KiB) Viewed 4839 times
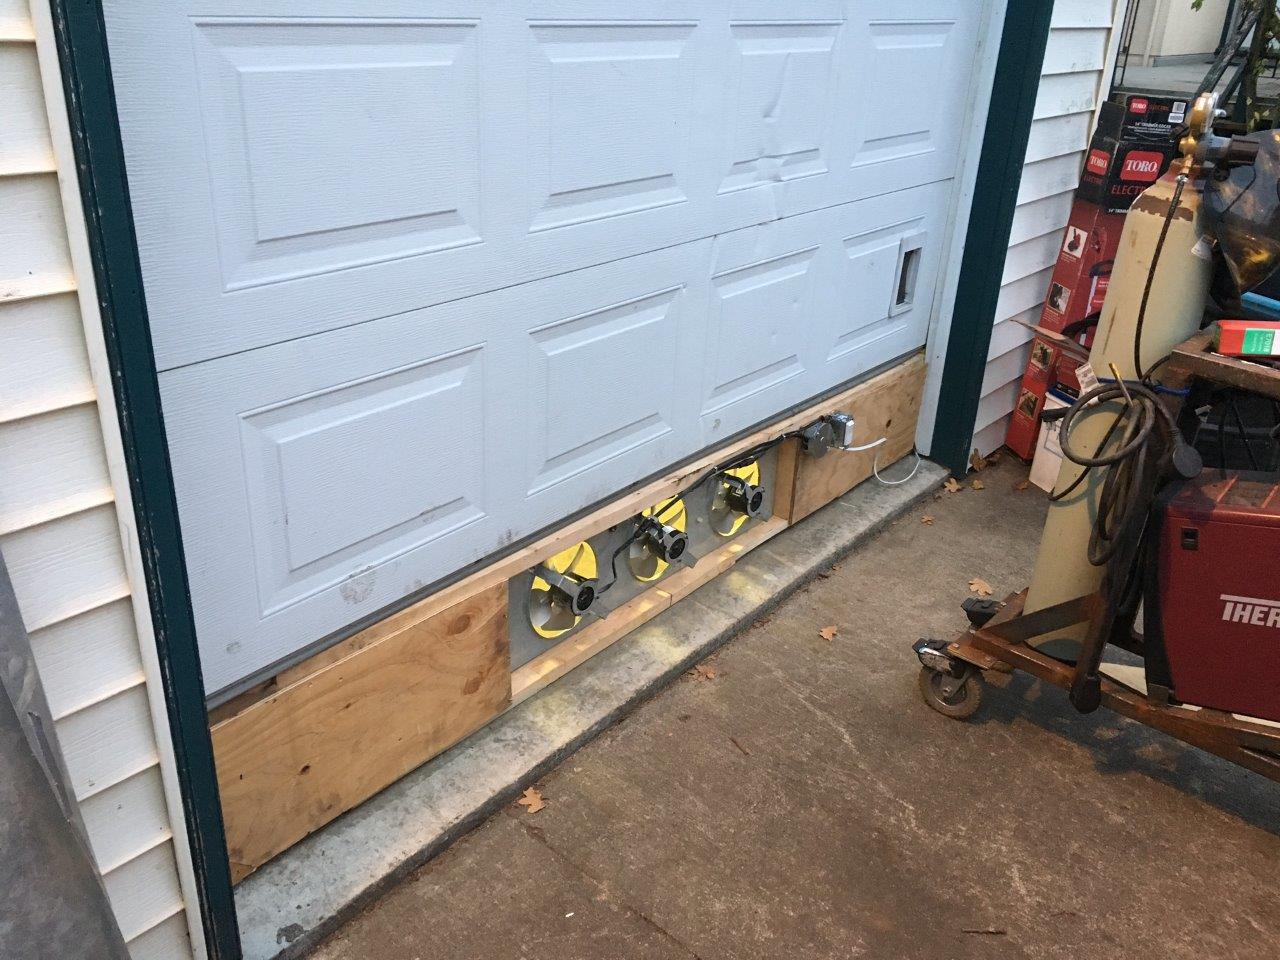
I also made a little exhaust fan setup for when I blast and undercoat, nothing fancy just three old fans from a refrigeration unit. I'll see how that works when it's time to do coat the bottom of the car. Will be a good test for paint.
- 97.jpg (212.98 KiB) Viewed 4839 times
Re: Noob build
Posted: 14 Nov 2017 11:56
by Tank510
Re: Noob build
Posted: 15 Nov 2017 15:23
by Danthewire
Wow Frank you're really moving since I was by the shop. Nice to see progress like that.
Re: Noob build
Posted: 16 Nov 2017 12:14
by Tank510
Danthewire wrote:Wow Frank you're really moving since I was by the shop. Nice to see progress like that.
Thanks Dan, that long weekend really helped. Finally done cleaning the underside, will coat it next week.
Re: Noob build
Posted: 21 Nov 2017 08:32
by Tank510