I found the same rot in my car during restoration.
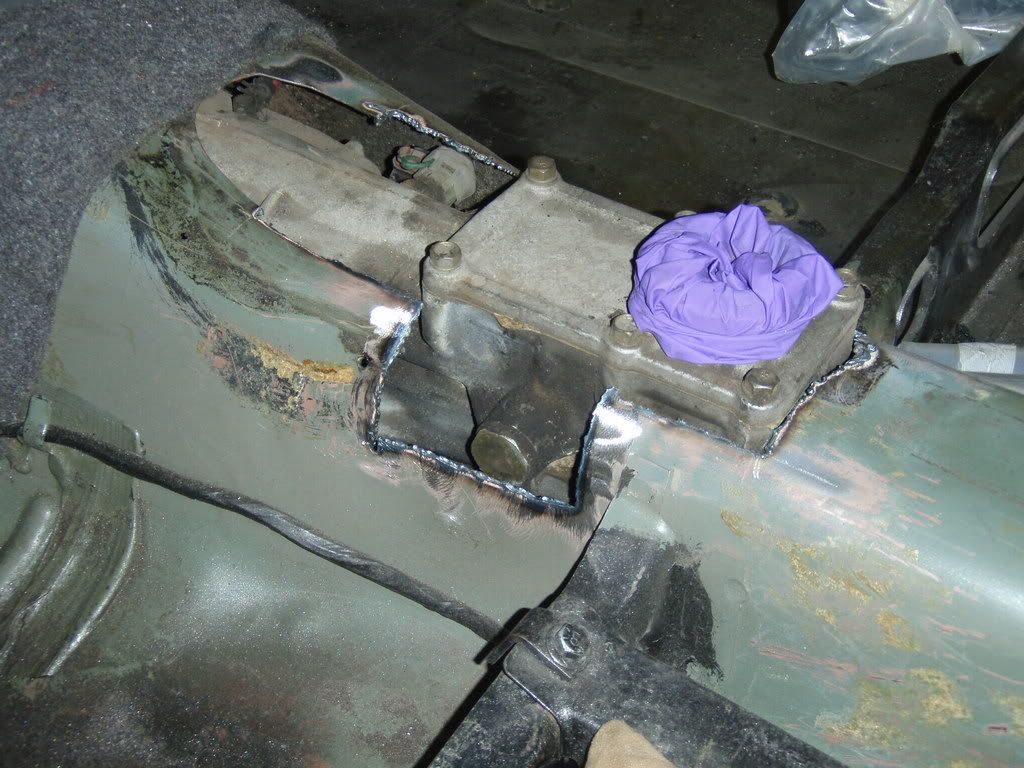
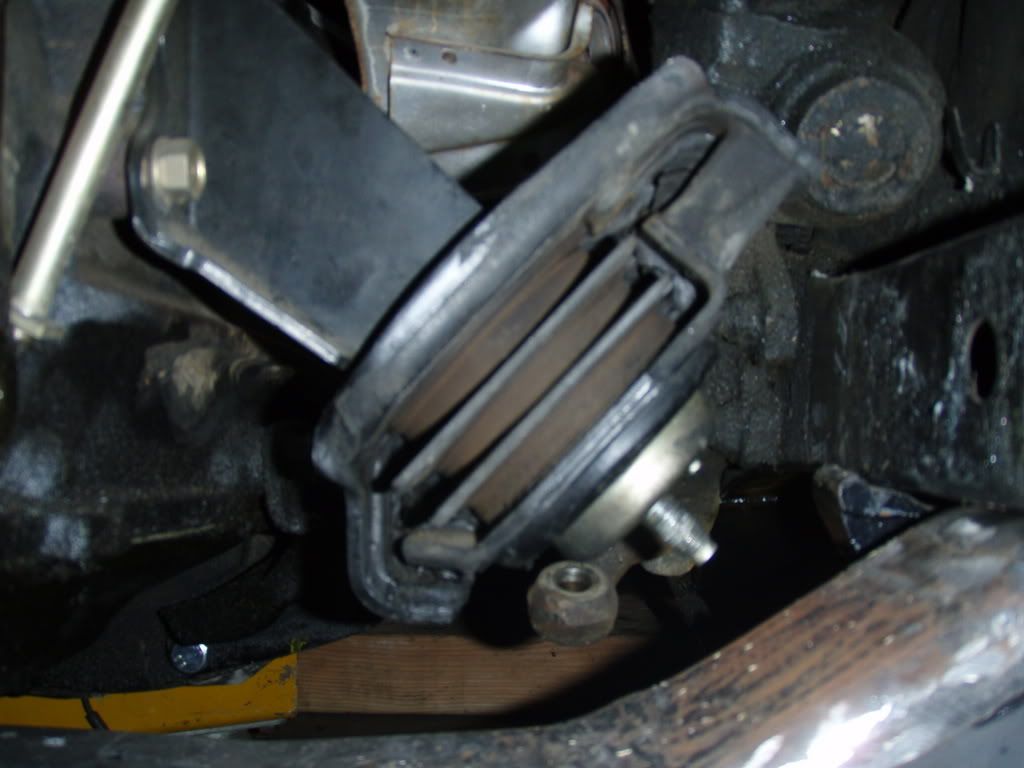
I thought I'd post these photos so you know what's behind this "filler panel".
It is just a cowl drain - mine was full of line needles, not so good for longevity in the area!
My fix was to cut out the old panel, clean up the area of all rust, paint all surfaces including the backside of the new sheet metal panel, and I used a structural adhesive (automotive, 3M product) to glut the panel back on. I then continued with the restoration of the car.
Some pics.
Byron
Project: 72 2door <---My first 510!

-
brknrekord

- Supporter
- Posts: 457
- Joined: 20 Apr 2007 09:02
- Location: San Jose, CA

this is def a bad area for rot!
luckily i got to mine before any moisture had a chance to accumulate.
musta pulled a pound of crap out before it would flush free.
should be a spring cleaning ritual or before the rains
luckily i got to mine before any moisture had a chance to accumulate.
musta pulled a pound of crap out before it would flush free.
should be a spring cleaning ritual or before the rains
byron wrote:I'd be all over that like a fat kid on a smartie.
okayfine wrote:Sense doesn't always have everything to do with it, and I speak from experience.
-
brknrekord
- Supporter
- Posts: 457
- Joined: 20 Apr 2007 09:02
- Location: San Jose, CA
-
brknrekord
- Supporter
- Posts: 457
- Joined: 20 Apr 2007 09:02
- Location: San Jose, CA
Happy Thanksgiving everyone 
I am trully thankful for all of my friends and family, for without them, I probably would not be.
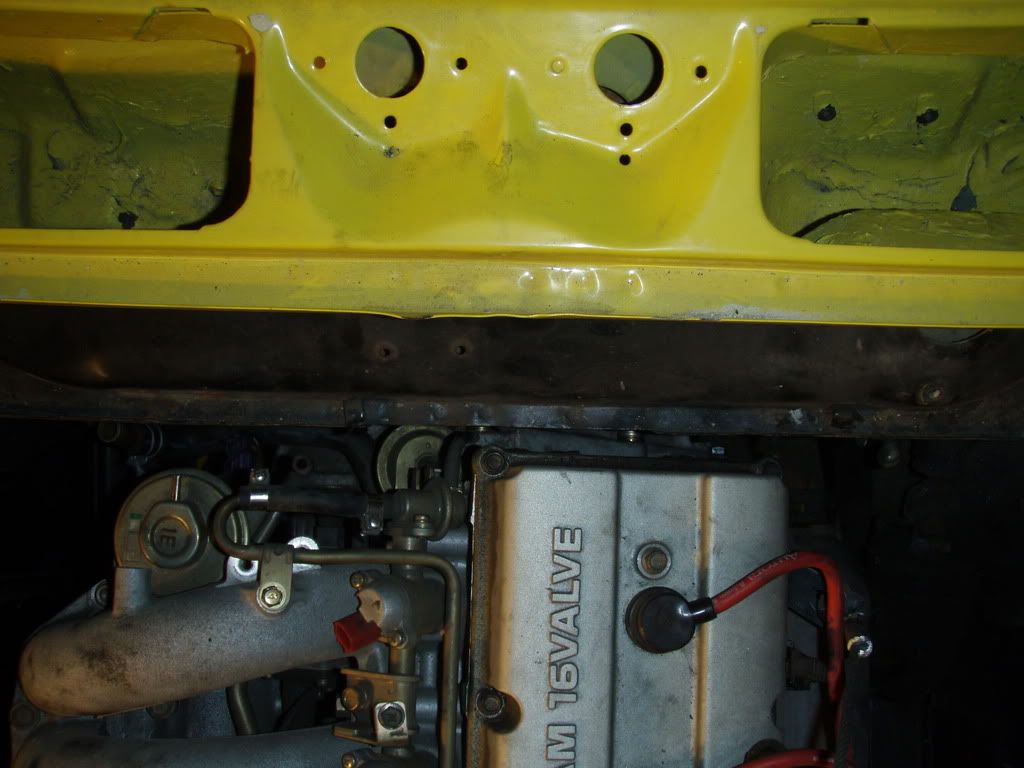
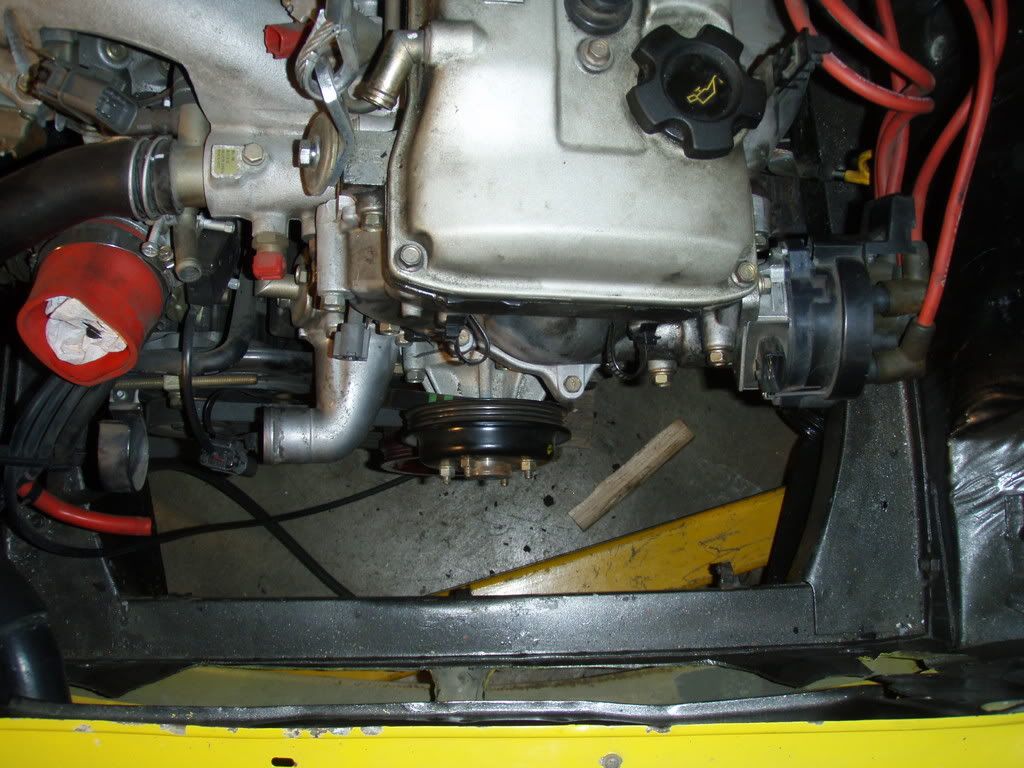
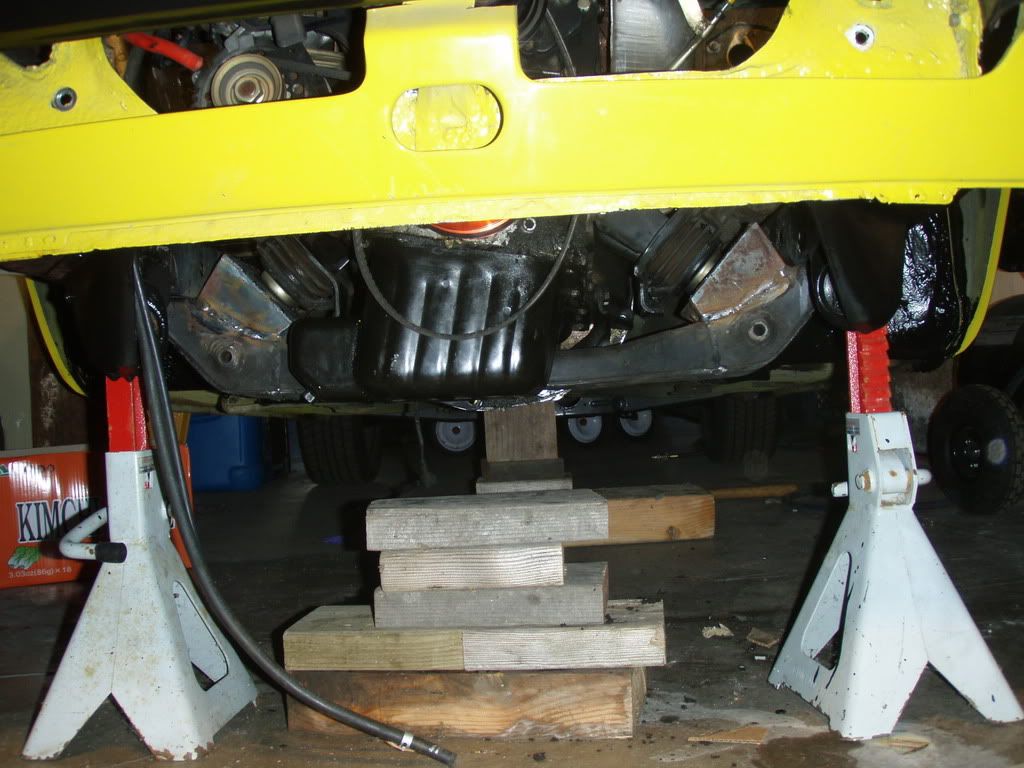
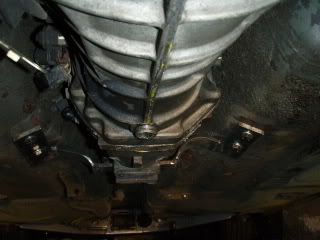
Speaking of which...Baker came up and helped me get the motor/trans. in possition yesterday on blocks. Need to design and fab. the trans. mount and the towers for the engine x member.
Edit: removed images. See below for new motor possitioning.
I am trully thankful for all of my friends and family, for without them, I probably would not be.
Speaking of which...Baker came up and helped me get the motor/trans. in possition yesterday on blocks. Need to design and fab. the trans. mount and the towers for the engine x member.
Edit: removed images. See below for new motor possitioning.
Last edited by brknrekord on 02 Dec 2007 16:07, edited 1 time in total.
-
brknrekord
- Supporter
- Posts: 457
- Joined: 20 Apr 2007 09:02
- Location: San Jose, CA
-
brknrekord
- Supporter
- Posts: 457
- Joined: 20 Apr 2007 09:02
- Location: San Jose, CA
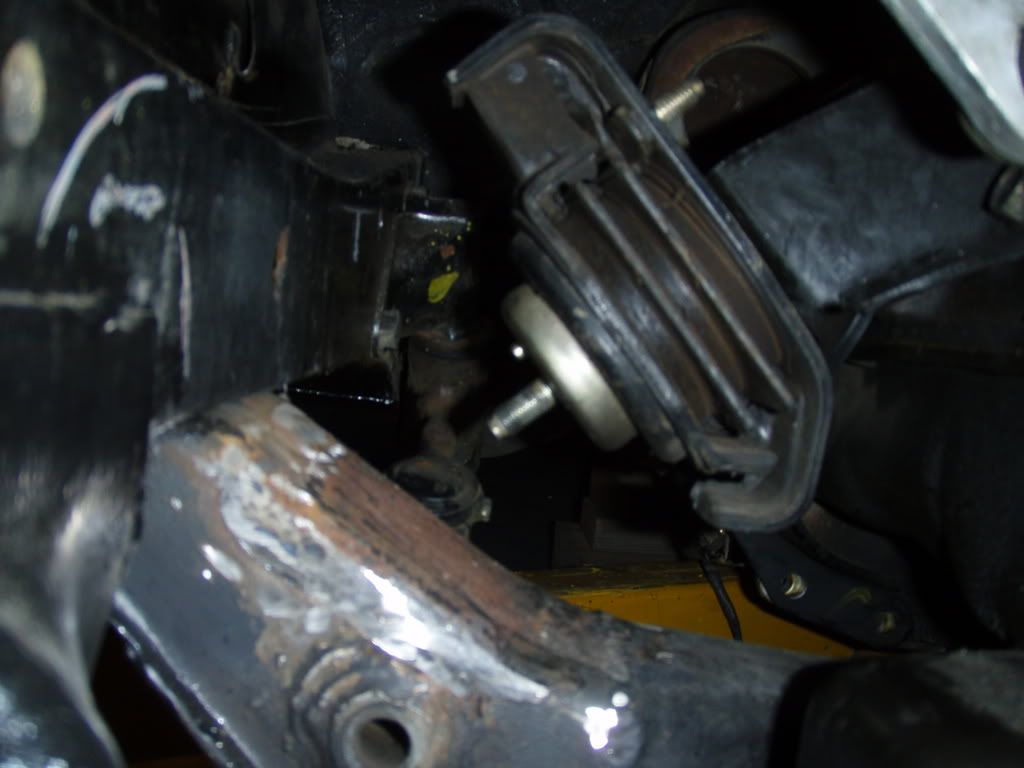
Well, it has been quite some time since I updated my project thread. I didn't get anything done for about six weeks while I was on graveyard shift. As soon as I got off graves, I started in and have built the engine and trans. crossmembers. WOOHOO! Just need to blast and paint or coat them.
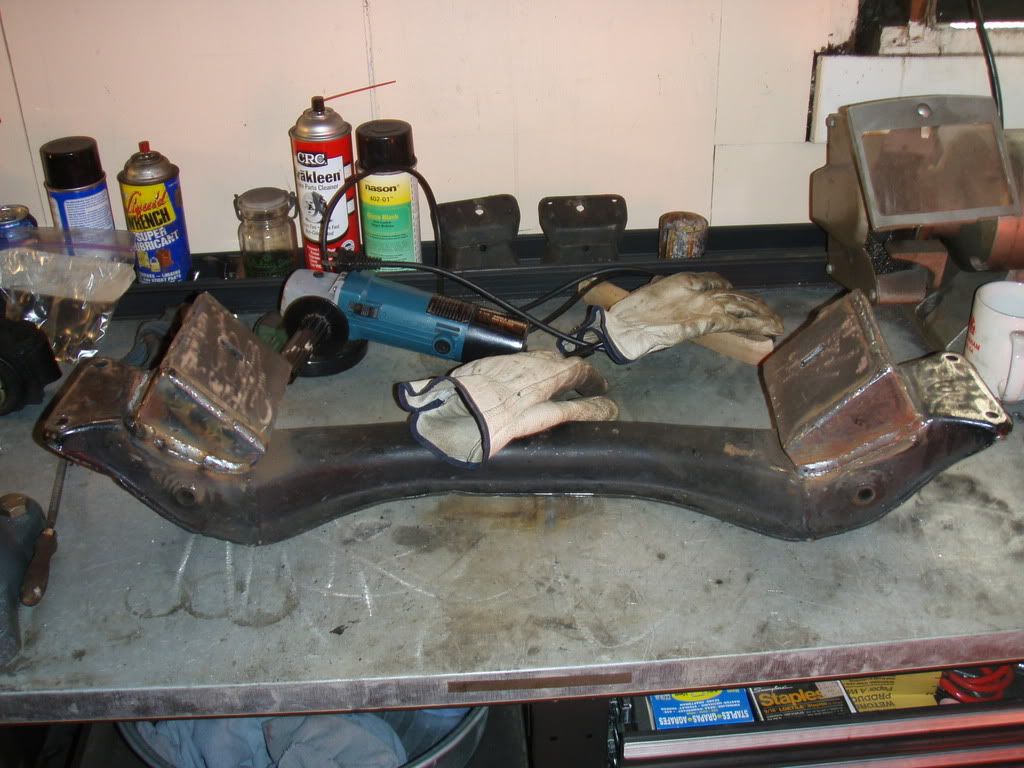
I bought the cheap benchtop bender from harbor freight($49) to bend the pieces for the trans. xmember. It works well. The instructions are pretty much nonexistant as far as die placement for different bends. It comes with flat round dies, but no dies for round or square tubing.
Not too terribly happy with the trans. xmember, may redesign it.
Now its back to the front susp.

-
brknrekord
- Supporter
- Posts: 457
- Joined: 20 Apr 2007 09:02
- Location: San Jose, CA
-
brknrekord
- Supporter
- Posts: 457
- Joined: 20 Apr 2007 09:02
- Location: San Jose, CA
-
brknrekord
- Supporter
- Posts: 457
- Joined: 20 Apr 2007 09:02
- Location: San Jose, CA
Here is the link to the write up:
http://www.the510realm.com/phpBB3/viewt ... f=2&t=8408
http://www.the510realm.com/phpBB3/viewt ... f=2&t=8408
-
brknrekord
- Supporter
- Posts: 457
- Joined: 20 Apr 2007 09:02
- Location: San Jose, CA
Re: Project: 72 2door <---My first 510!
Its been a long time since I have posted in my project thread, mostly because I didnt work on it for a while, but I have stopped procrastinating and gotten some work done, so here it is:
I built my front LCA's
I built my front LCA's
- Attachments
-
-
-