Project: 72 2door <---My first 510!

View and post your 510 project(s)
User avatar
brknrekord
Supporter
Posts: 457
Joined: 20 Apr 2007 09:02
Location: San Jose, CA

Project: 72 2door <---My first 510!

Post by brknrekord »

Well, I figure I should start my project thread. Want to begin before I forget what everything cost and whatnot. Figure this will be fun for me later and I want to show y'all!


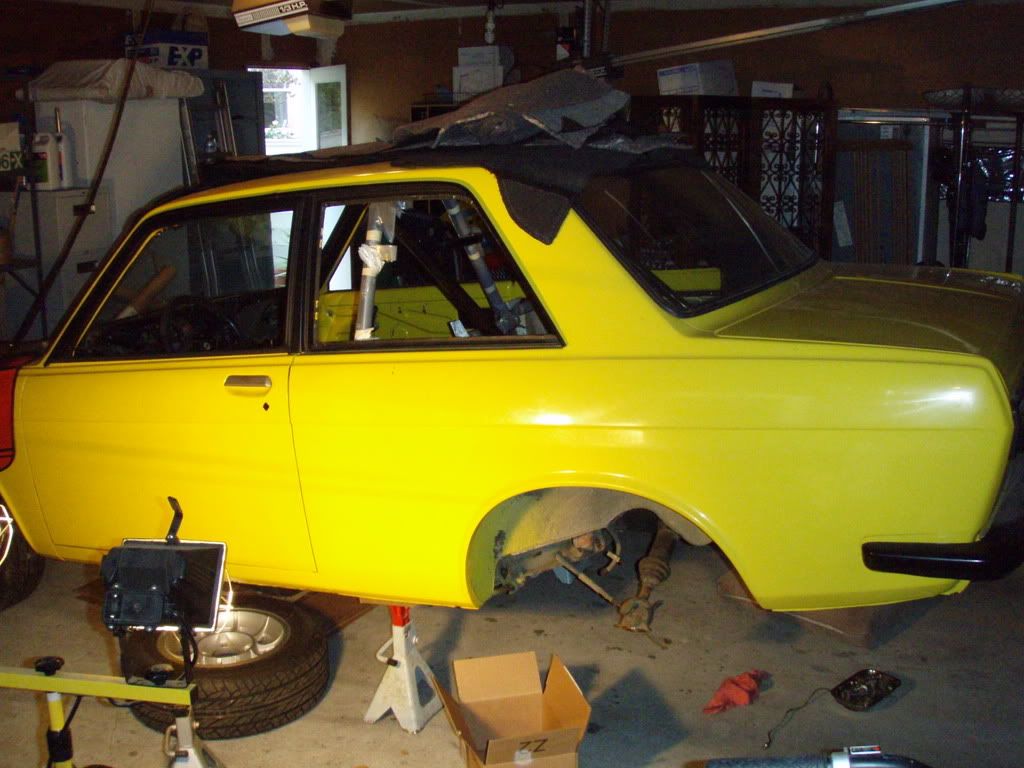
1972 Datsun 510 Two door
Status: INOP
KA24DE/Trans. from a '92 240sx Wish I had an OBDII motor.
$3250( i know, too much)

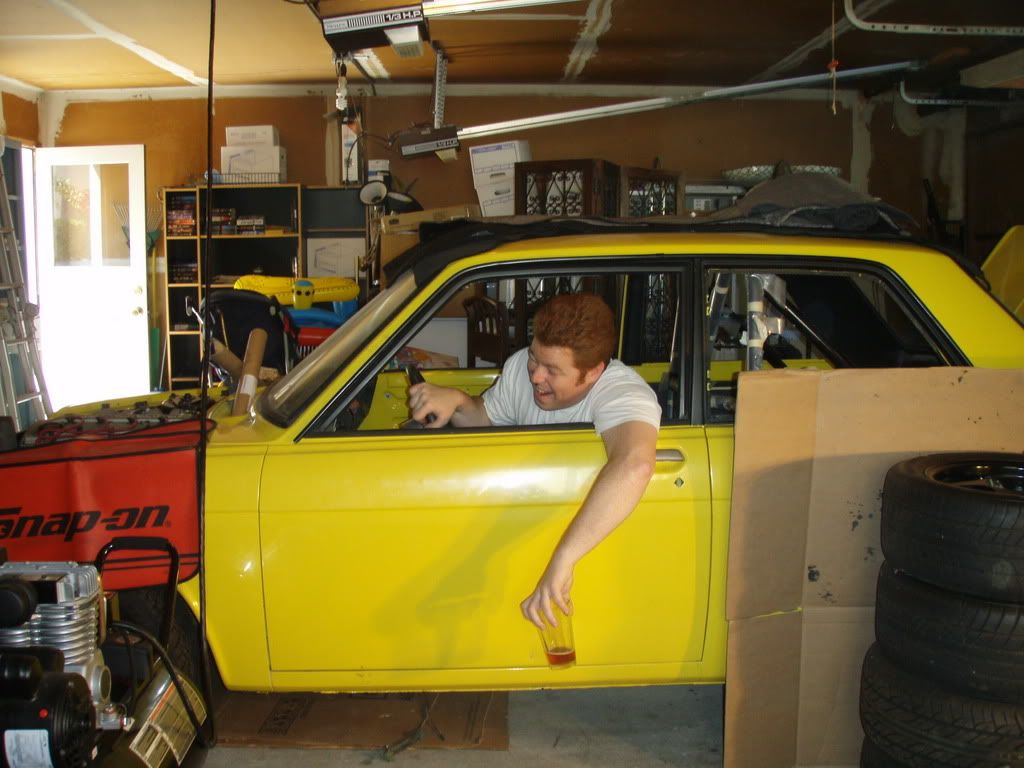
Picked up the Datsun on April 6th 2007. It was a friday. It was a sunny day. Used Baker's trailer to haul the carcass and shreaded meat leavings from down town San Mateo back to the home front in San Jose. The motor was sitting in it but not mounted. Transmission out. No mount yet fab'ed.


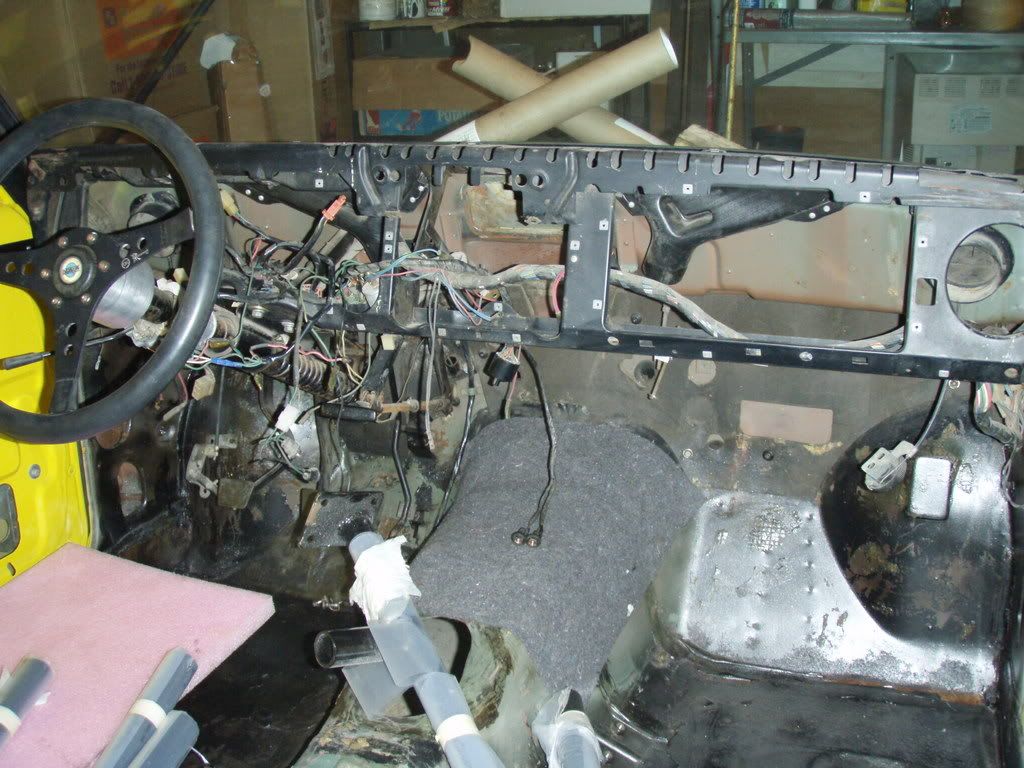
It was a rolling chassis. Rolling on shit. All the suspension was shot. The car was filled with parts though! No master cylinder. Bolt in cage sitting in the car. Dash ripped apart, but the dash frame still in place. Had some kind of seats(not bolted in), but I sold those on c.l. So, I started researching and then decided to start with the rear suspention.

The dash:
Image

Image

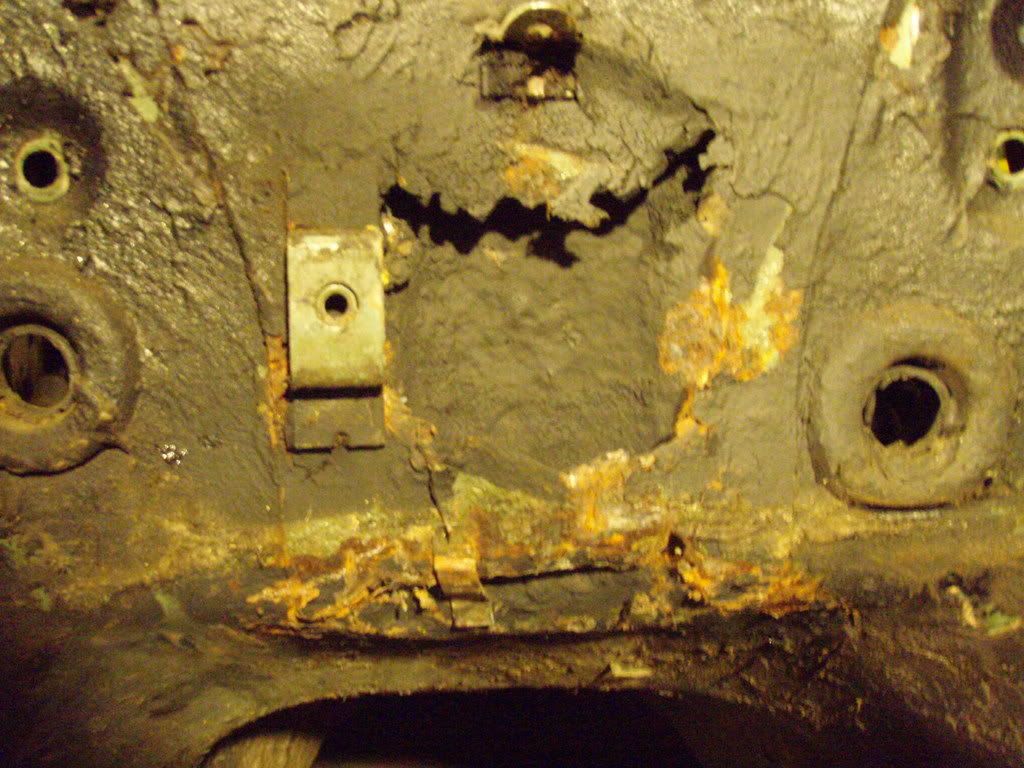
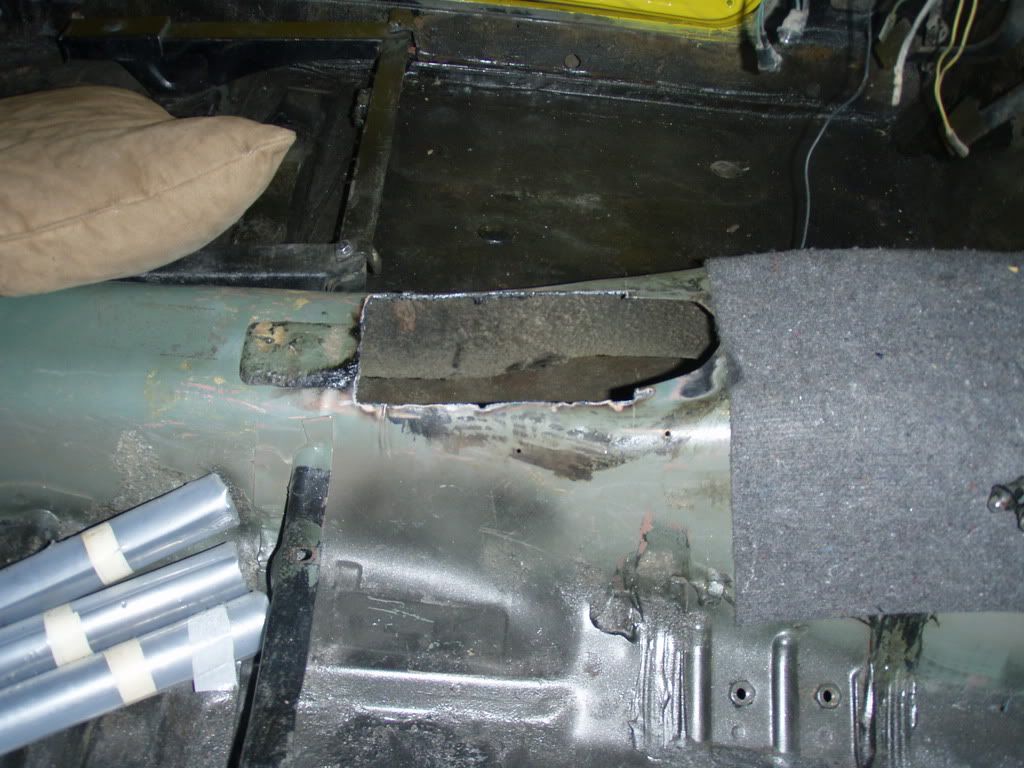
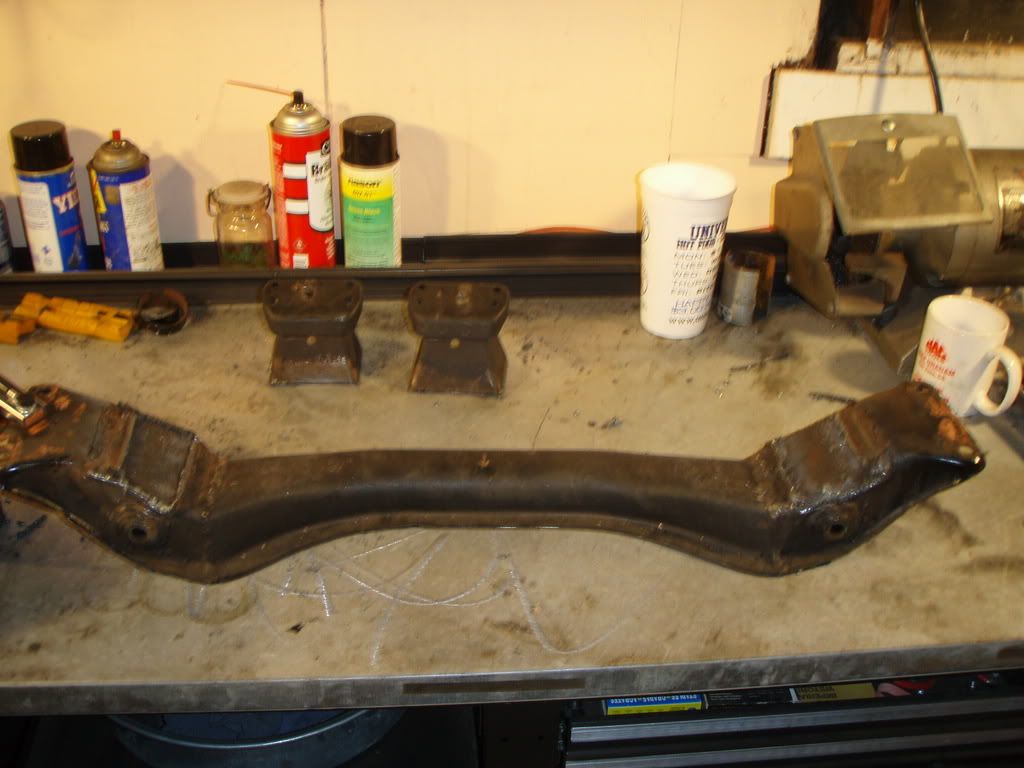
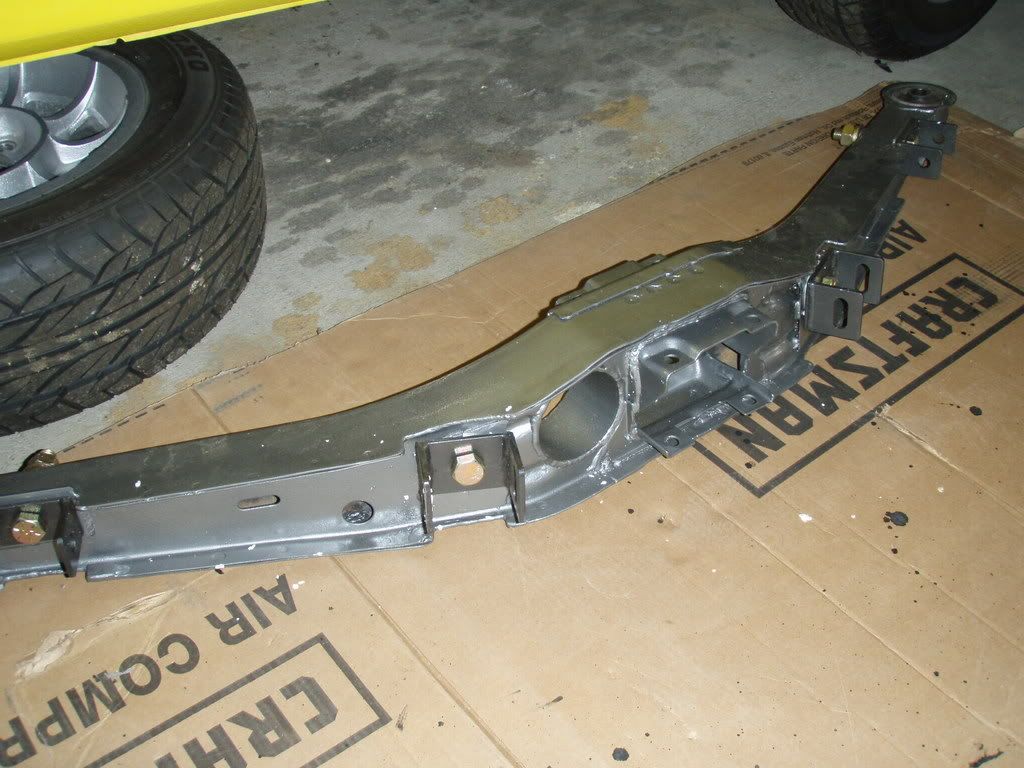
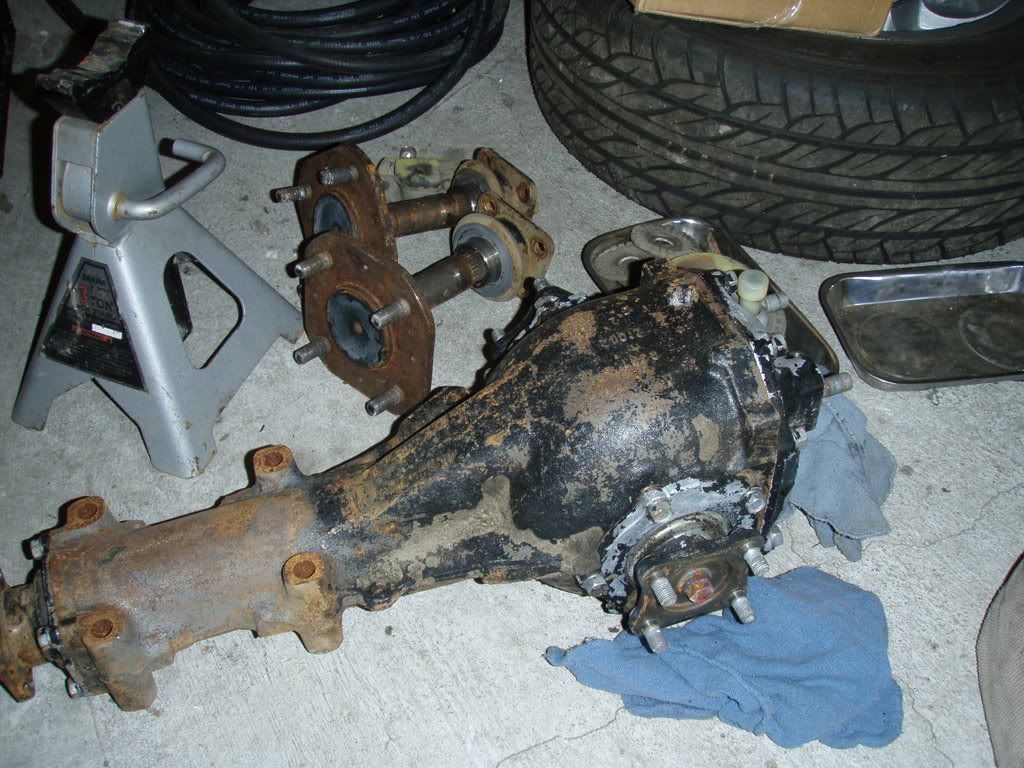
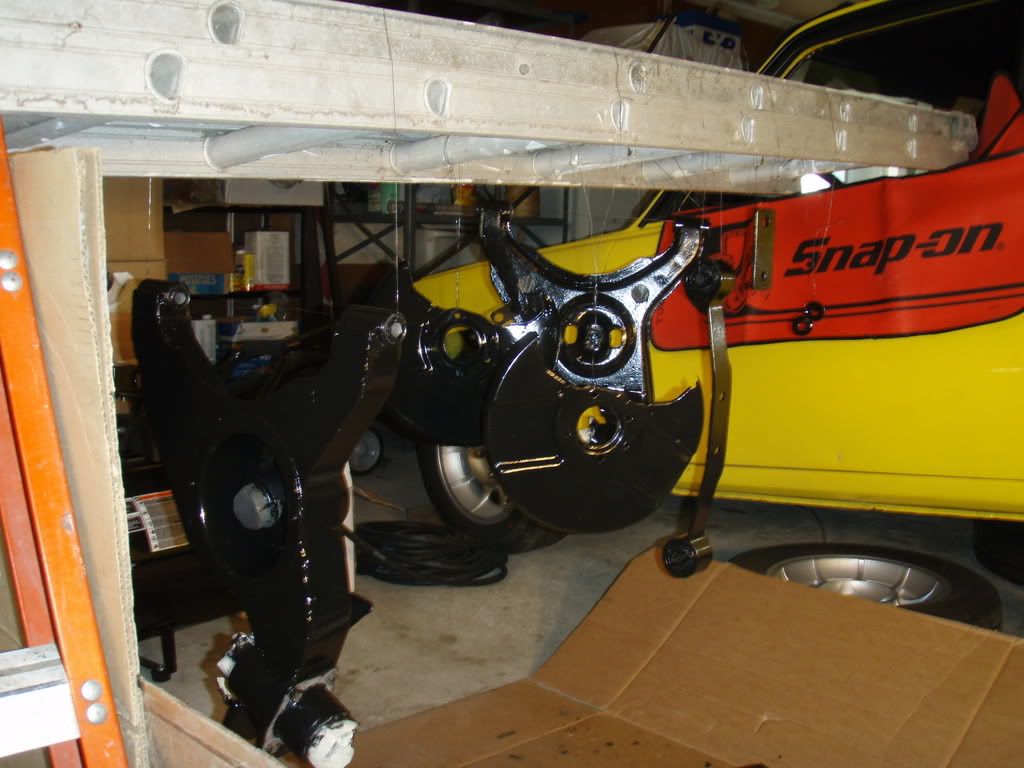
Tore down the rear. I decided to paint the suspention components and the wheel wells with POR 15. This turned out to be quite labor intensive. Ordered Kelvin Deitz's adjustable rear crossmember(<$500). Replaced the bearings in the rear control arms. Welded washers into the crossmember retaining plates to give the xmember a bit less flex.

Image

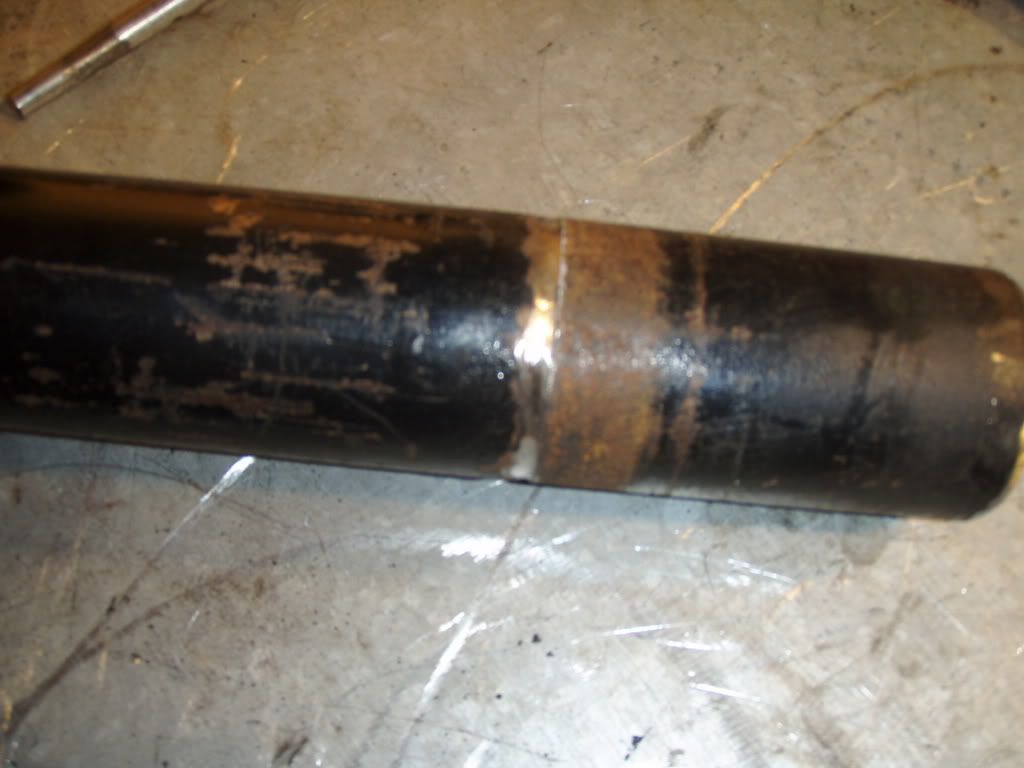
Bought a wilwood disk setup for front and rear for $900 off c.l. The caliper mounting brackets for the rear were wrong. The I.D. of the braket was 1.xxx" and the O.D. of the hub on my rear control arms was 2.850" Also, the mounting holes were a bit off, so I reamed those. When assembled, the caliper rubs slightly on the hub. I stopped there. Needed to just get it on its wheels again for a move to San Francisco(two months after purchase).

Image

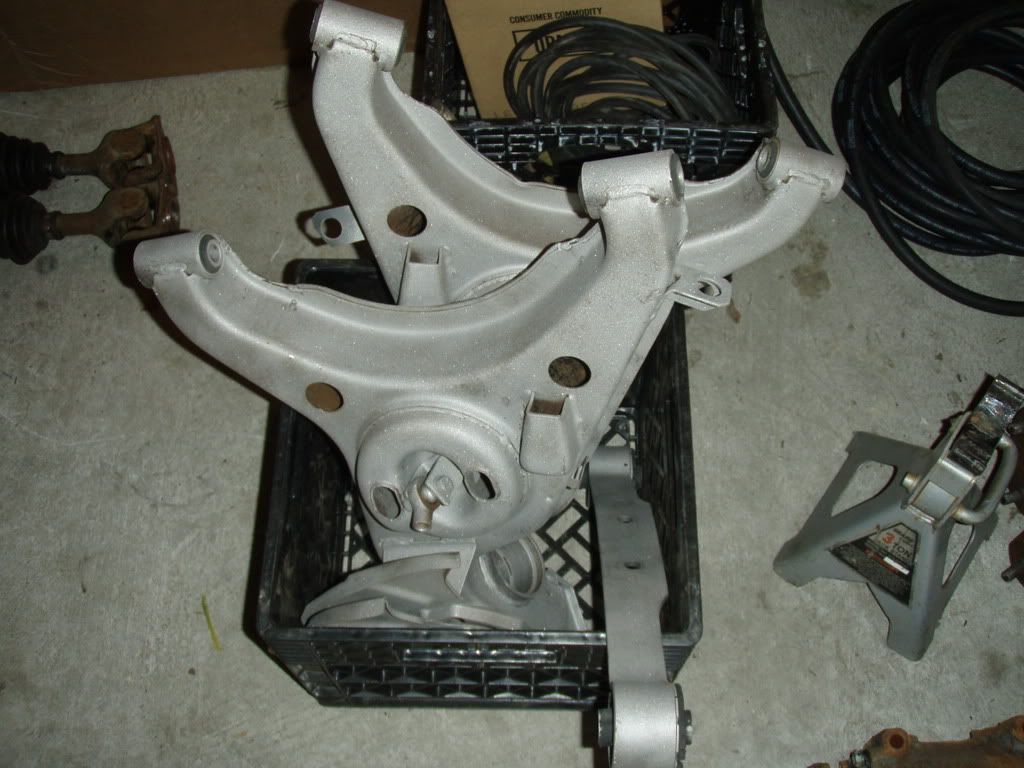
Bolli blasted the rear components and front disc shields for me before I por15'ed them. Thanks Bolli!
Image
Image
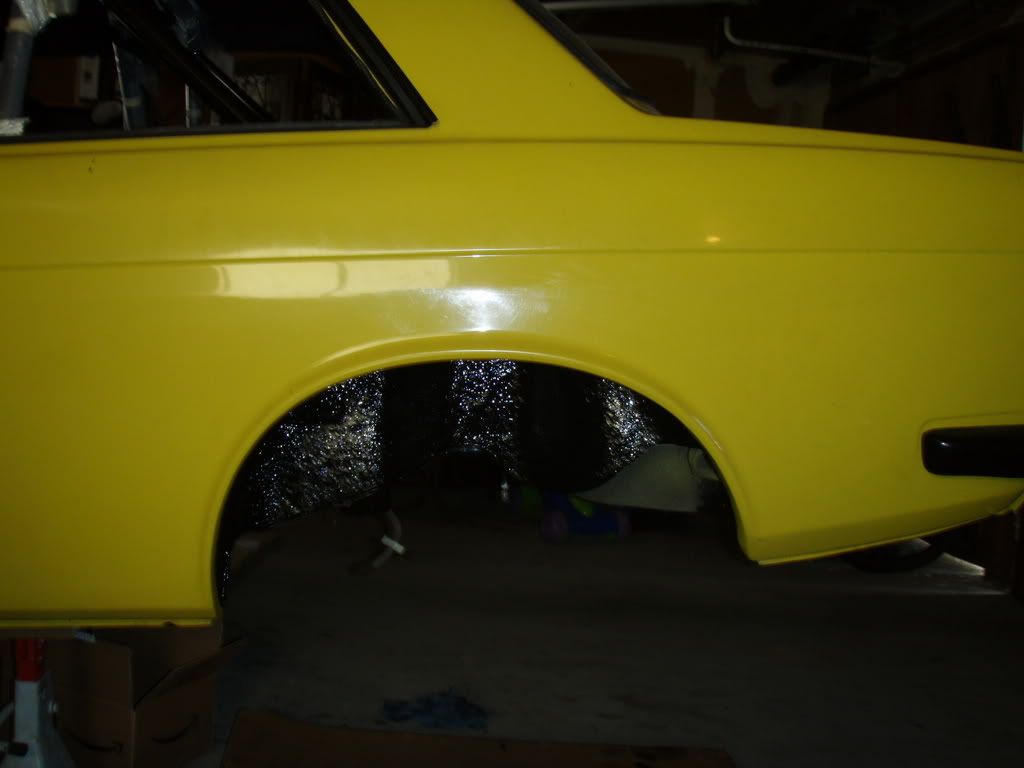
And Matt helped with applying POR15 to the rear wells. Its a pain. Its much easier with a friend and Heinikens :)
Image
Image

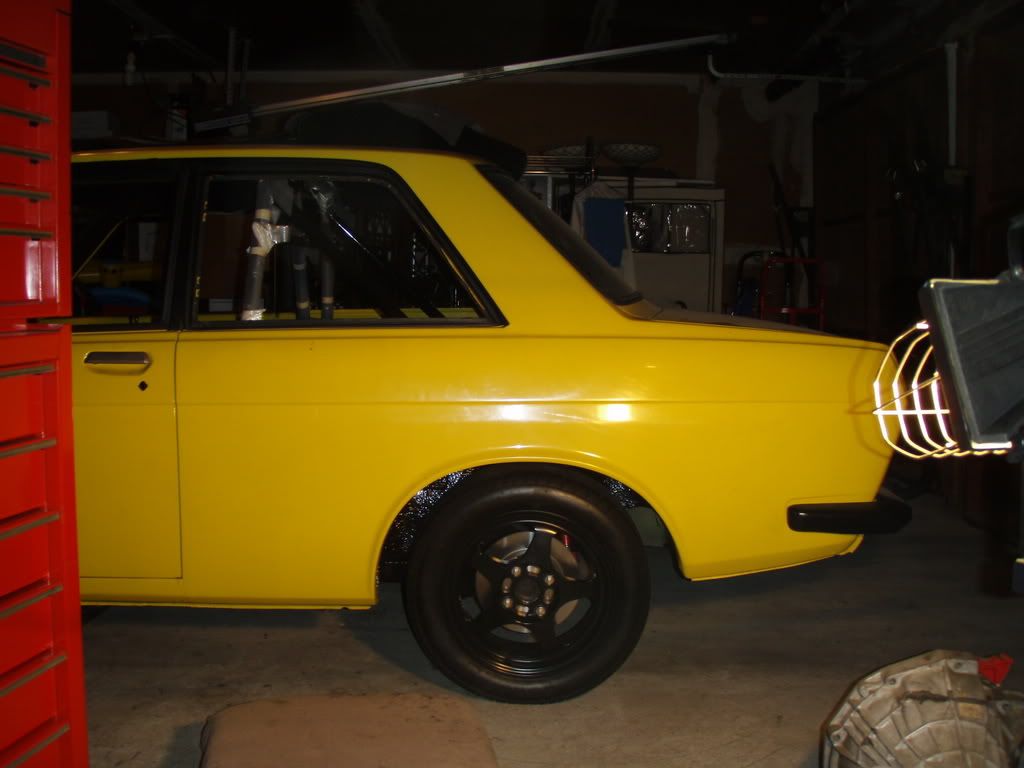
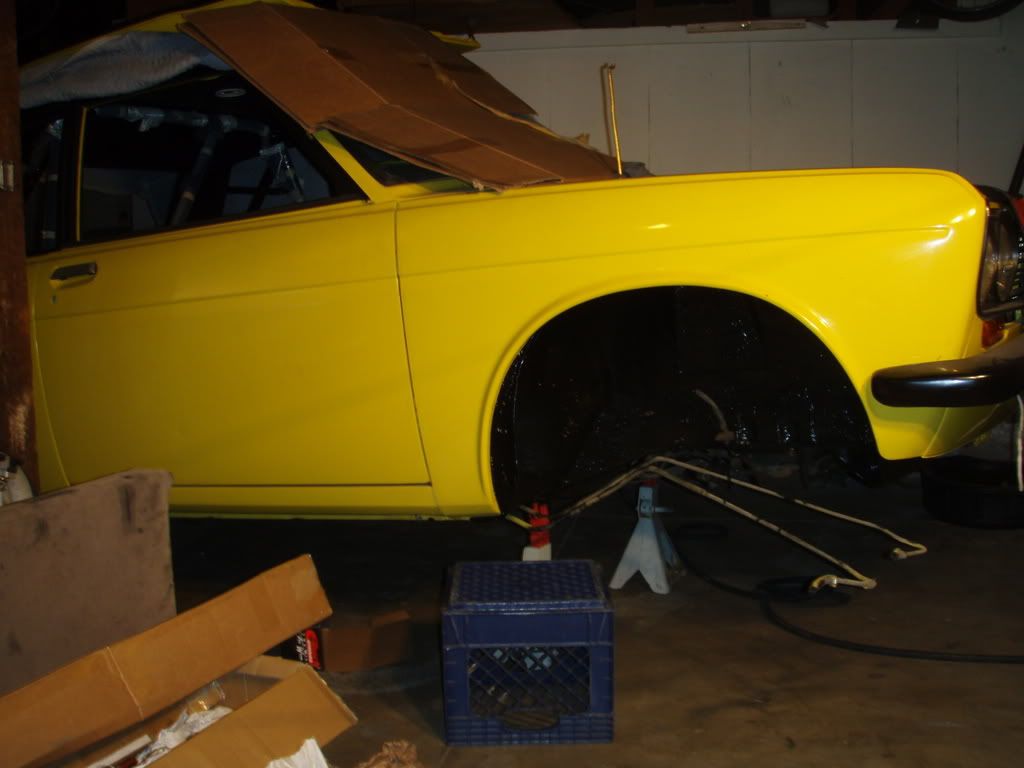
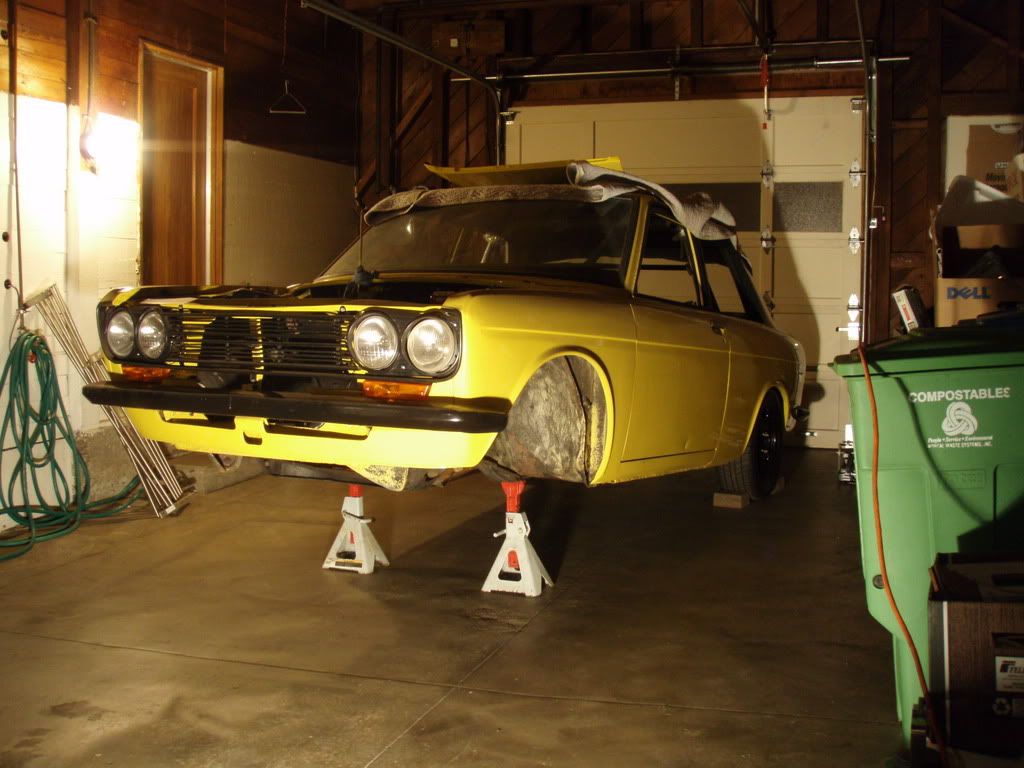
Now I'm in the city and building the front suspention. I ordered everything from T3. Front strut kit(Ground Control((225#)), Camber plates, Strut brace, T.C. rods, Bumpsteer spacers and Complete rear Coilovers(200#). This all was something like $1500-1800.

Just recieved control arms from Gensaiken1(thanks). $110 The ones I had on my car were 68/69 and the bushings from Energy Suspension wouldn't work. The 68/69 have a tapered bore. Need to blast and paint the new lowers.


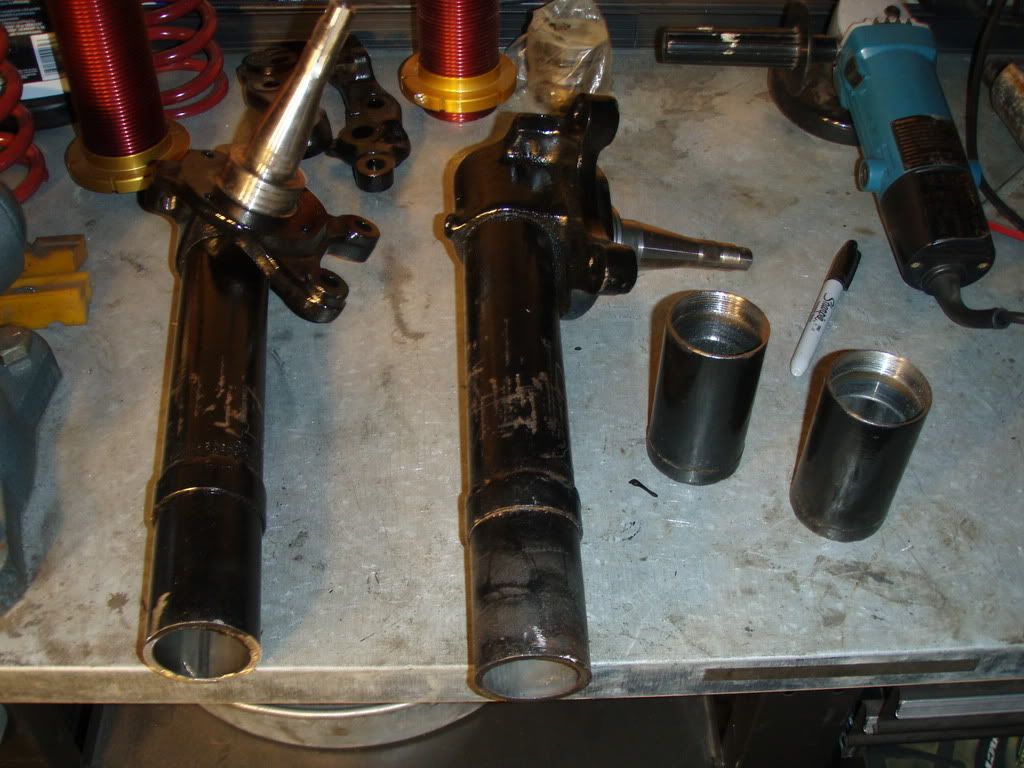
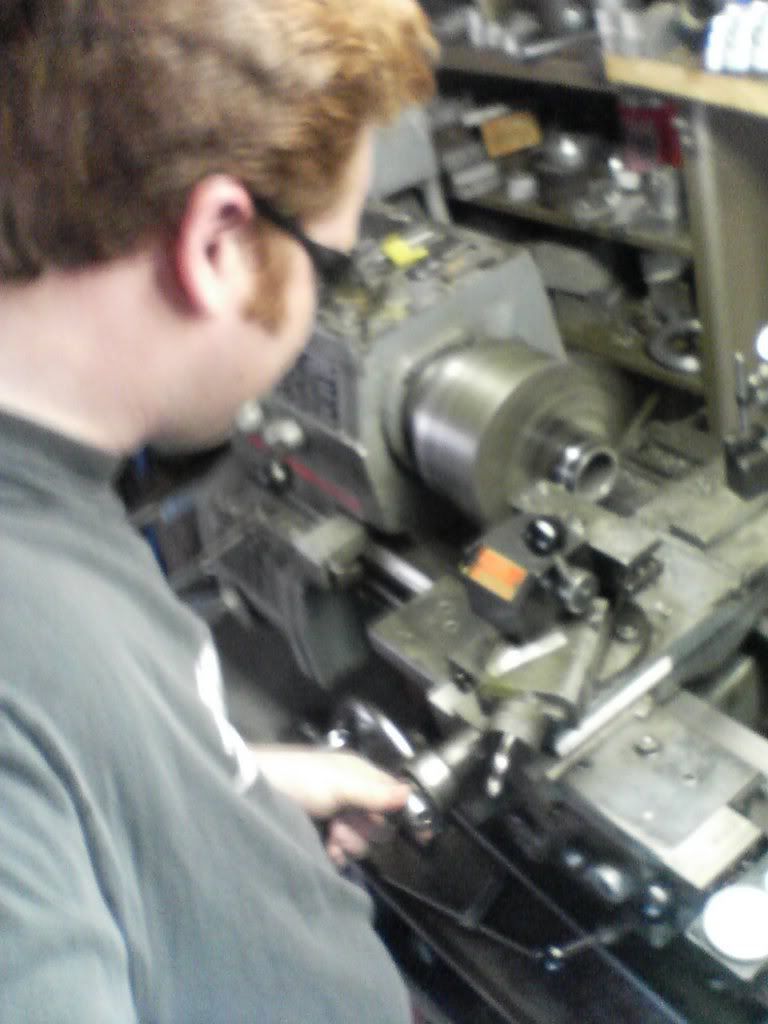
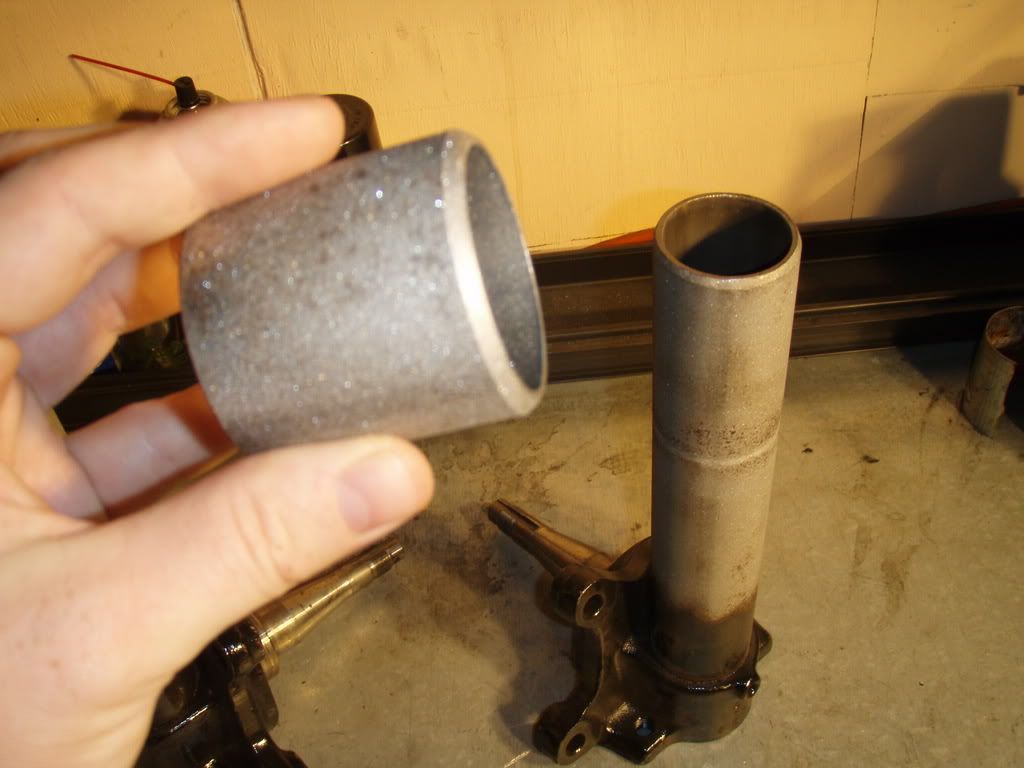
Currently doing the front strut to coilover conversion. I have made every mistake possible. Even made one up that wasn't necessary! Taking a break for a while and building up my friends 68 Baccaruda susp/brakes.

Por15'ed the front aswell.

Image
Last edited by brknrekord on 29 Jan 2010 11:15, edited 14 times in total.
DakotaKid
Posts: 36
Joined: 16 Oct 2007 18:01

RE: Project: 72 2door

Post by DakotaKid »

Got a camera phone? You can send your pics from your phone to photobucket and link them here. Other wise, good luck. I'll be starting one of these threads next week i hope? Just bought a 72 in OR and hope to have it shipped and at my door step later next week.
User avatar
brknrekord
Supporter
Posts: 457
Joined: 20 Apr 2007 09:02
Location: San Jose, CA

RE: Project: 72 2door

Post by brknrekord »

Pm sent
User avatar
brknrekord
Supporter
Posts: 457
Joined: 20 Apr 2007 09:02
Location: San Jose, CA

RE: Project: 72 2door

Post by brknrekord »

Here are some pics of the front coilover conversion in progress.

Struts having their lower seats removed.
Image

I welded the seats for the coilover threaded sleeves on and then realized that I needed to shorten the strut tubes :( Then my dumb ass decided to cut them above the seats. Woops. Now I have to cut the seats back off.
Image

These are the 68-69 Lowers. Tapered bushing and I.D.
Image
mtan2222
Posts: 71
Joined: 26 Jul 2007 01:40
Location: SF/BAY Area

RE: Project: 72 2door

Post by mtan2222 »

looks like a nice straight body. Nice to see another person from the bay area =)
User avatar
brknrekord
Supporter
Posts: 457
Joined: 20 Apr 2007 09:02
Location: San Jose, CA

RE: Project: 72 2door

Post by brknrekord »

510 the only car that can be built in my S.F. garage.
Image
Image
User avatar
brknrekord
Supporter
Posts: 457
Joined: 20 Apr 2007 09:02
Location: San Jose, CA

RE: Project: 72 2door

Post by brknrekord »

Its relatively strait. It was hit in the front left at some point. The inner wheel well is pulled away from the fire wall a bit where they meet. Bay area baby:D
User avatar
brknrekord
Supporter
Posts: 457
Joined: 20 Apr 2007 09:02
Location: San Jose, CA

RE: Project: 72 2door

Post by brknrekord »

Drunk driving. lol.
Image
I'm on jack stands. Don't drink and drive kiddies.
Last edited by brknrekord on 09 Nov 2007 17:34, edited 1 time in total.
User avatar
brknrekord
Supporter
Posts: 457
Joined: 20 Apr 2007 09:02
Location: San Jose, CA

Post by brknrekord »

Well, I'm not working as fast as some people do, but im chipping away at it.

Here are the struts after cutting the seats back off:

Image

I'm not a machinist, but I know the basics. My father in law has been teaching me. This was a very simple job, but I did it all on my own with no instruction. Yay for me, as my sister always says. Phone pic. So, I just parted off the piece at the length I wanted and then faced it off and put a 45 on it for welding.

Image

Here it is. I blasted both pieces of the strut.

Image

Now I just need to have a 220v outlet installed so I can use my welder. The house is a rental, dont want to spend the $$$. But...
User avatar
Yellowcar
Posts: 1204
Joined: 19 Apr 2004 15:22
Location: Redmond, WA

Post by Yellowcar »

Hey, what color Yellow is on the car??
User avatar
brknrekord
Supporter
Posts: 457
Joined: 20 Apr 2007 09:02
Location: San Jose, CA

Post by brknrekord »

I don't know. This was the color when I purchased it. The guy I bought it from had not really done much to it, i assume it was painted prior to his owning the car.
User avatar
sdterrible1
Posts: 354
Joined: 06 Jul 2007 23:38
Location: San Diego!

Post by sdterrible1 »

how much did you shorten your struts? Are u using 280zx struts too.
User avatar
brknrekord
Supporter
Posts: 457
Joined: 20 Apr 2007 09:02
Location: San Jose, CA

Post by brknrekord »

280zx struts yes. From an 82. I shortened the strut tube roughly 1.5 inches. Maybe 2" I dont know exactly. I didn't measure the tube before I cut it. I did one by hand until it fit with the strut insert installed and the nut and washer installed without any play. Then I cut the other on the lathe to match. I could have measured and cut them both on the lathe, but I live about an hour away from my father in law(where the lathe is) and just did one by hand at home.

That was a long winded very imprecise answer yeah? lol. Sorry. If you have the stock length from say the top of the spindle base to the top of the strut tube, I can measure mine and then deduce what I removed.
User avatar
brknrekord
Supporter
Posts: 457
Joined: 20 Apr 2007 09:02
Location: San Jose, CA

Post by brknrekord »

Well, I put the motor/trans in to mark the trans. tunnel. Between the holes for the heater core there is a hole of rot. Putting the motor/trans. in, the spot below this rot caved in a bit. I'm thinking that there was a leaking heater core at somepoint that didn't get changed and rotted this area out pretty good. I guess I am going to have to learn some sheetmetal work.
Image

Trans. tunnel cut.
Image

Removed x member and cut stock towers off. Going to fab new towers for use with KA mounts.
Image
User avatar
thisismatt
Supporter
Posts: 3438
Joined: 22 Jul 2006 18:12
Location: Santa Barbara, CA

Post by thisismatt »

That rot is probably from the cowl drain...it fills up with crap and clogs, holding water in
I'm your huckleberry.
Post Reply