When the car came apart, it was apparent that the original heater core had not been removed from the car when it was restored-- and I could see a lot of nastiness oozing out from the core, and Brian reported that the heater control did not work well. So out with the heater...
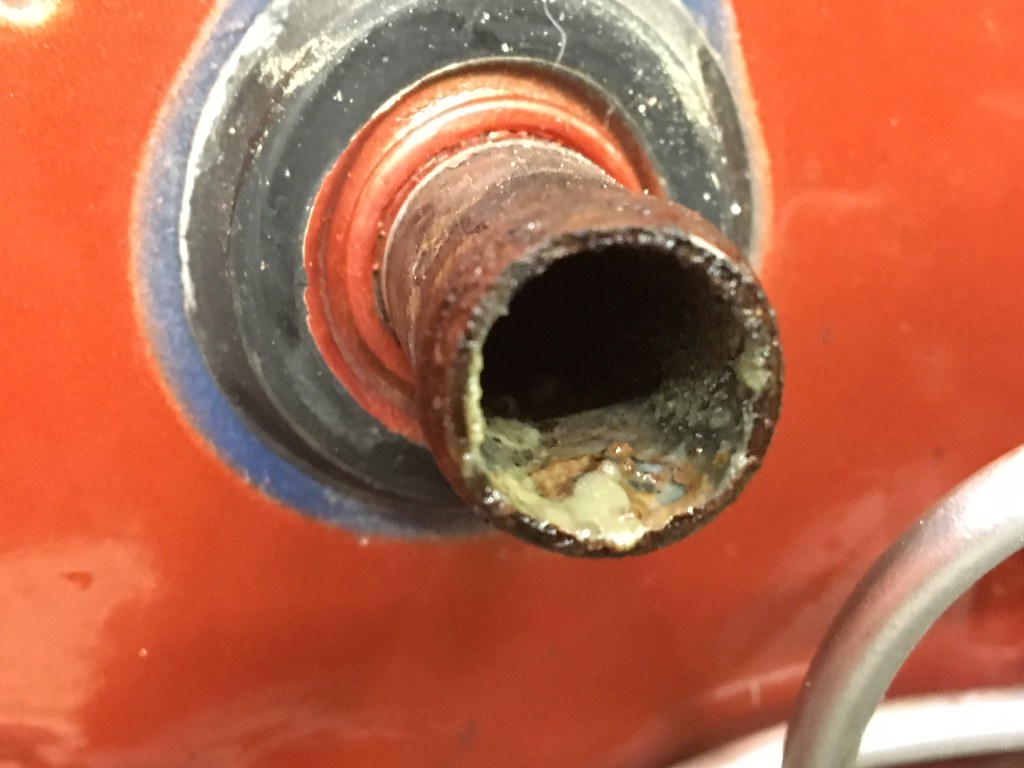
Once removed, the heater control valve was found to be frozen too...
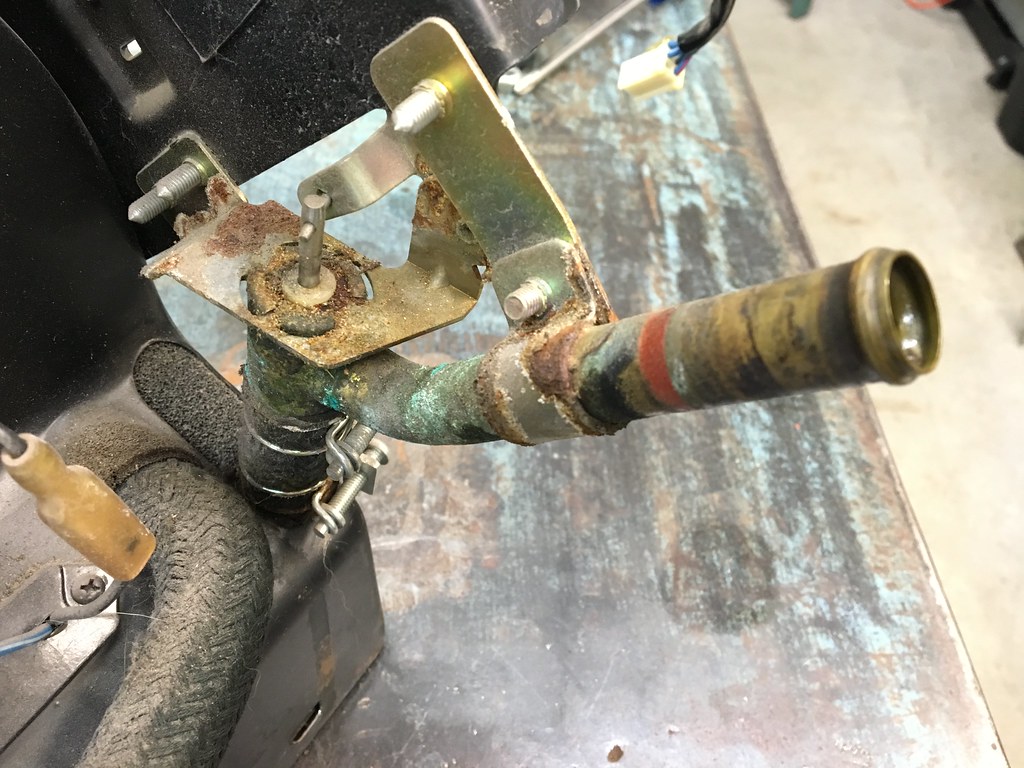
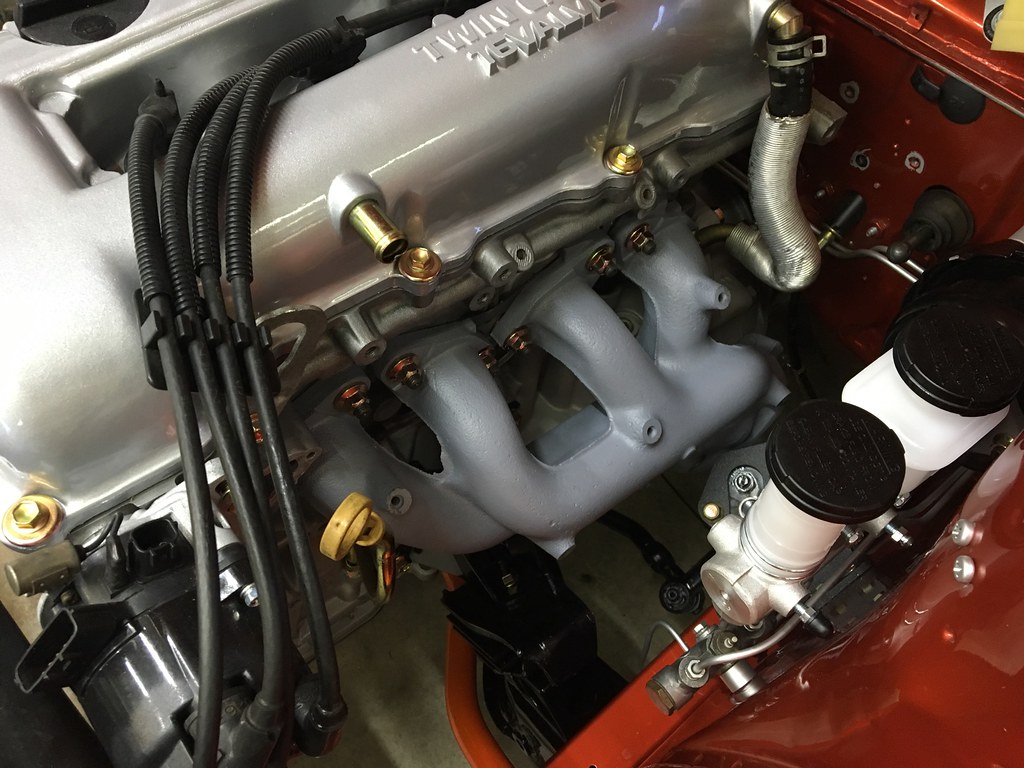
When we do SR conversions, we prefer to put the inlet and outlet for the heater on the passenger side of the car. This works out better with the heater hose arrangement on the SR20DE(T) engines, but we like to crossover the heater hose on the inside of the car (since there is not much room between the cylinder head and the firewall).
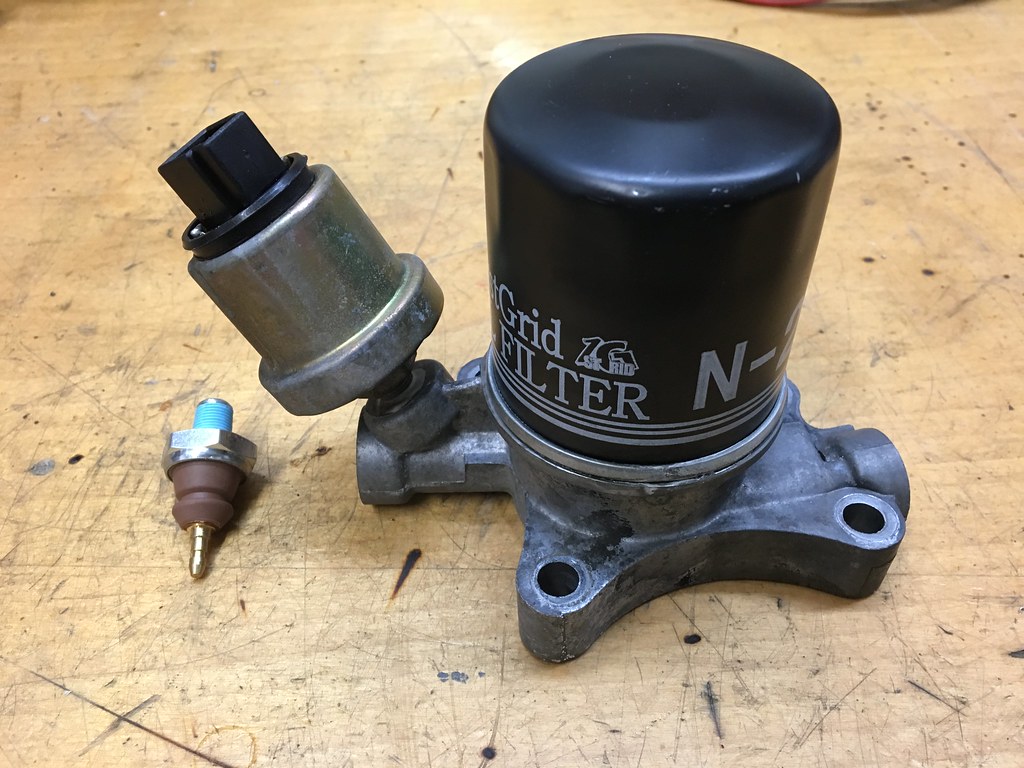
This would also be a good time to upgrade to a nylon heater control valve that you can find on many Honda and Toyota cars as well.
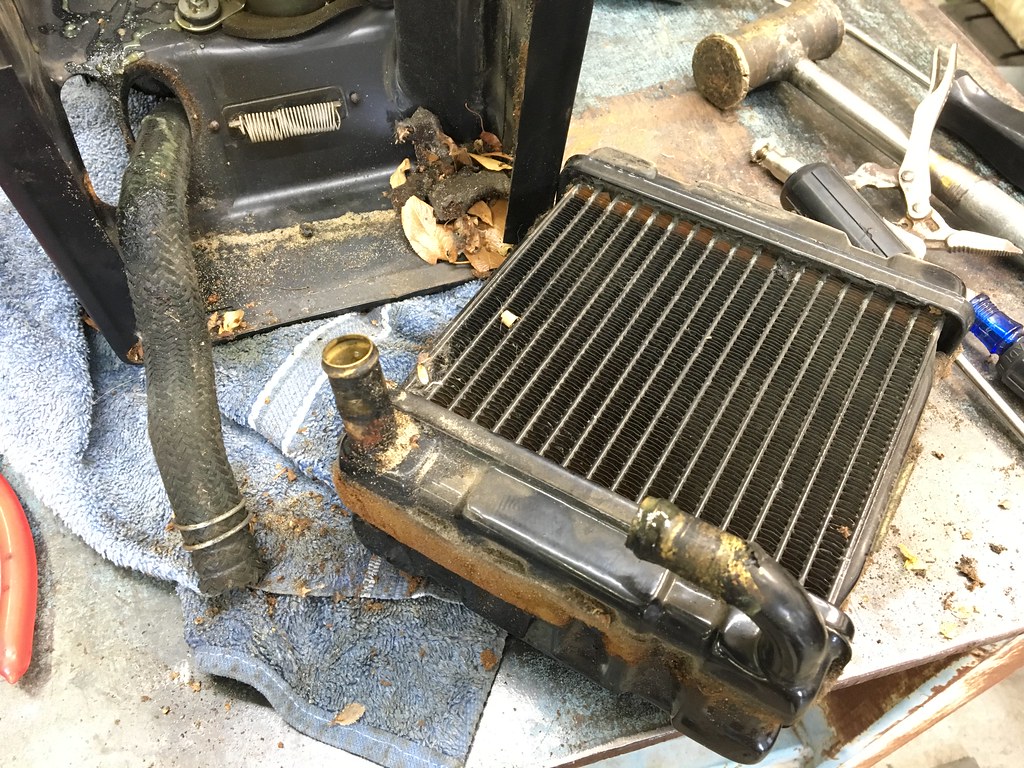
The heater core was removed and sent out to our local radiator shop for rodding out and resealing:
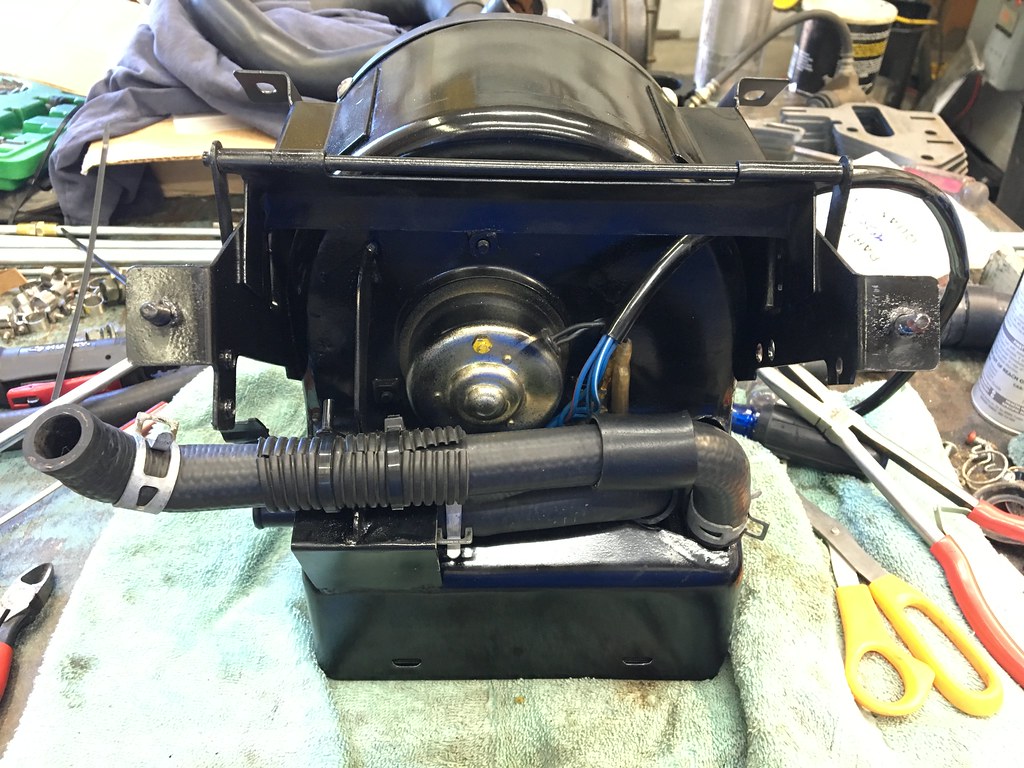
In the meantime, the heater box was cleaned and restored and the Honda heater control valve was installed and new hoses added;
 '
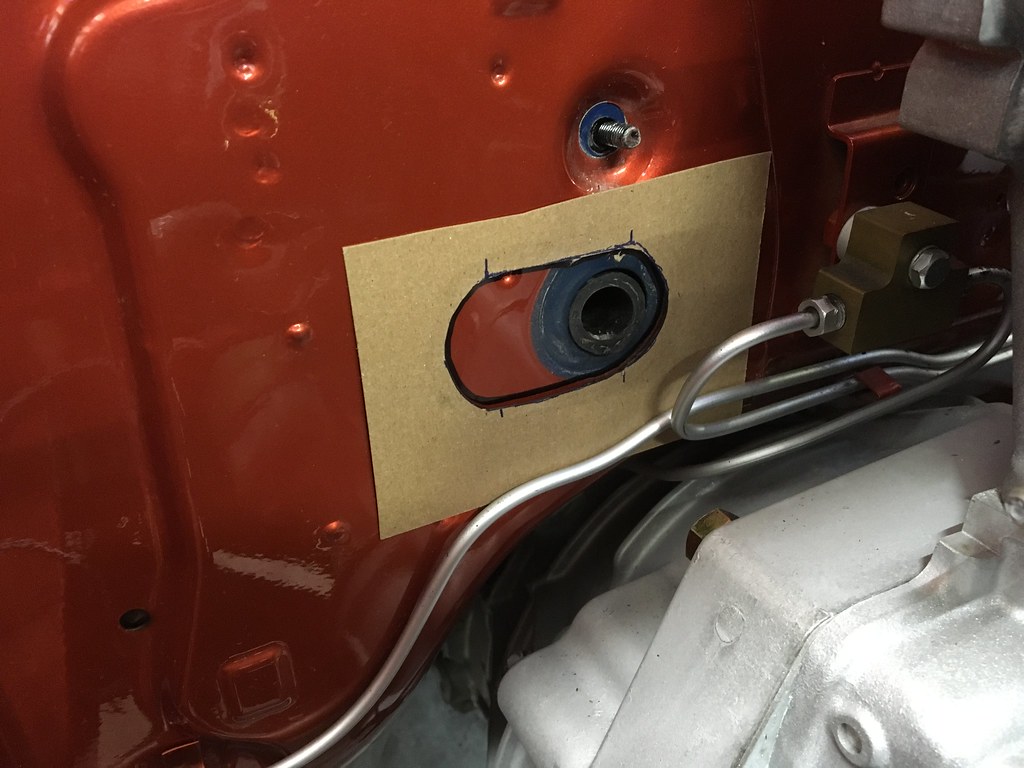
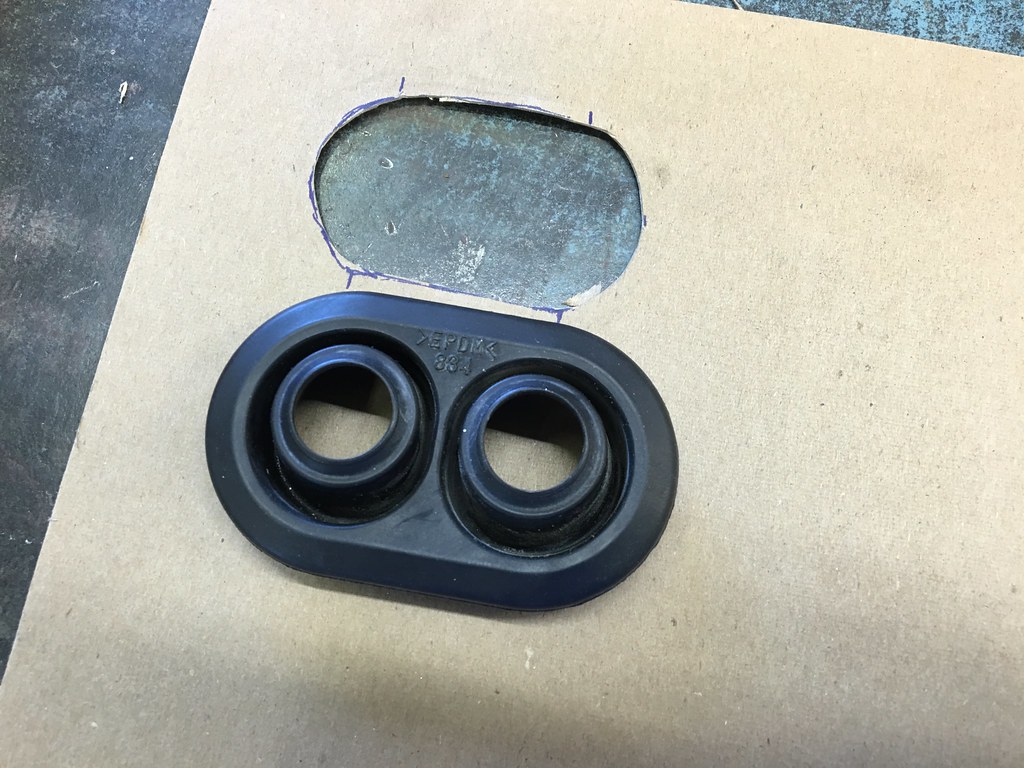
'The firewall was cut to incorporate an OEM heater grommet from a Toyota:
I don't see a photo of the final product-- but next time I see the car, I'll add one here.
Cooling:
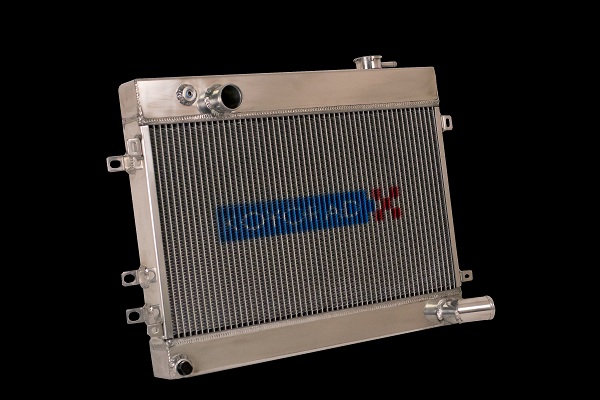
Since the car was painted, we did not want to modify the core support to add a different radiator. Instead, a high-quality KOYO Datsun 510 radiator was used as it was a bolt in and would more than handle the SR20DE's cooling needs.
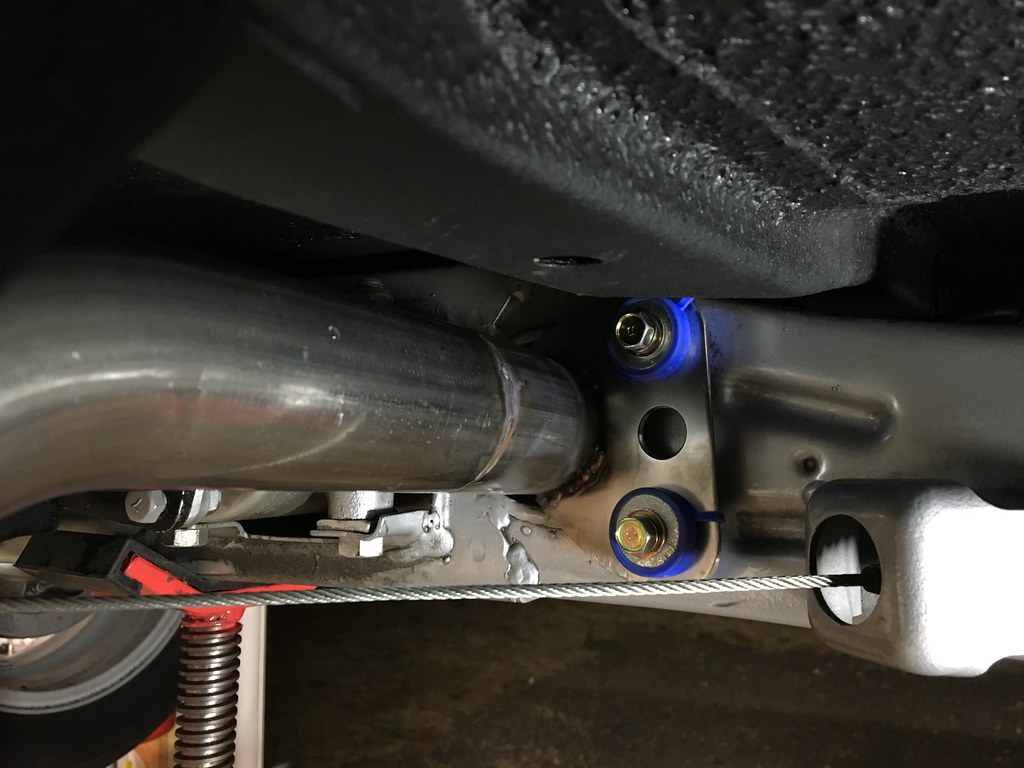
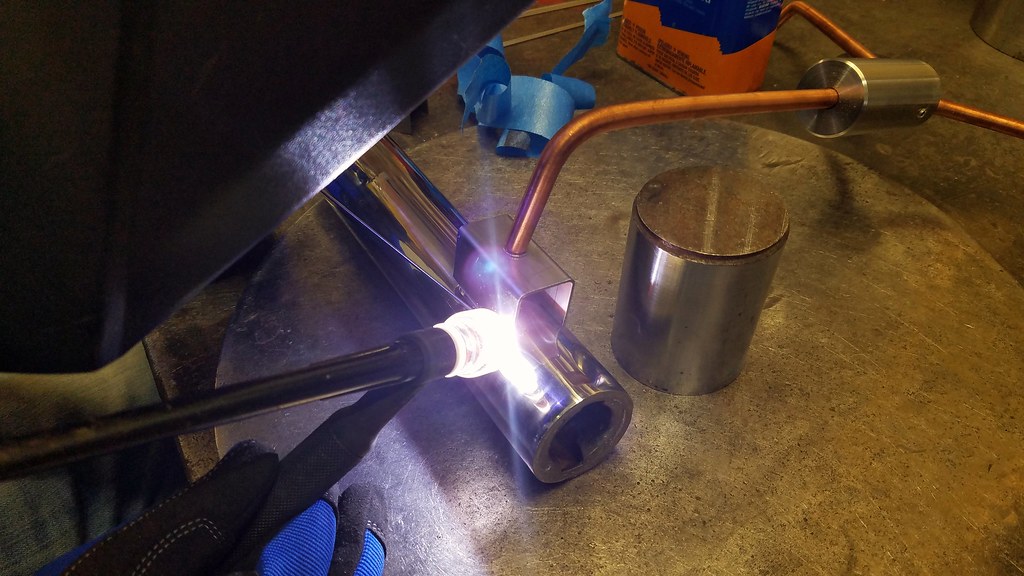
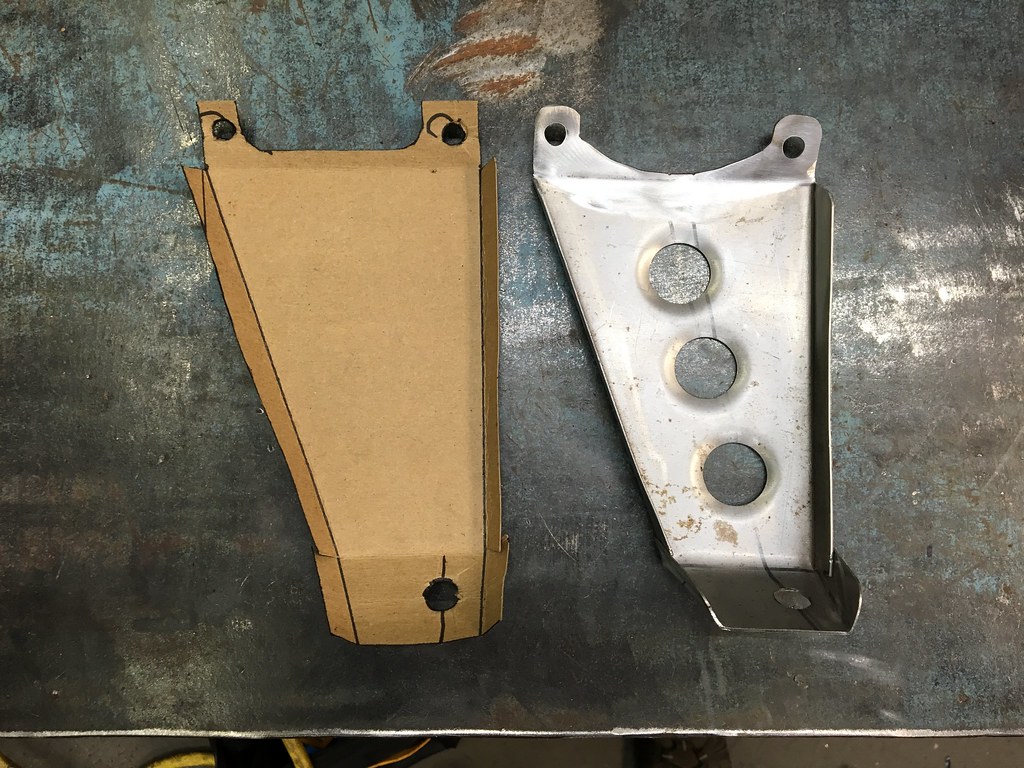
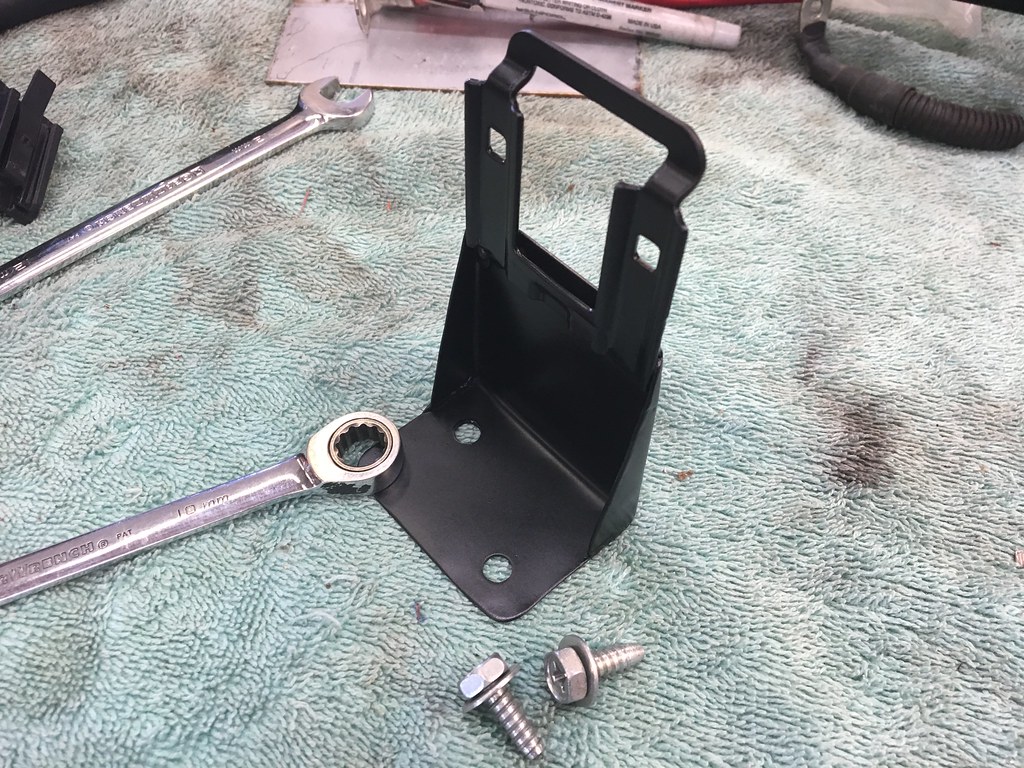
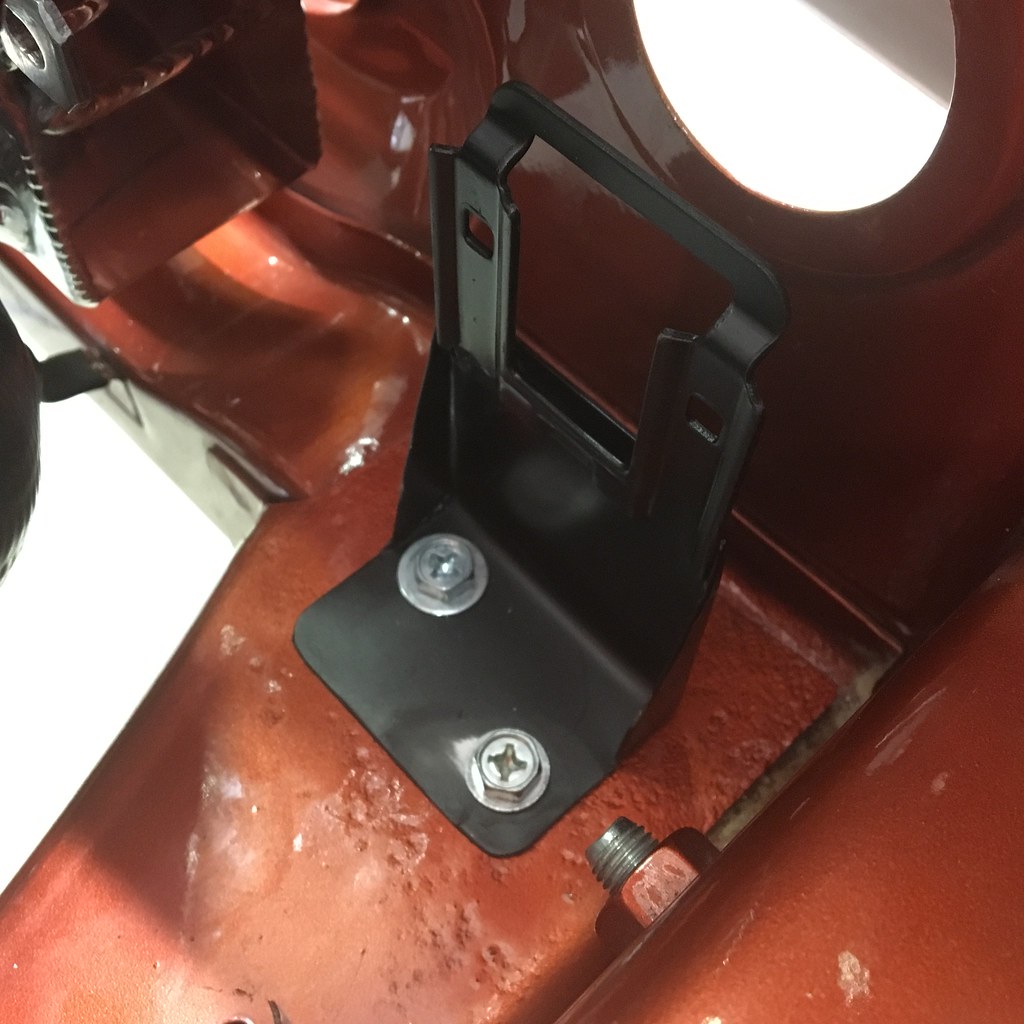
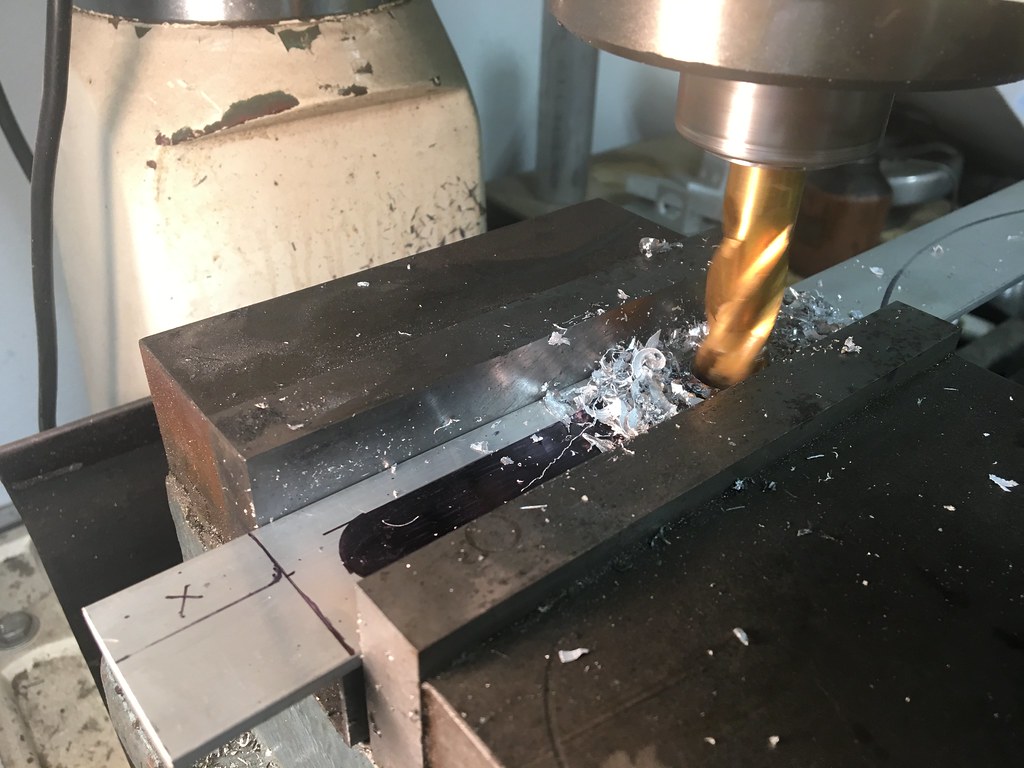
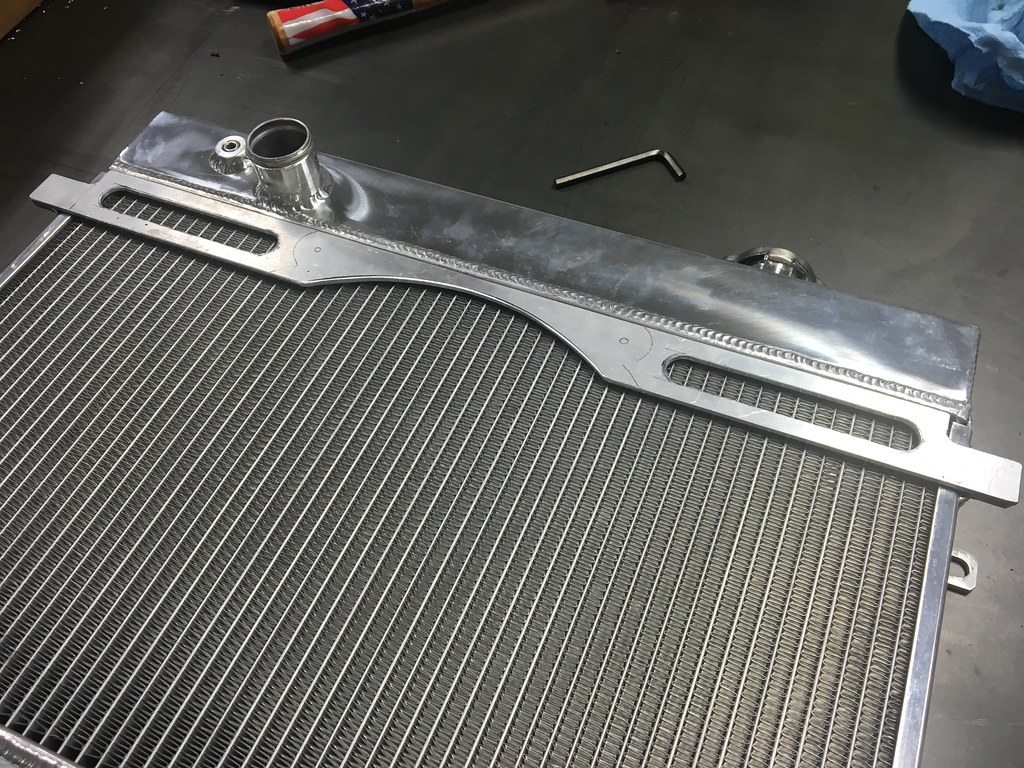
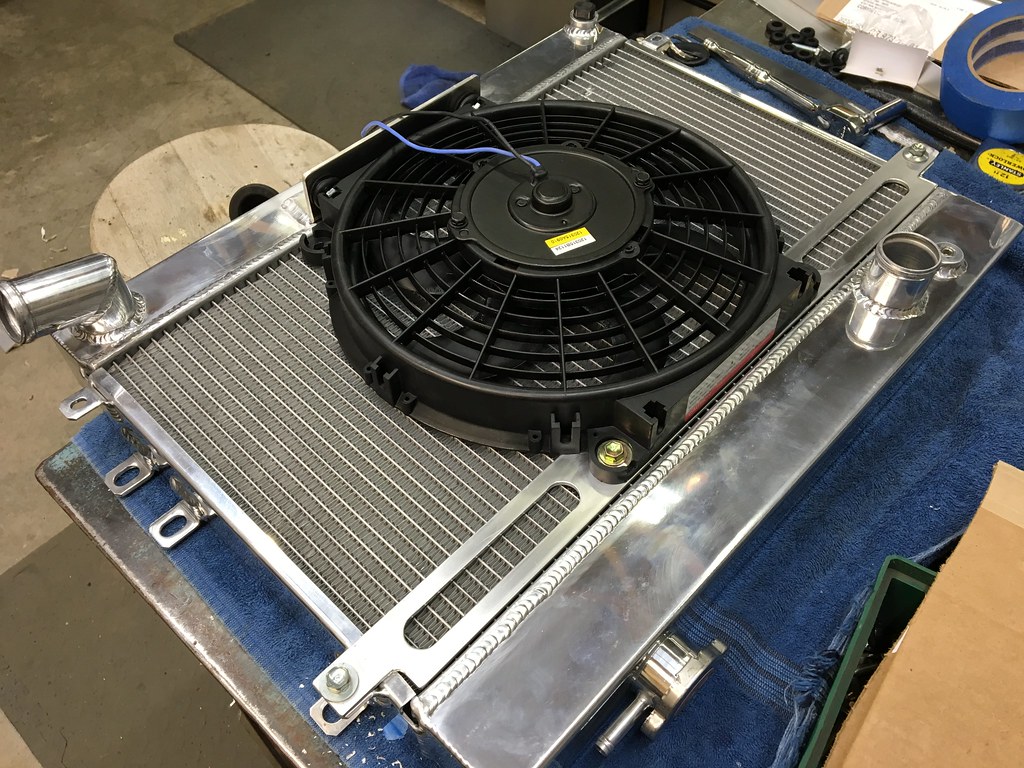
Of course, we would need an electric fan added to it, so a set of mounting brackets were made and installed onto the radiator:
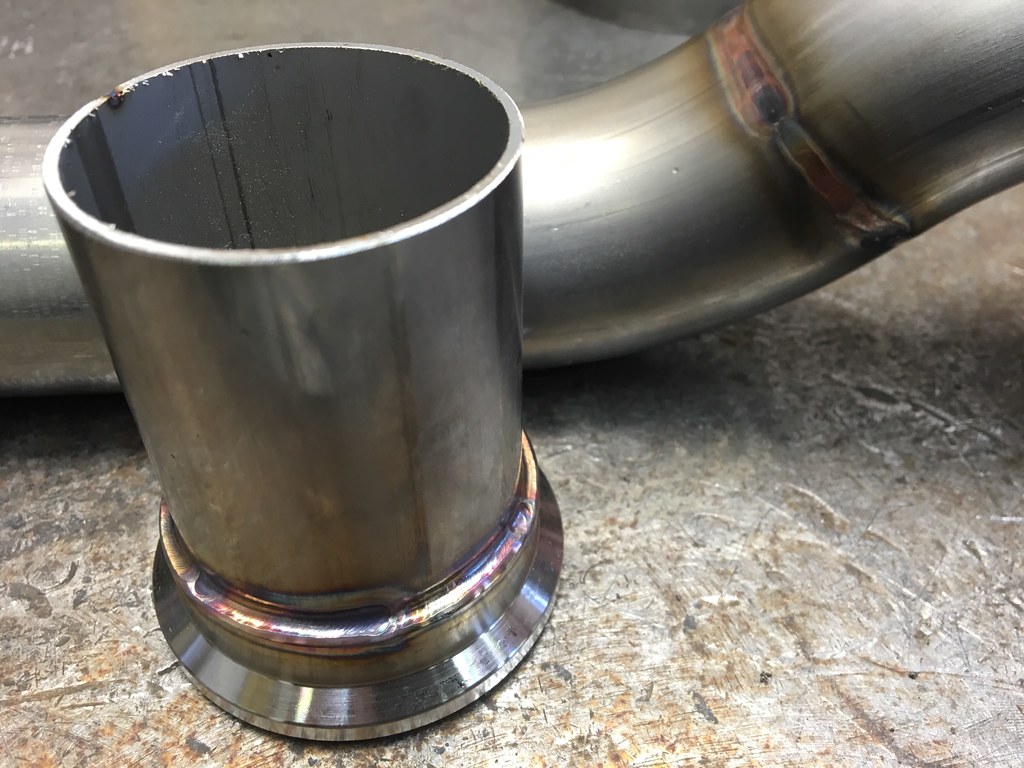
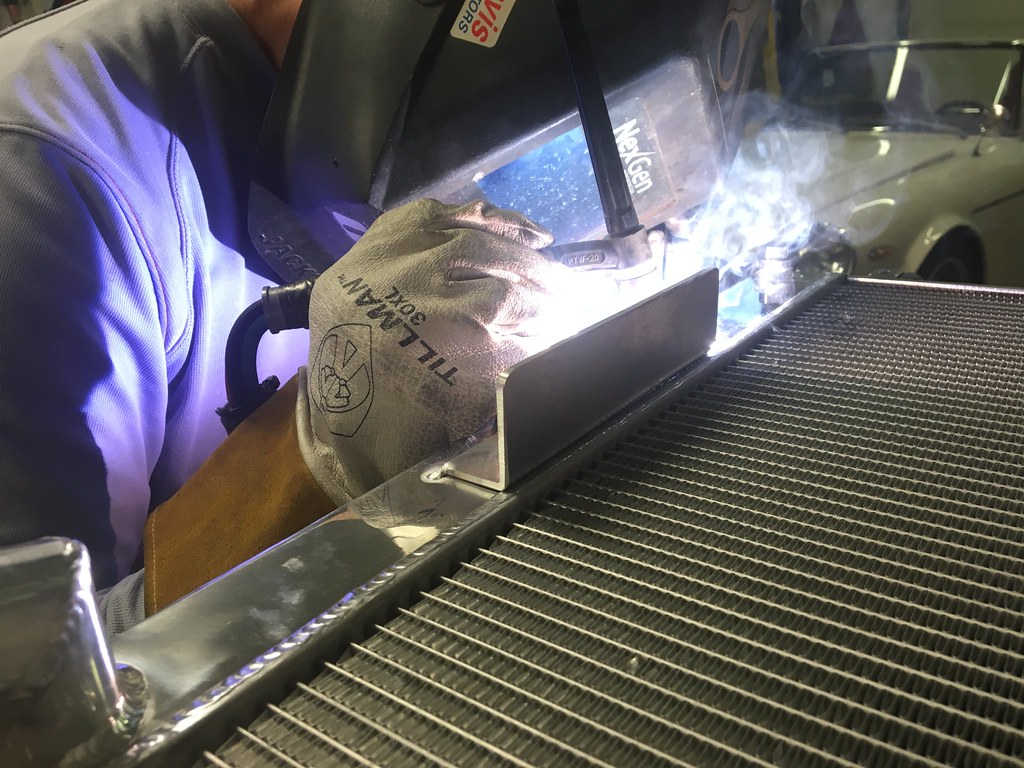
Eric Straw going to town with the TIG:
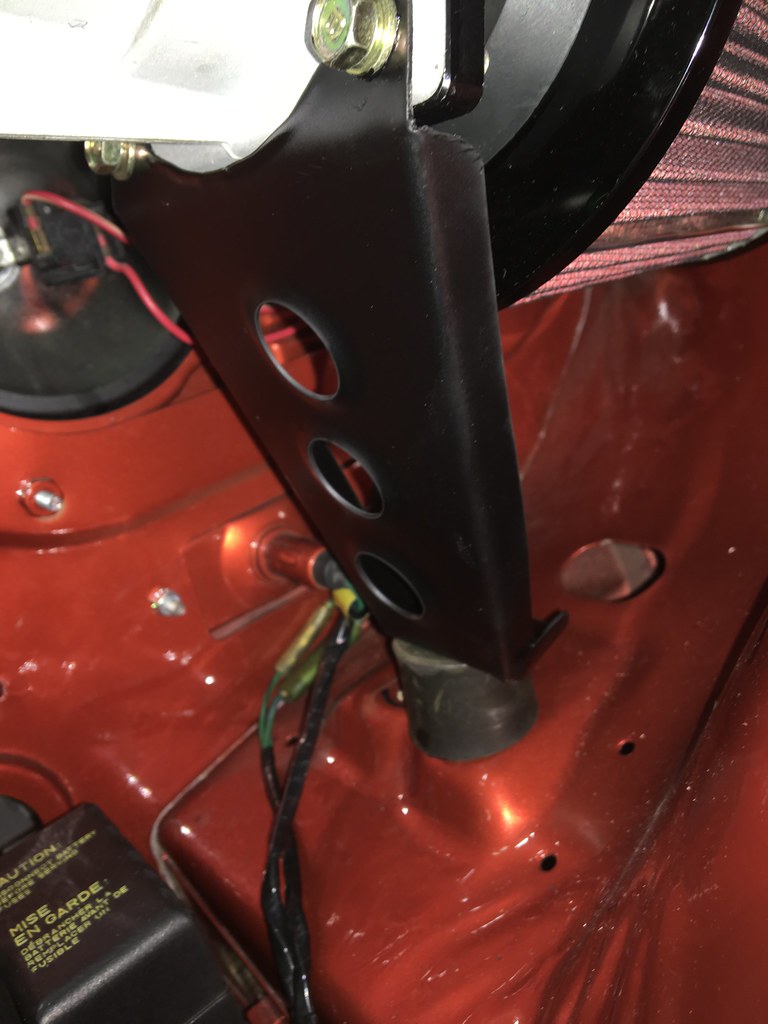
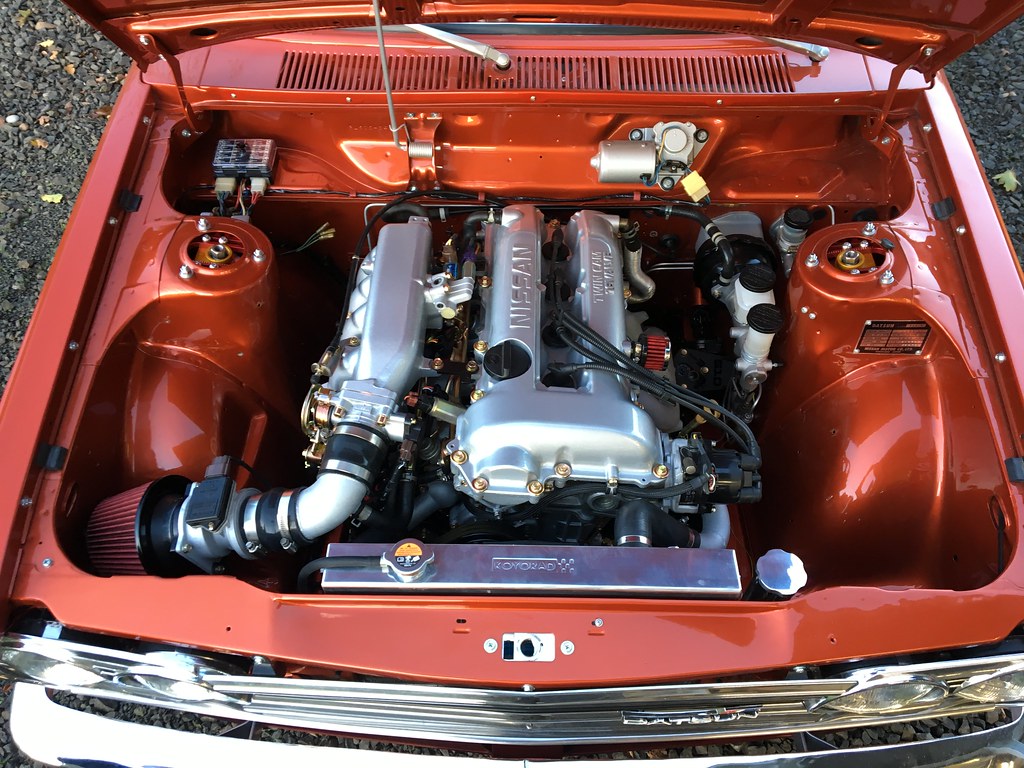
And installed into the car:
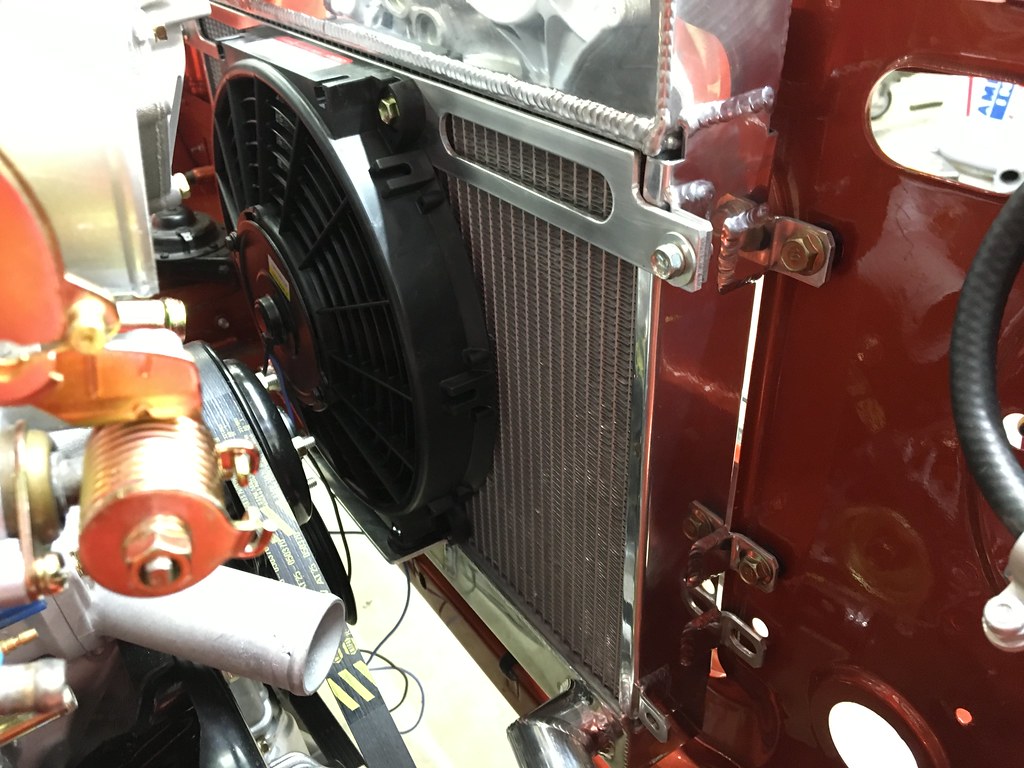
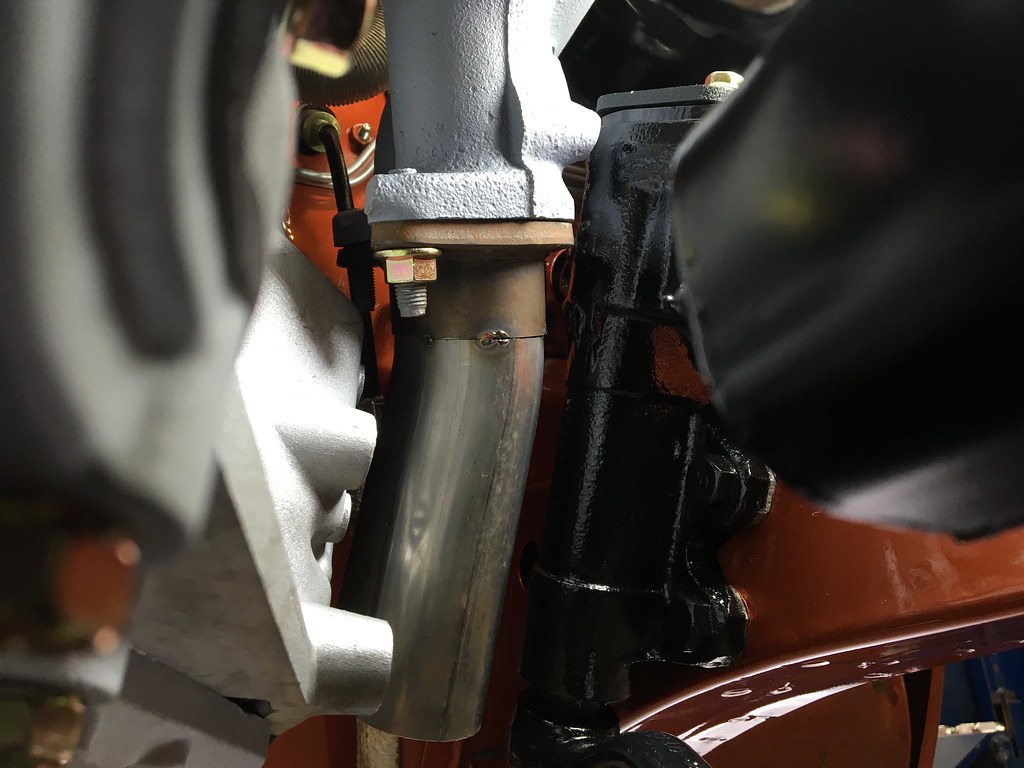
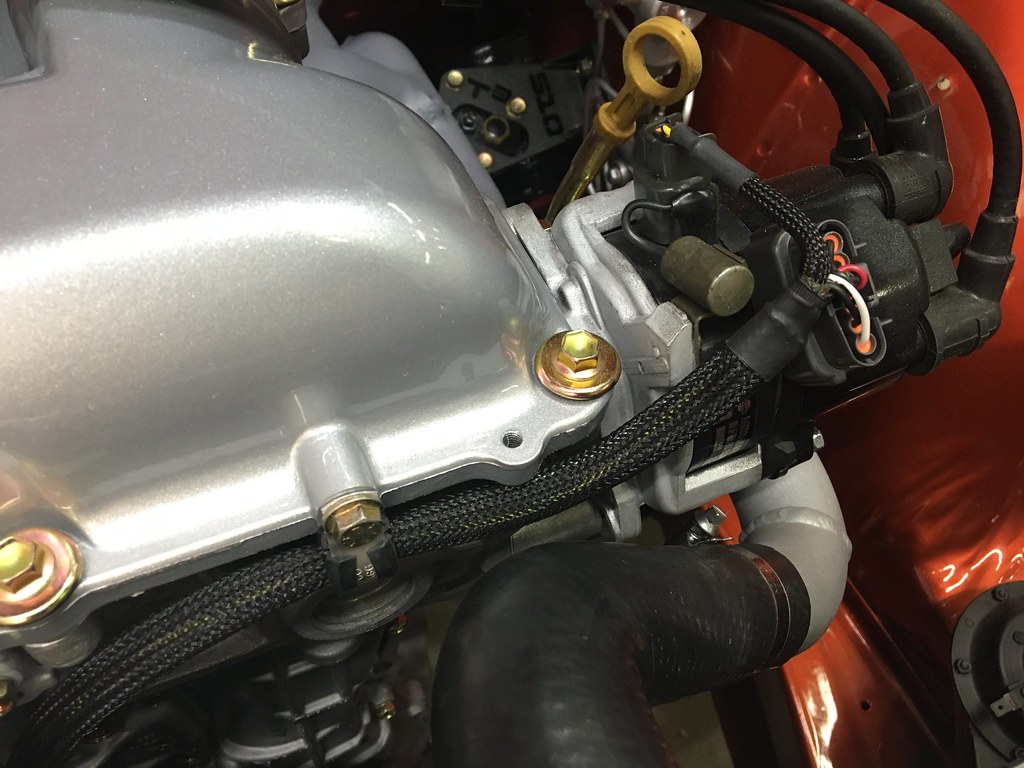
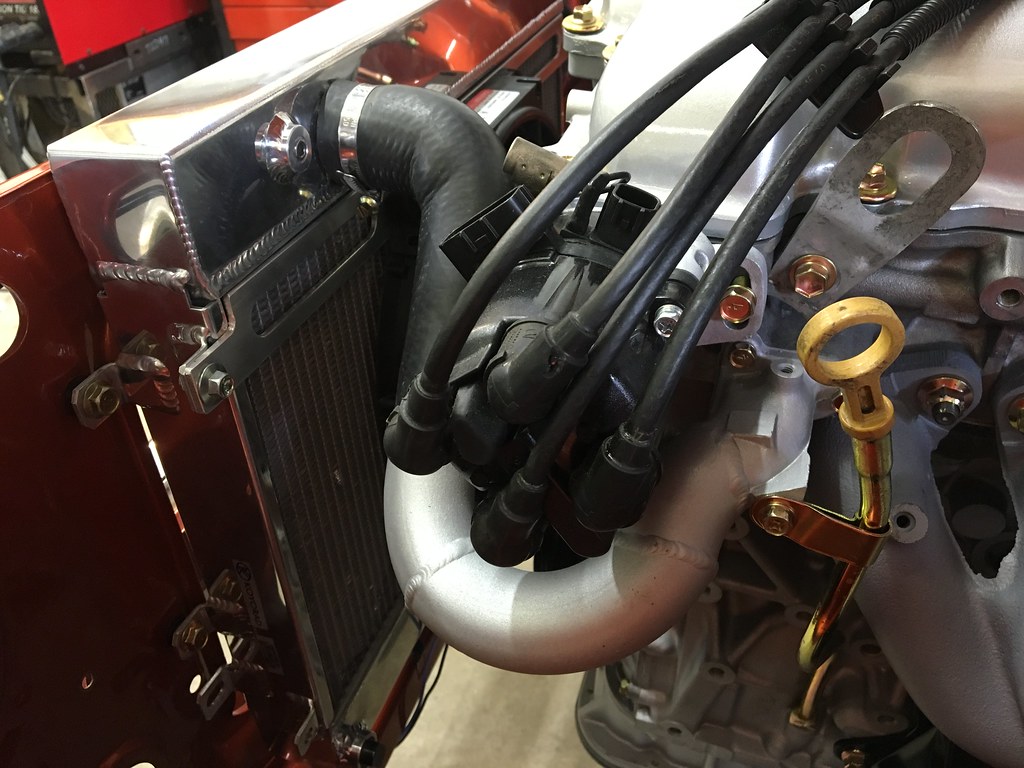
The tight clearance between the engine and the cylinder head required a tight radius hose to be used on the upper neck:
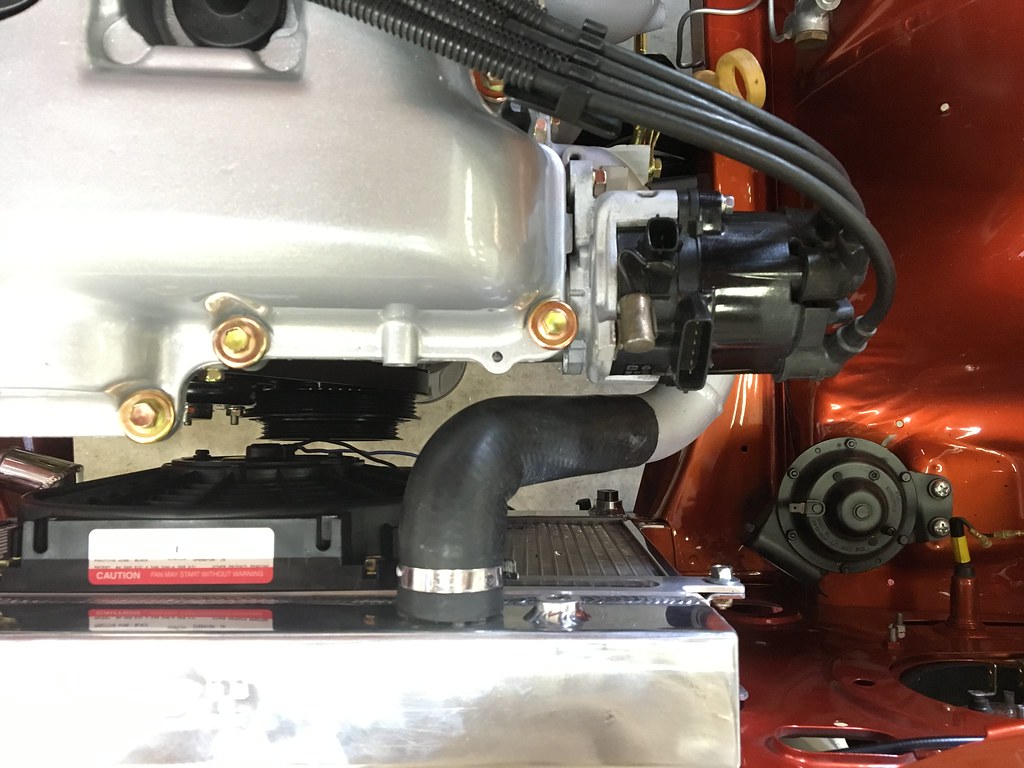
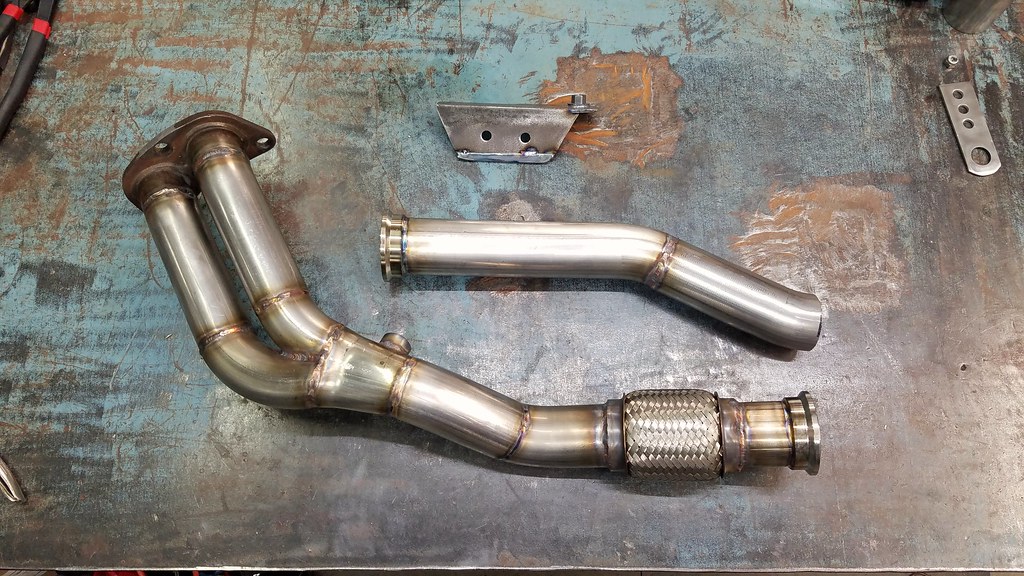
And then the upper water neck was modified to clear under the CAS (distributor) and back up to the radiator:
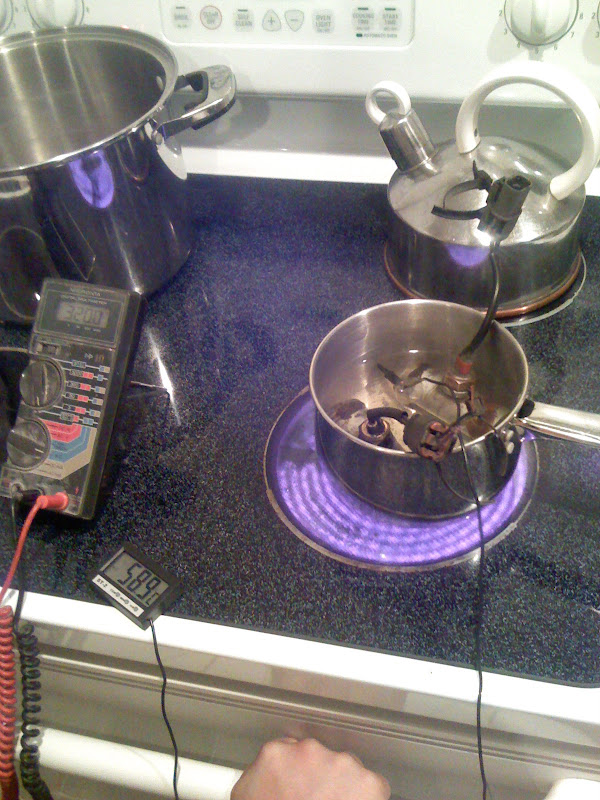
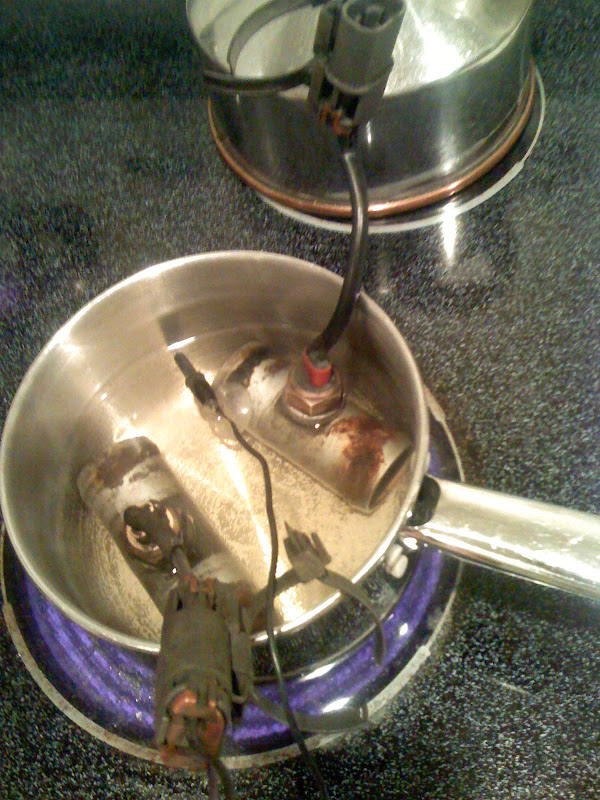
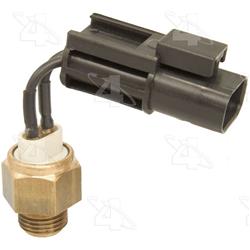
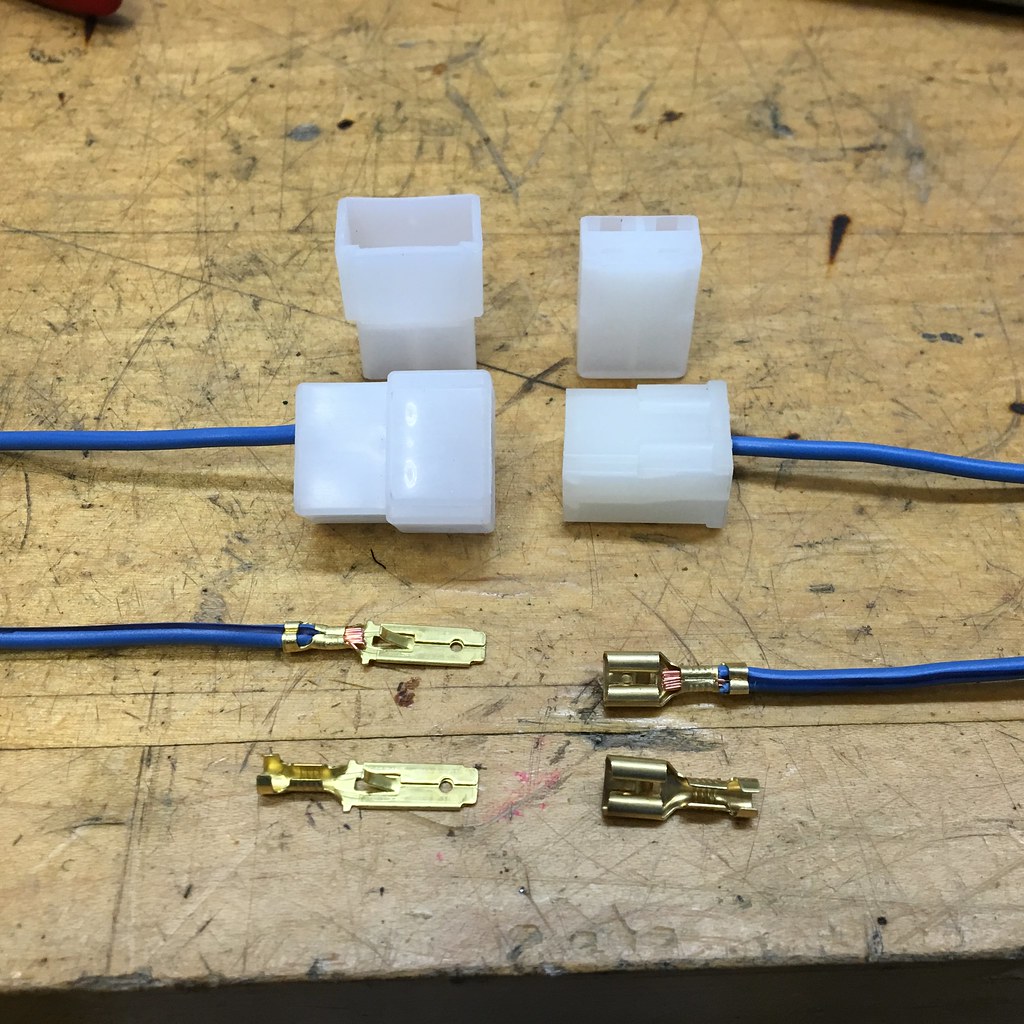
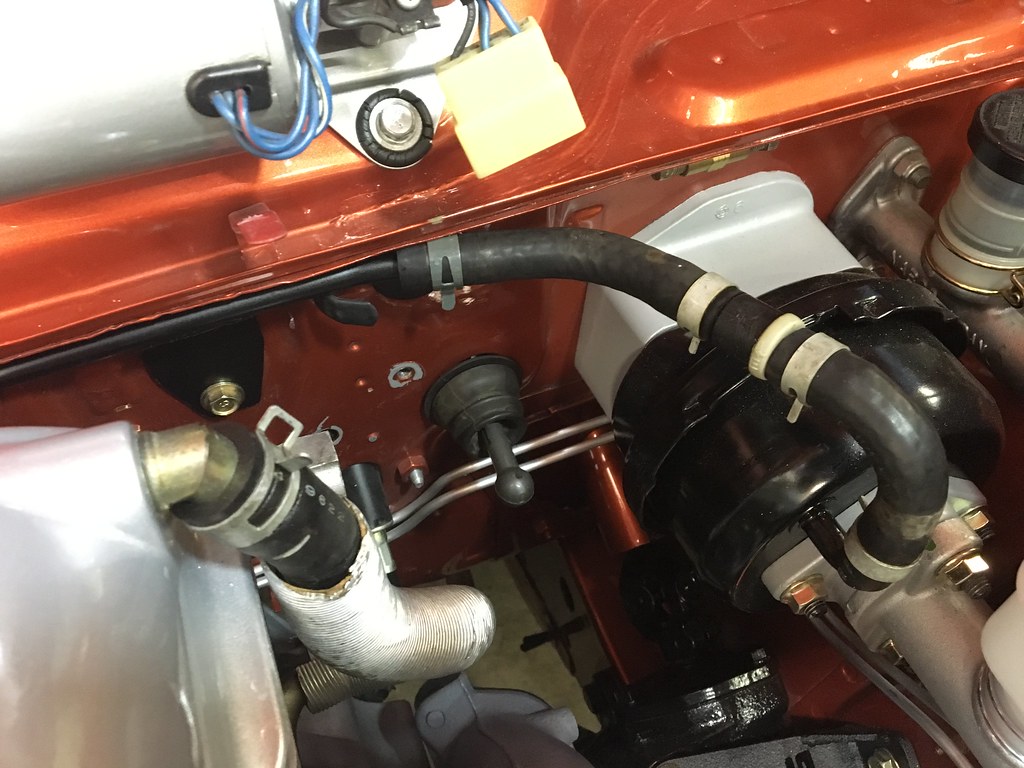
The fan is controlled by a in-line 240SX water temp sensor that mounts to the lower radiator hose:
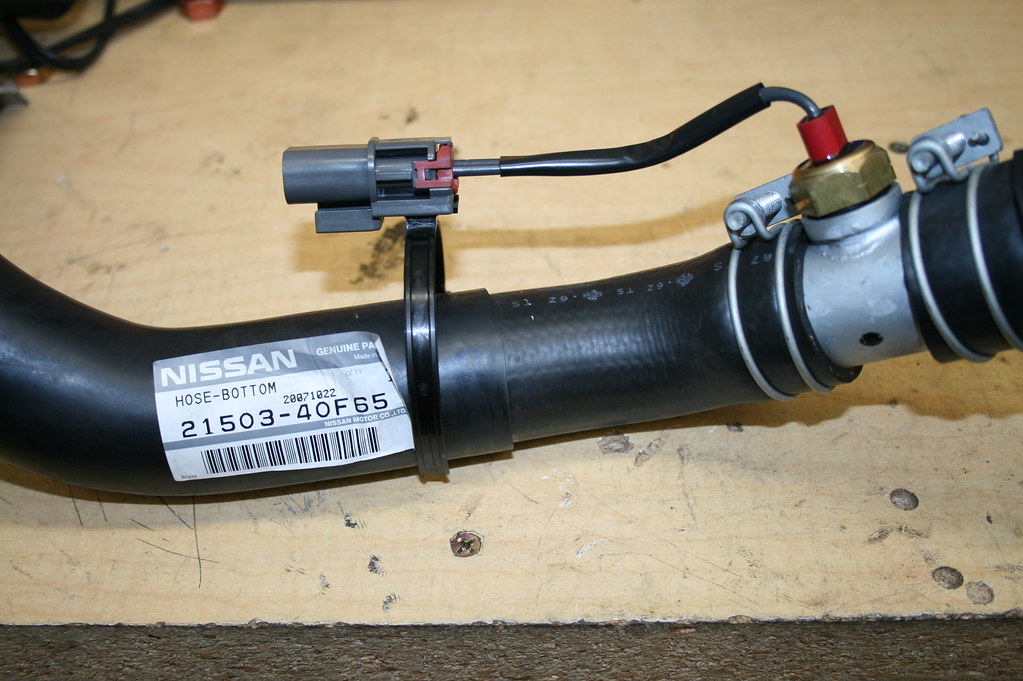
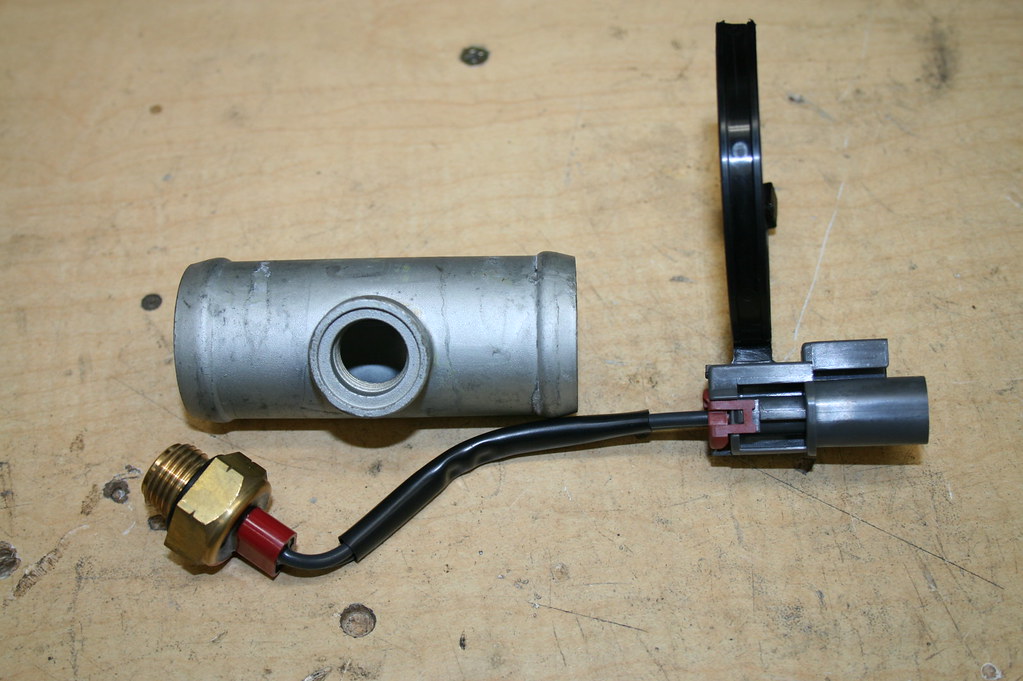
This is basically a grounding switch-- when the water temp reaches 205-degrees F, it closes the switch, which engages the fan relay until the temperature drops below 205. Simple and reliable.
Michael