Parts needed:
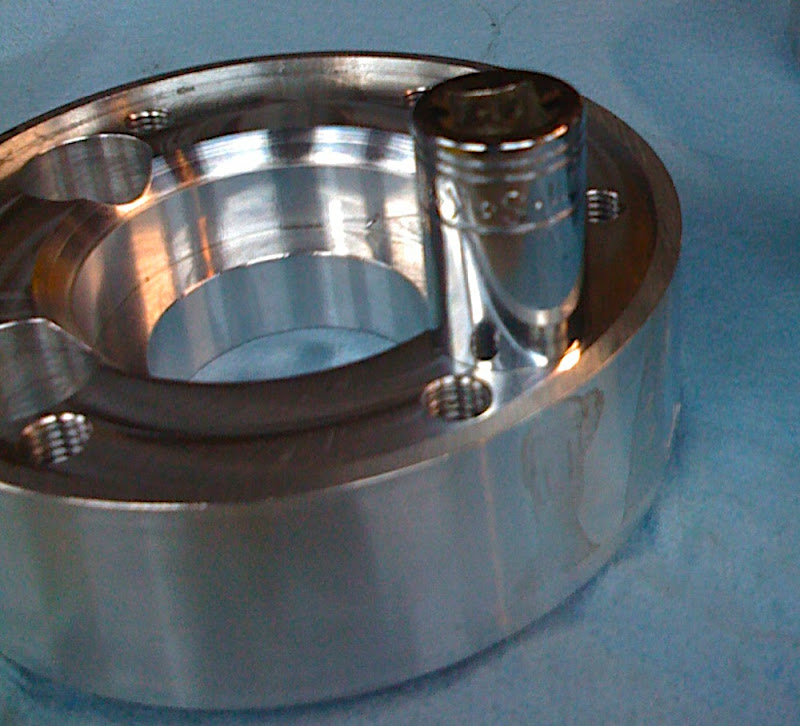
- Matt's adapters.
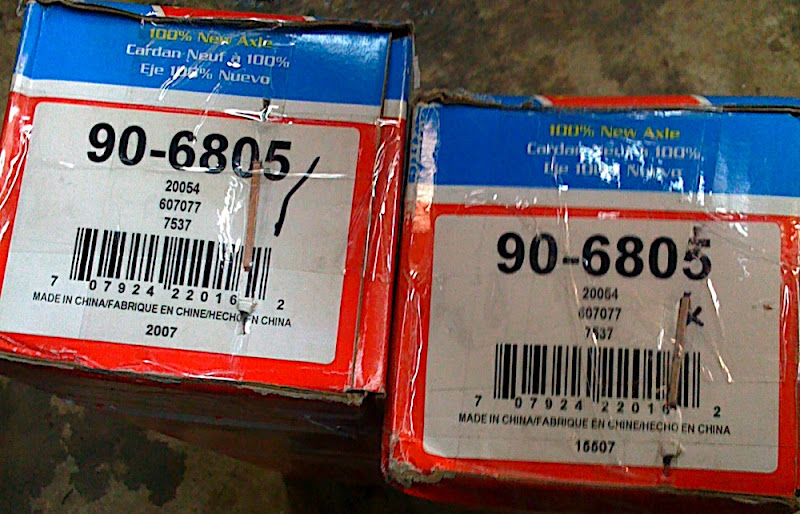
- (2) 1980-1990 Vanagan axles. 21.25-22.43 inches long. Must be this length for resize. I used EMPI p/n 90-6805. I got them at Discount Import Parts in Portland for $150. ***NOTE*** you can use the ebay axles mentioned in the project thread. This is the way I did it.
- (24) M8x1.25 x 60mm socket head bolts.
- 14mm thin wall socket. I found an SK at Baxter's that fit.
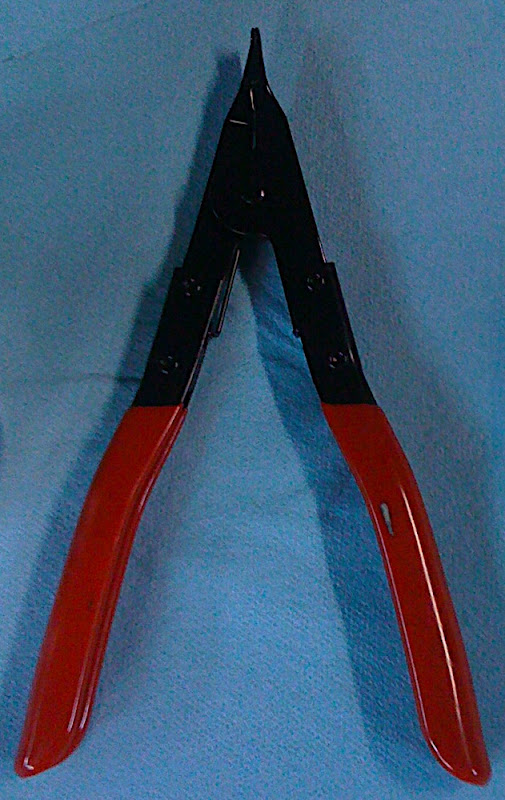
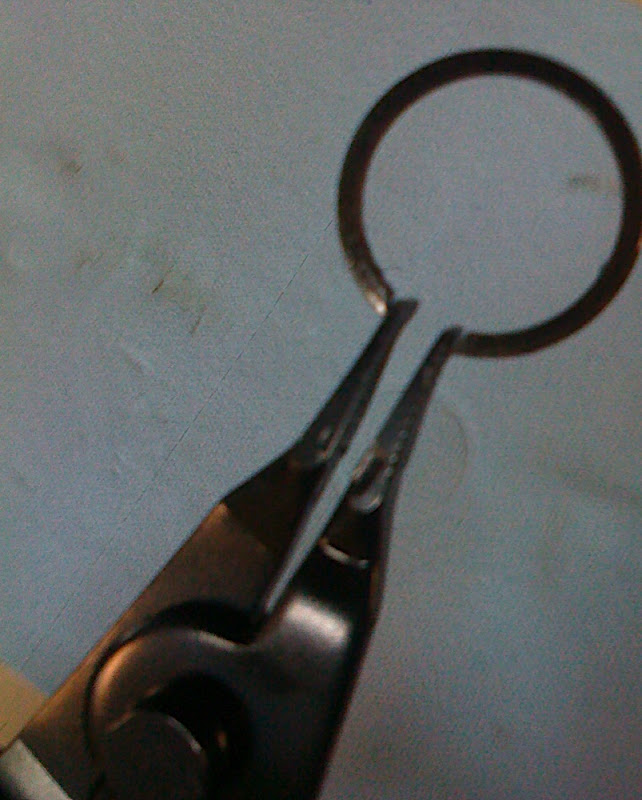
- Snap ring pliers.
The service order for the shortening and re-spline:
Once you have your shortened axles back, it is time to assemble the half shafts.
Parts laid out on the table:
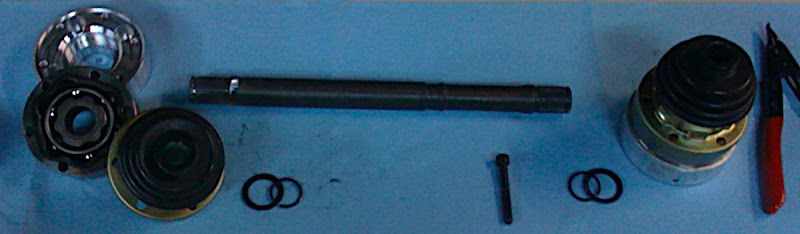
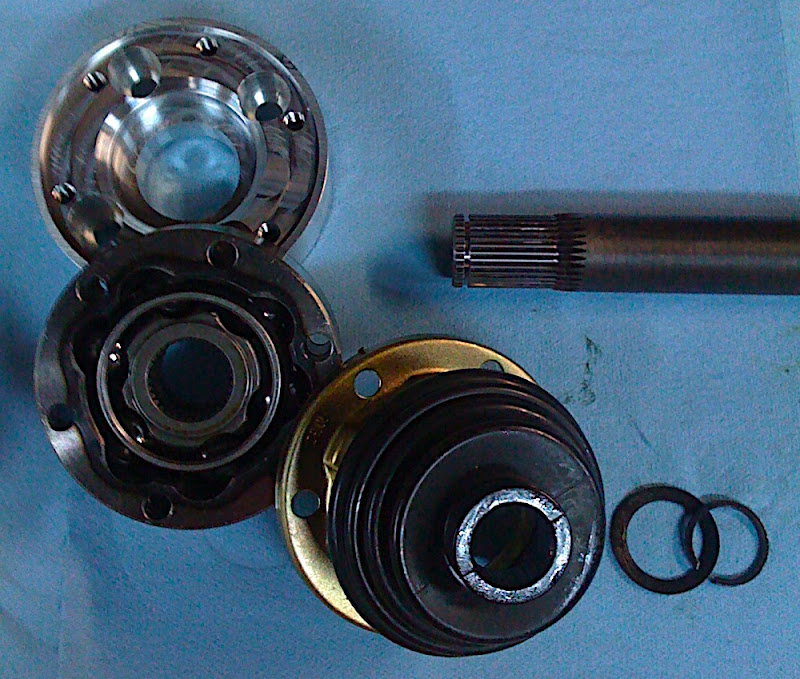
Slide the boots on the axle. They are different. Small boot inside diameter on smaller end of shaft.
Slide the CV joints on to the axle shaft.

Install the washer.
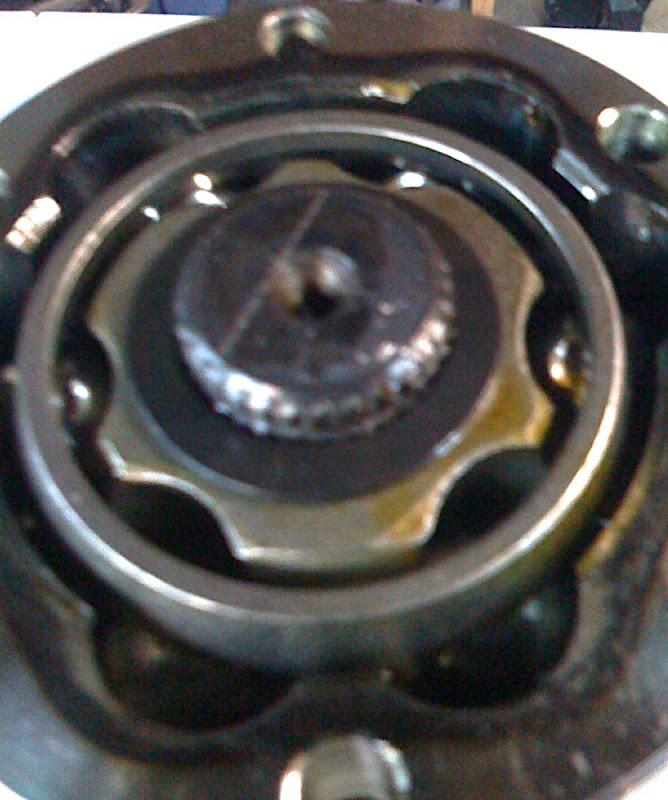
And the locking ring. This is where those pliers are necessary.
Make sure the locking ring is in the groove in the axle shaft.
Grease each CV joint, packing the grease into both sides of the joint. Use the whole pouch of grease for each joint. Push the remaining grease into the boots.
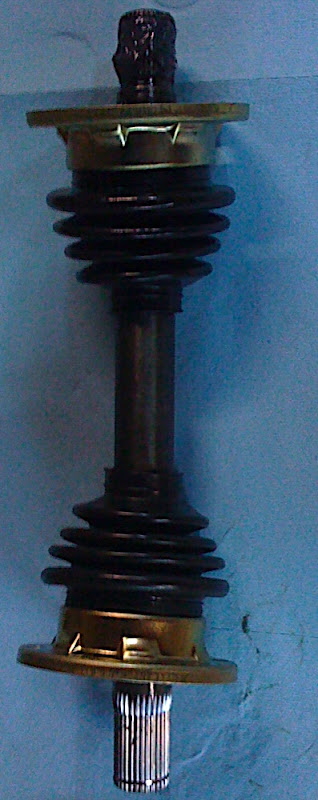
At this point, the axles are together.
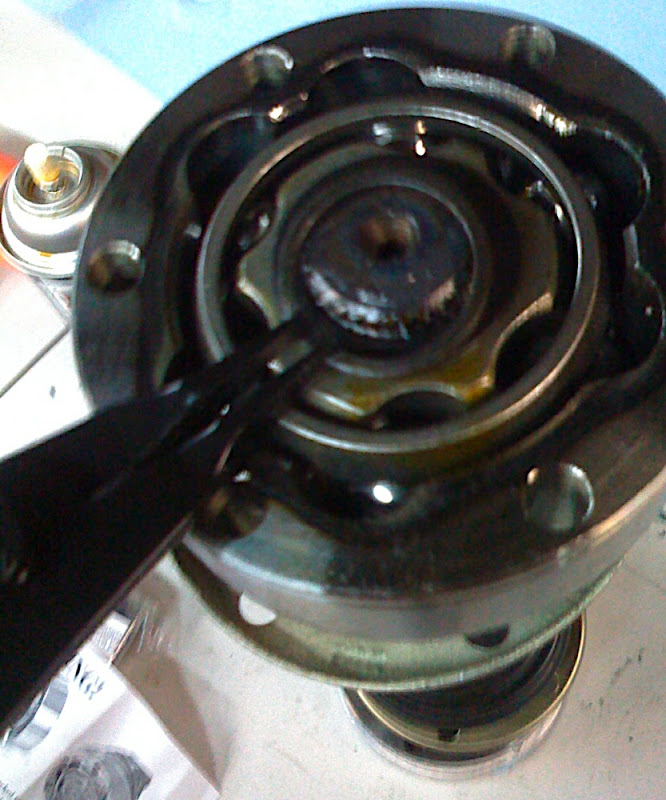
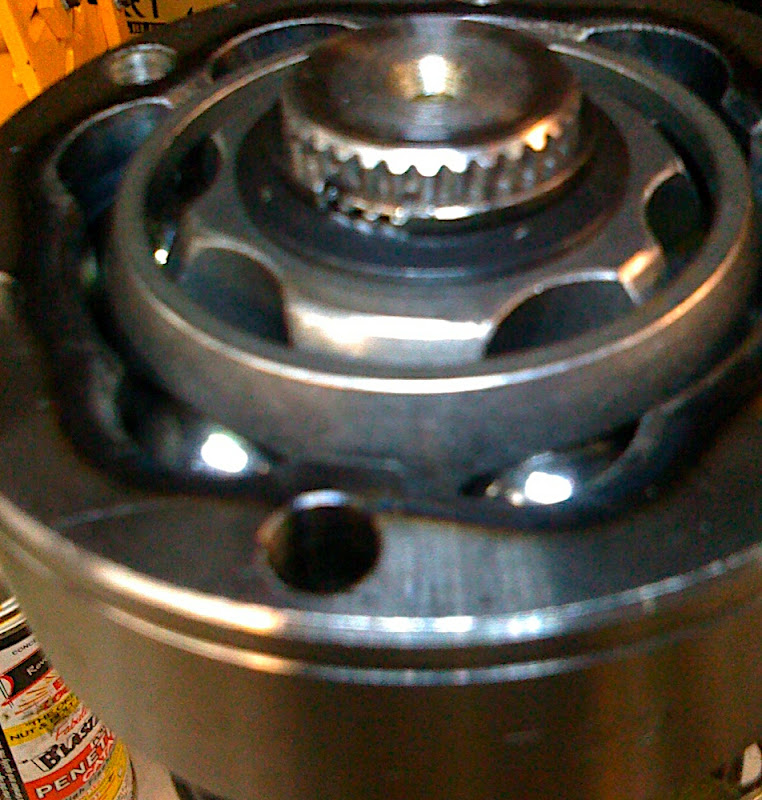
Remove the stock half shafts aka "dog bones".
Install all four adapters on their corresponding flanges on the diff stub axles and axle shafts. The adapters are the same. Use the stock hard ware and install in the same way the half shafts were once installed. I found it much easier to install the inner (diff side) flanges with the stub shafts out of the diff. They are easy to remove with a 14mm socket. Be careful to keep that bolt clean. When reinstalling the stub shaft, don't over tighten the bolt. You can strip out the threads in the carrier if you over tighten.
Bolt the CV axles into place using the cap head screws mentioned above. I used some never-seize on the threads because there is a steel bolt going into an aluminum flange.
Tighten, check everything for clearances and enjoy.
After an initial test drive, I checked bolts to make sure nothing was loose.


