Zombie 510 Experiment
-
djfootball

- Posts: 101
- Joined: 28 Sep 2012 12:01
- Location: North Carolina
Re: Zombie 510 Experiment
Done! thanks!

Re: Zombie 510 Experiment
Might be another victim of battery acid (the car, not you!  )
)
Because when you spend a silly amount of money on a silly, trivial thing that will help you not one jot, you are demonstrating that you have a soul and a heart and that you are the sort of person who has no time for Which? magazine. – Jeremy Clarkson
Re: Zombie 510 Resurrection
So you did find another shell? I must've missed that. Post some pics?djfootball wrote:I'm glad I found a better shell, I'm learning a lot from this one and since it's not my MAIN shell, I'm not afraid to cut it up.
-
djfootball
- Posts: 101
- Joined: 28 Sep 2012 12:01
- Location: North Carolina
Re: Zombie 510 Experiment
I don't want to post pics yet because I'm waiting to sell my dirtbike to buy it. It's on ICE though. I will say that it's a wagon and has virtually no rust.
Re: Zombie 510 Experiment
Does it have a rear axle, brakes, everything, or is it truly just a bare shell? Only asking because the rear suspension from your sedan will not transplant into your new wagon without major modifications.
-
djfootball
- Posts: 101
- Joined: 28 Sep 2012 12:01
- Location: North Carolina
Re: Zombie 510 Experiment
Thanks HudsonMC, I'll make sure I check that out.
-
djfootball
- Posts: 101
- Joined: 28 Sep 2012 12:01
- Location: North Carolina
Re: Zombie 510 Experiment
okayfine wrote:Might be another victim of battery acid (the car, not you!
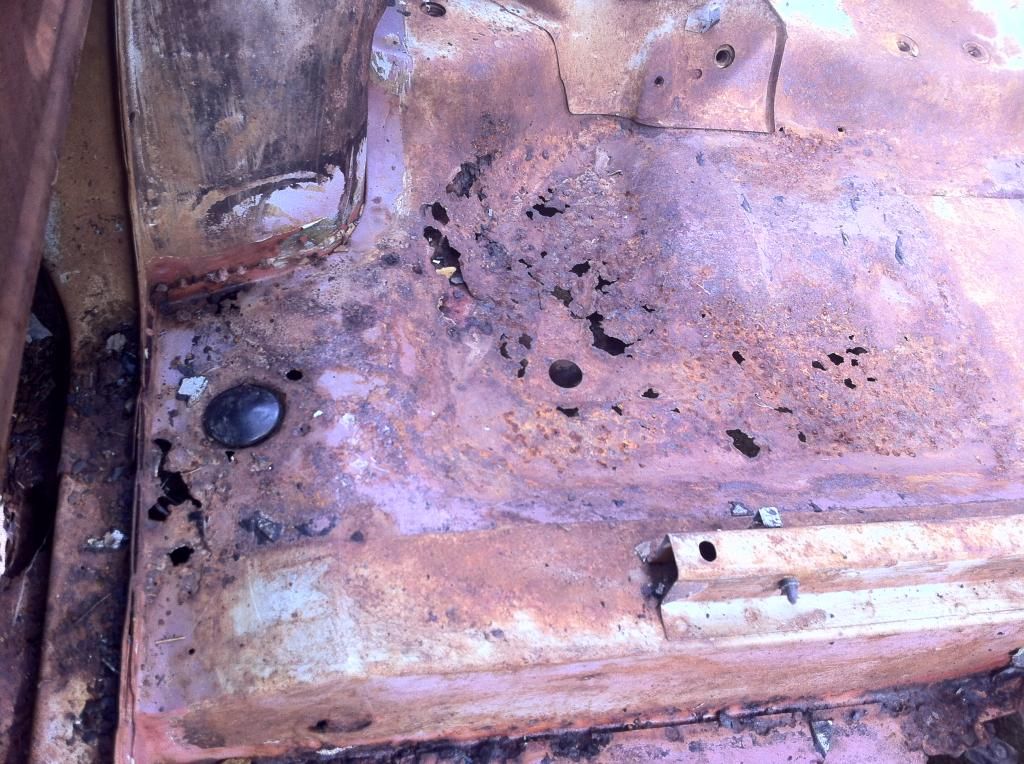
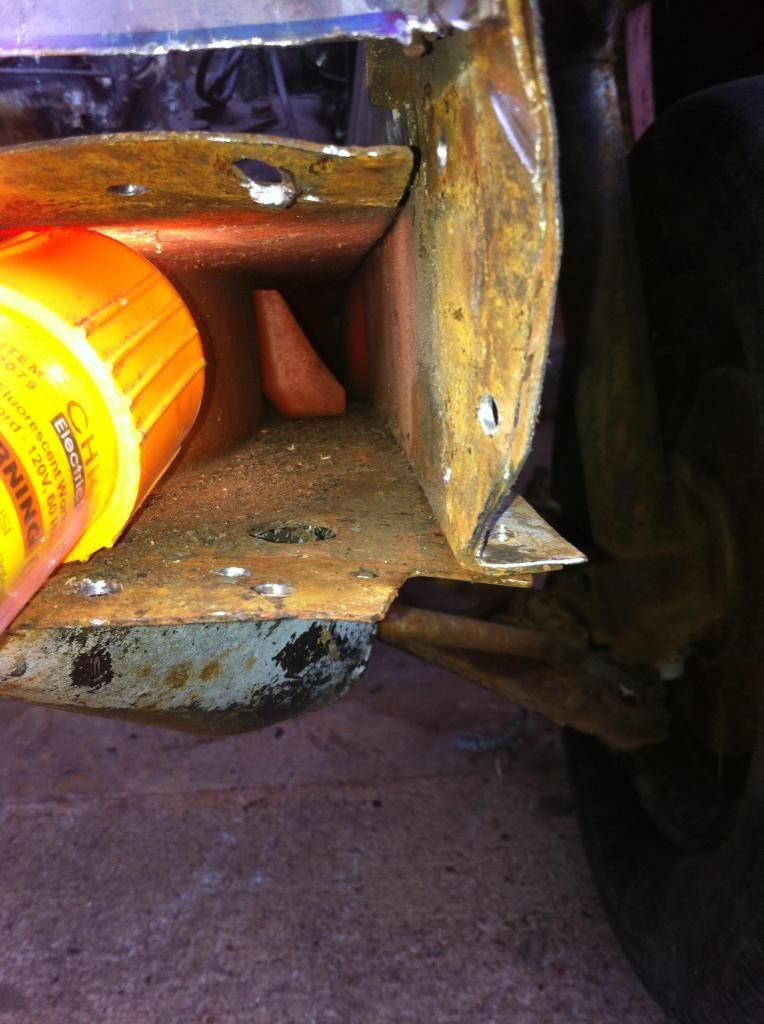
True. The bottom battery bracket has rusted through to the wheel well as..... well.
-
djfootball
- Posts: 101
- Joined: 28 Sep 2012 12:01
- Location: North Carolina
Re: Zombie 510 Experiment
My buddy helped me get my glass out and I pressure washed and decreased my engine bay and interior. It's looking pretty bad on the inside where the rear mounts are attached.
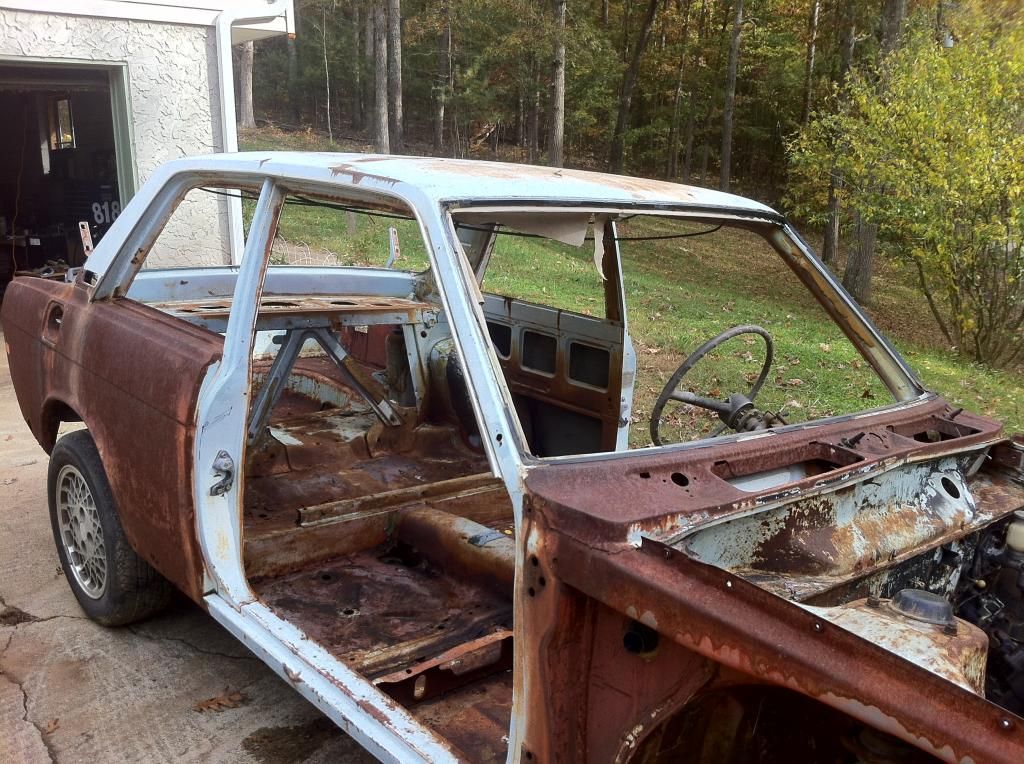
I've seen some pretty good "how to's" on rocker and panel repair but does anyone know of any good threads on repairing this area?
I've seen some pretty good "how to's" on rocker and panel repair but does anyone know of any good threads on repairing this area?
Re: Zombie 510 Experiment
Indy started to. Then look what happened!
There isn't a tutorial I know of. It's all got to come out, and it's all got to go back in again. The problem you'll have is finding good metal to weld to. If you start poking it, I'd wager all that is rotten to varying degrees.
There isn't a tutorial I know of. It's all got to come out, and it's all got to go back in again. The problem you'll have is finding good metal to weld to. If you start poking it, I'd wager all that is rotten to varying degrees.
Because when you spend a silly amount of money on a silly, trivial thing that will help you not one jot, you are demonstrating that you have a soul and a heart and that you are the sort of person who has no time for Which? magazine. – Jeremy Clarkson
-
djfootball
- Posts: 101
- Joined: 28 Sep 2012 12:01
- Location: North Carolina
Re: Zombie 510 Experiment
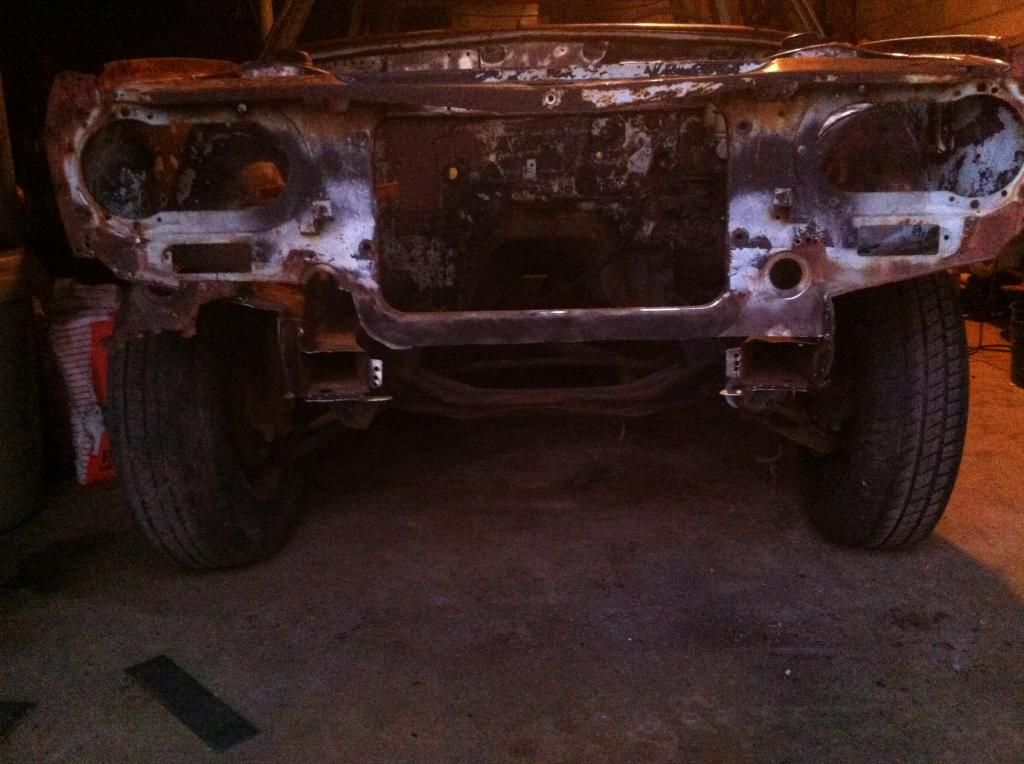
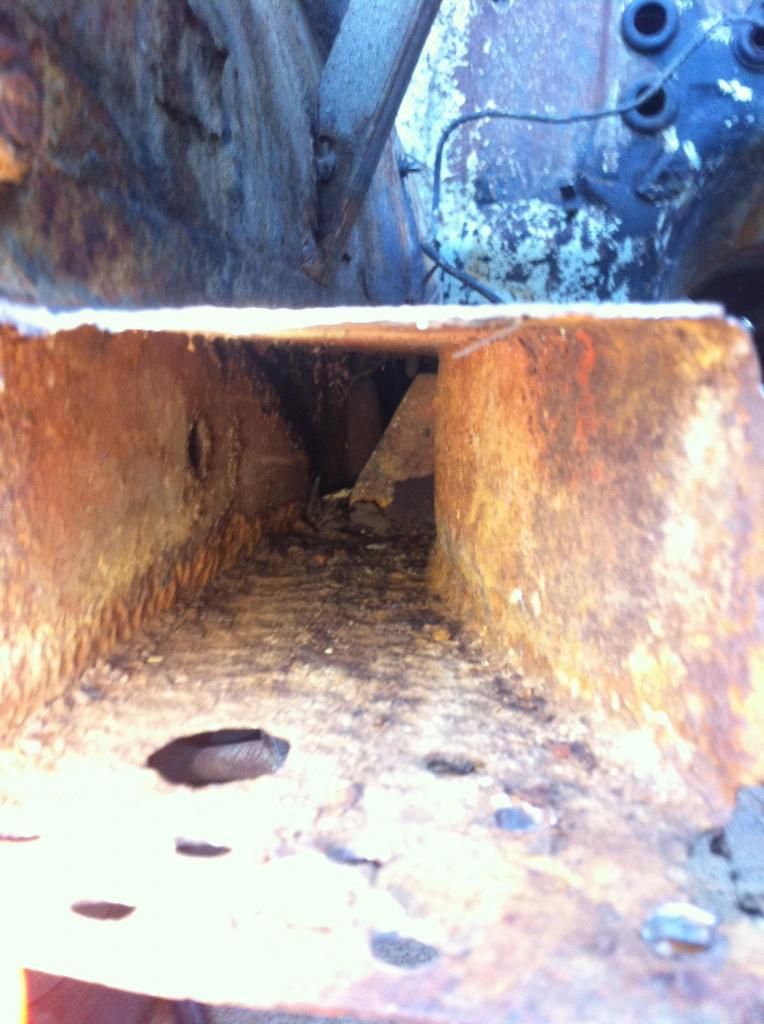
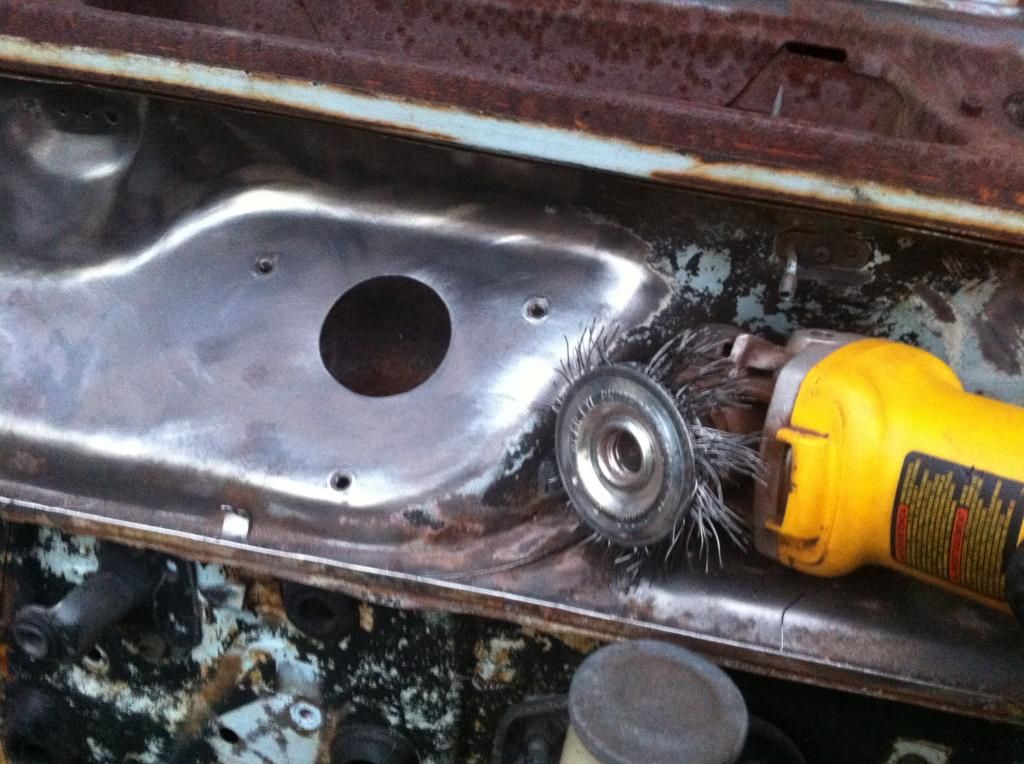
I'm planning on cleaning up the engine bay and priming it with dp401lf. I'll probably do a nice solid color in the bay and then insert the engine. As of now, I do NOT plan on painting the exterior of the shell. However, I do plan on fixing any rusty holes as well reinforcing anything structural to the best of my ability. I don't know if I'm just going to clear coat over the exterior shell or just buff it out and keep it dry for the rest of it's existence. I started by pulling the radiator support brace on the front of the car. It was all smashed up and I think I can get a piece of tube steel in there in it's place. I've been watching Phil and Indy510 drill out parts of shells and I got inspired. What size tube steel do you guys recommend for this brace? I have the original radiator and plan on using it if it checks out. I don't plan on doing anything special with the radiator, just stock size.


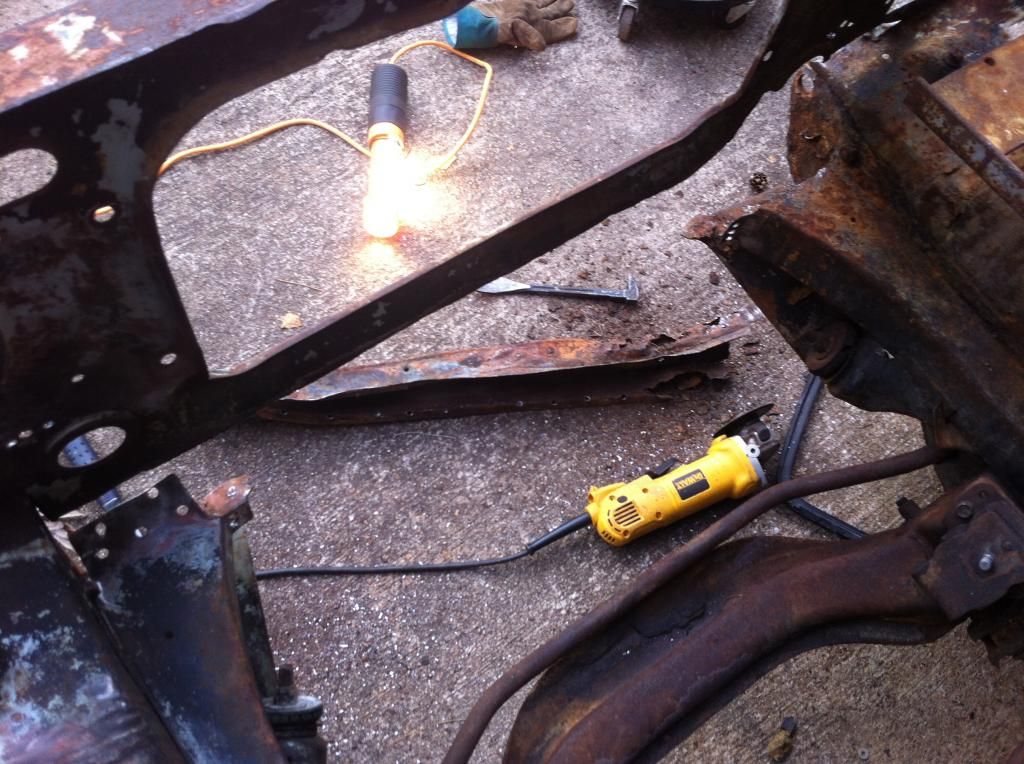
One side good, one side not so good.
When my back was hurting from drilling and when my face was burning from the sparks I would take a break and clean up my engine bay a bit.
One side good, one side not so good.
When my back was hurting from drilling and when my face was burning from the sparks I would take a break and clean up my engine bay a bit.
-
djfootball
- Posts: 101
- Joined: 28 Sep 2012 12:01
- Location: North Carolina
Re: Zombie 510 Experiment
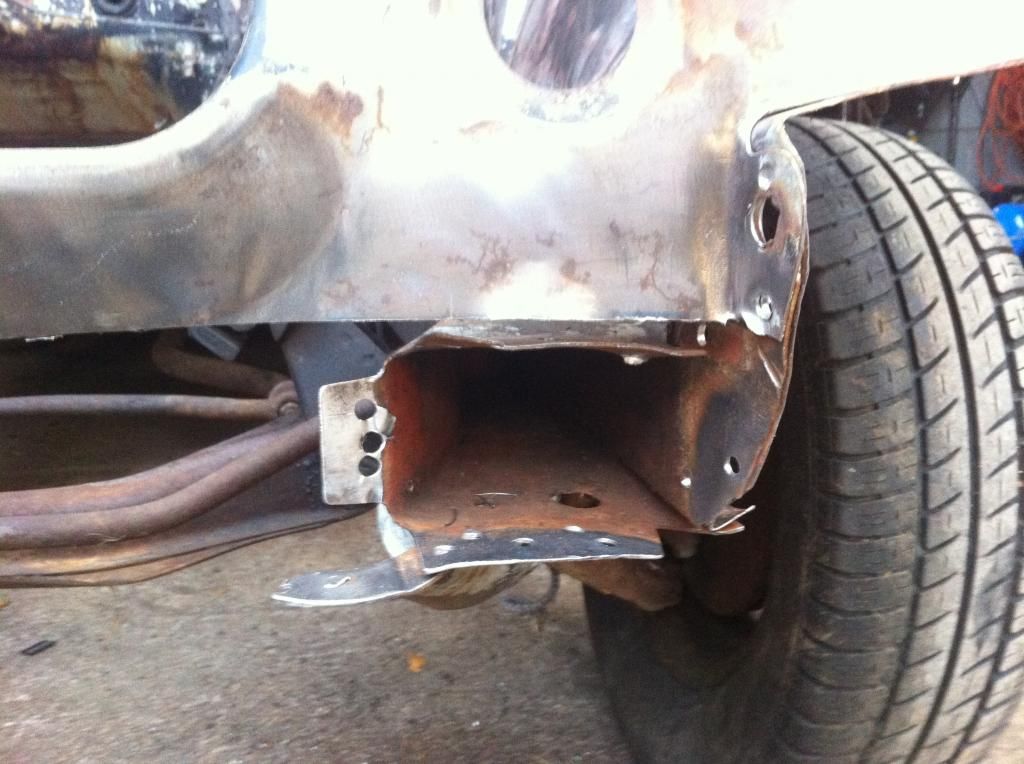
I was thinking about using 4" mechanical square steel tube for this brace. I know you can get 4" square but don't know if there's different thicknesses and what not for this particular type of application.

Re: Zombie 510 Experiment
Interesting about that brace in the square tube. Can you locate it for us, measure it's position relative to something visible on the outside, maybe the hole onthe bottom.
Re: Zombie 510 Experiment
Not to revive an old theme, but you've got serious issues at the rear suspension area. Without a plan and some ability, working with the front and dropping the engine back in seem like wasted effort. One good hard left-hand turn...
Because when you spend a silly amount of money on a silly, trivial thing that will help you not one jot, you are demonstrating that you have a soul and a heart and that you are the sort of person who has no time for Which? magazine. – Jeremy Clarkson
-
djfootball
- Posts: 101
- Joined: 28 Sep 2012 12:01
- Location: North Carolina
Re: Zombie 510 Experiment
I understand. I'm hoping to get this new shell soon and i'll be able to set this one on the back burner. Even if i end up cutting this one to pieces I'll be happy with the knowledge I've gained from it. Once I take care of this front brace issue I plan on revisiting the rear suspension area. I hope you'll still be interested enough to advise me through it. Indy's thread is just insane but has a ton of great views of the shell as it's picked apart and I've been enjoying the different build threads I've read so far.
-
510-Trevor

- Supporter
- Posts: 1373
- Joined: 03 Mar 2007 18:34
- Location: Calgary, Alberta
Re: Zombie 510 Experiment
What do you mean by "mechanical" tubing?djfootball wrote:I was thinking about using 4" mechanical square steel tube for this brace. I know you can get 4" square but don't know if there's different thicknesses and what not for this particular type of application.
Structural Steel Tube (SST) (or Hollow Structural Steel (HSS) in Canada) is the stuff used in modern steel construction and 4" square SST starts at 3/16" thickness and works up in 1/16" increments. A 4x4x3/16 weighs in at 9.4 lbs/ft. If you move to a rectangular tube, say 4x2 you can get 1/8 wall thickness which weighs in at 4.7lbs/ft.
BTW standard steel shapes are usually sold by the pound.
1972 Yellow 4dr