Long time lurker of this site, figured it was time to say hi.
Basic intro, I live on the mid north coast of New South Wales, Aus in a tiny town called Bellingen.
First car was a 120Y sedan, in the end after a years abuse, it was too rusty to re register, so I rallied it around the dirt roads for a while, then drove over it in a D6 dozer when the diff exploded the spider gears.
Datsun fever and a general love of cars started around that time, I became a mechanic, did my trade then quit.
Cars worth noting that I've owned included a ground up basic restoration I did on a Datto 1600 sedan when I was an apprentice, sold that and a Nissan S13 Silvia to travel the world. Numerous jobs later, I was working in the mines as a drill fitter, so I bought then built a 450rwkw RB26 powered R34 Skyline, (about the only standard thing was the steering wheel), good fun but impractical for most things, moved home and sold that, now own what can probably be classed as the pinnacle of what an Aussie (bogan) drives, a Ford V8 ute, yes its loud, low, wide wheels, blah blah, but it is practical and suits me for now.
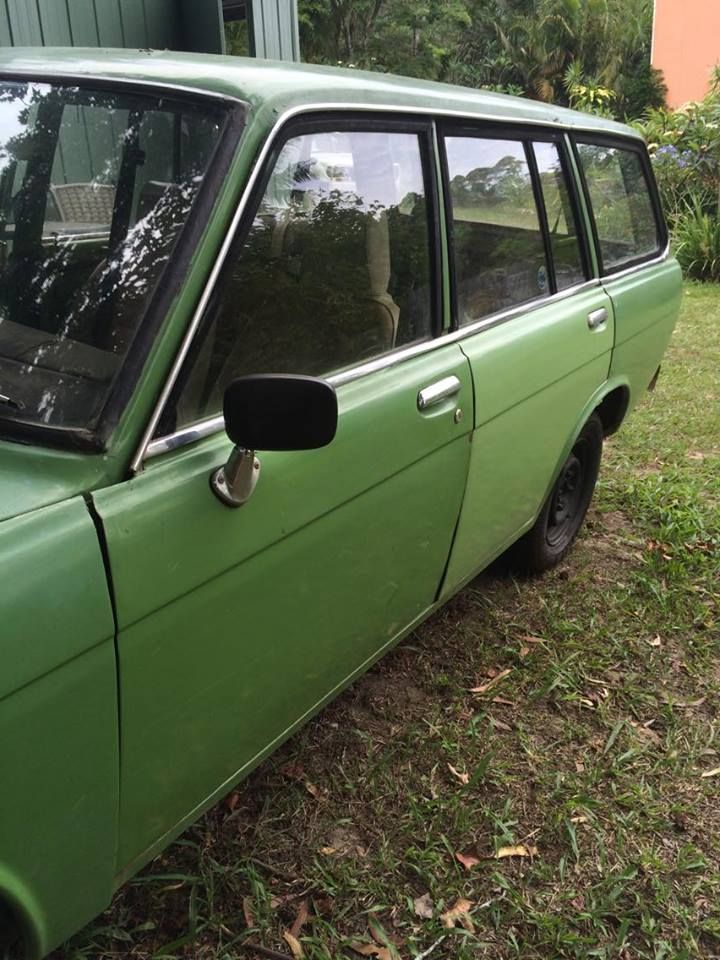
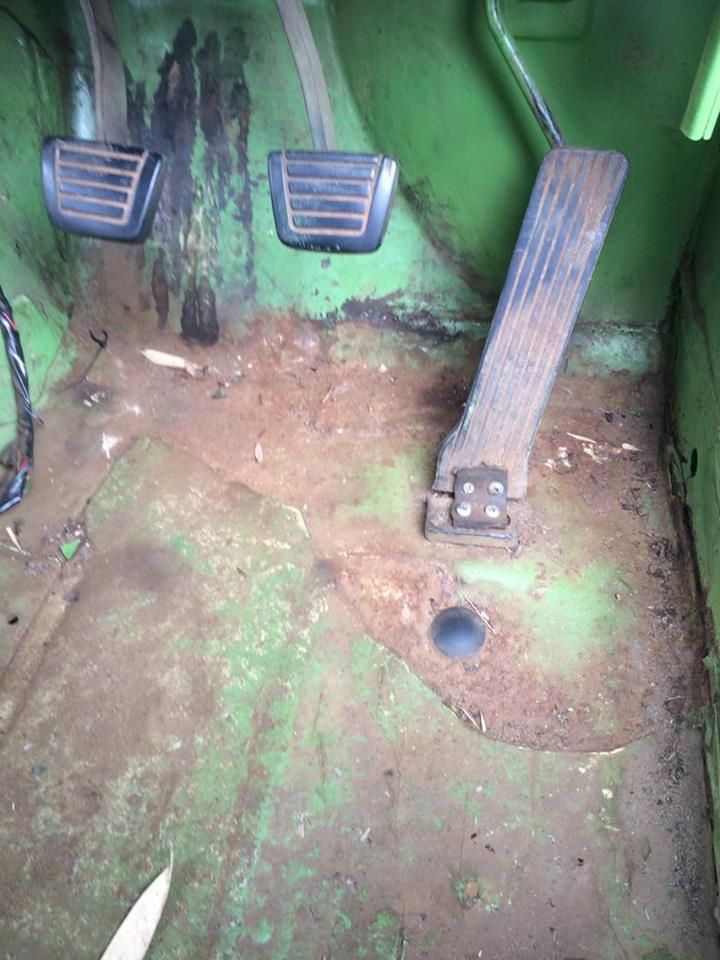
Anyway, I recently bought another 1600 (510) this time though I came across a 1971 Wagon, the only year we got the wagon in Aus so I find out after buying it for pretty cheap.
Pro's and Cons
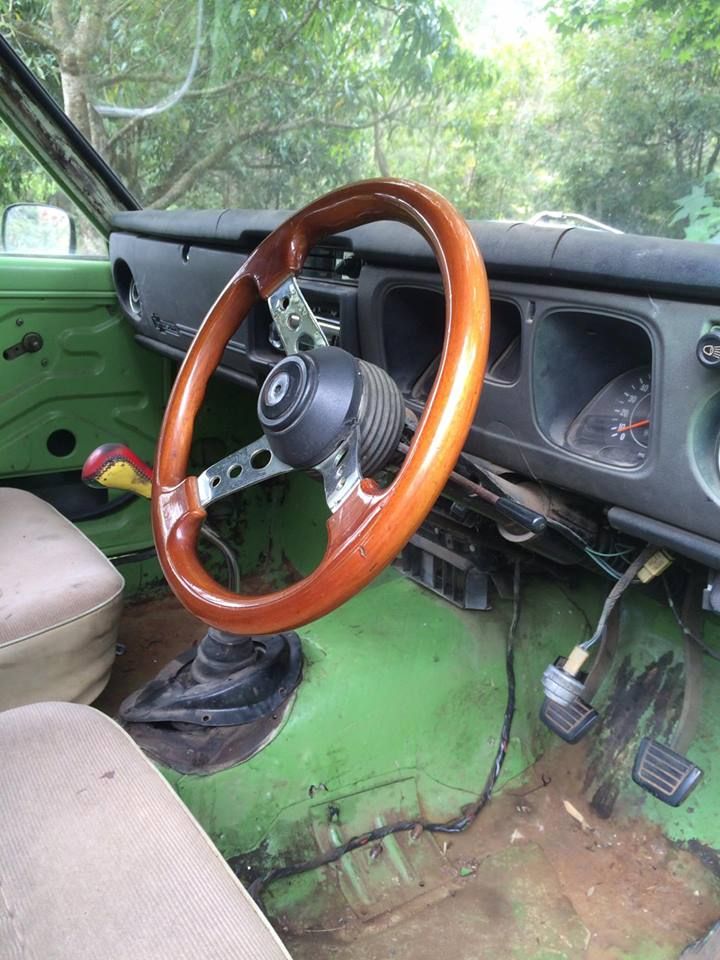
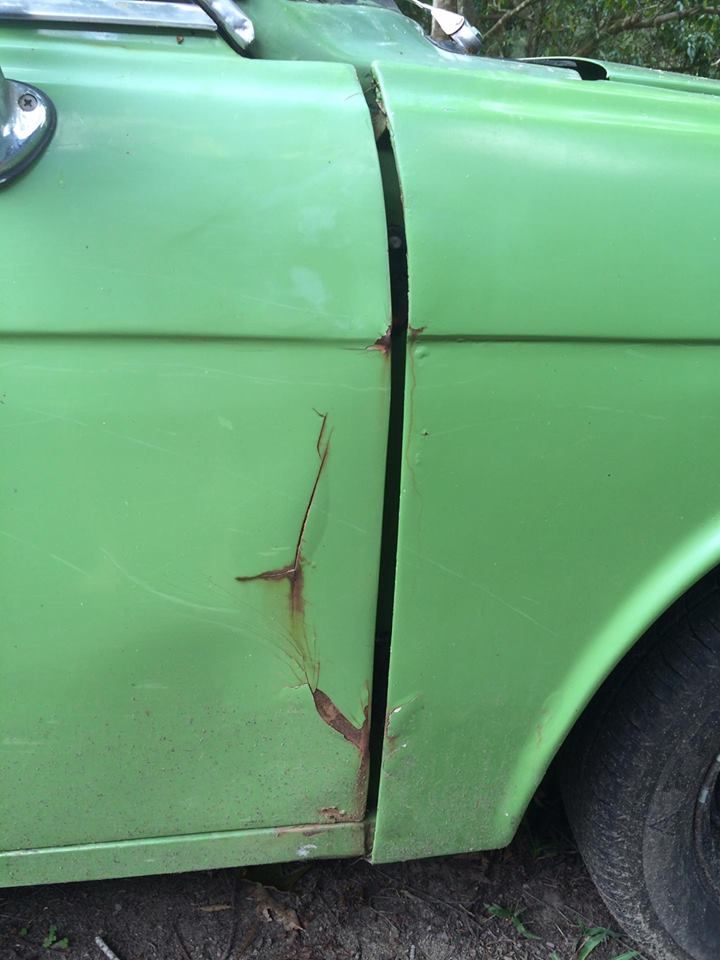
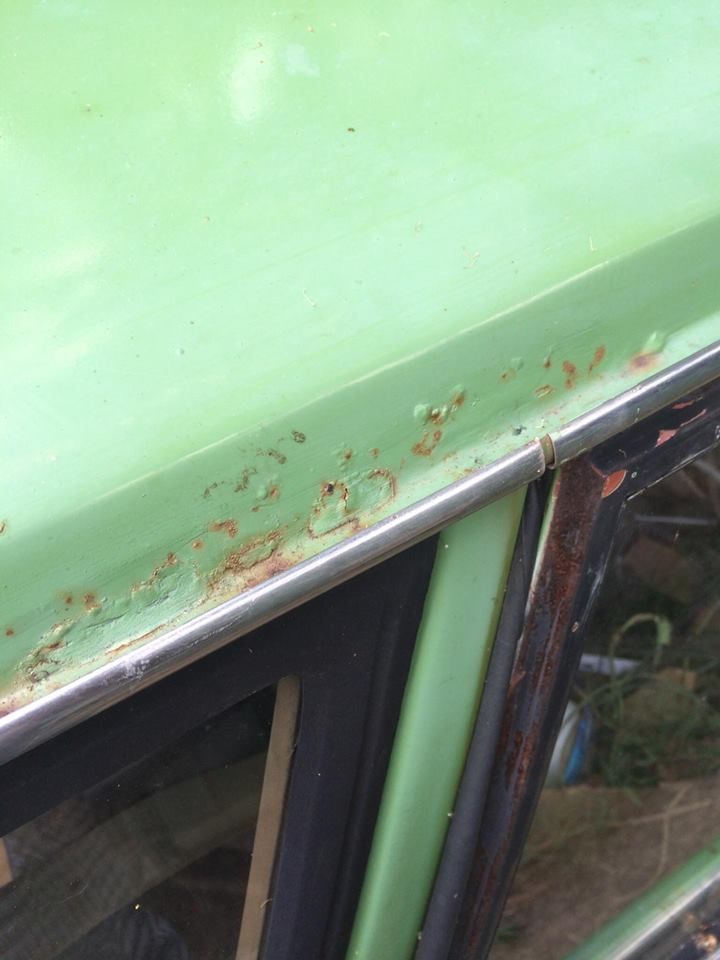
Con - Its rough
Pro - Its rough, meaning I can do whatever I want to it.
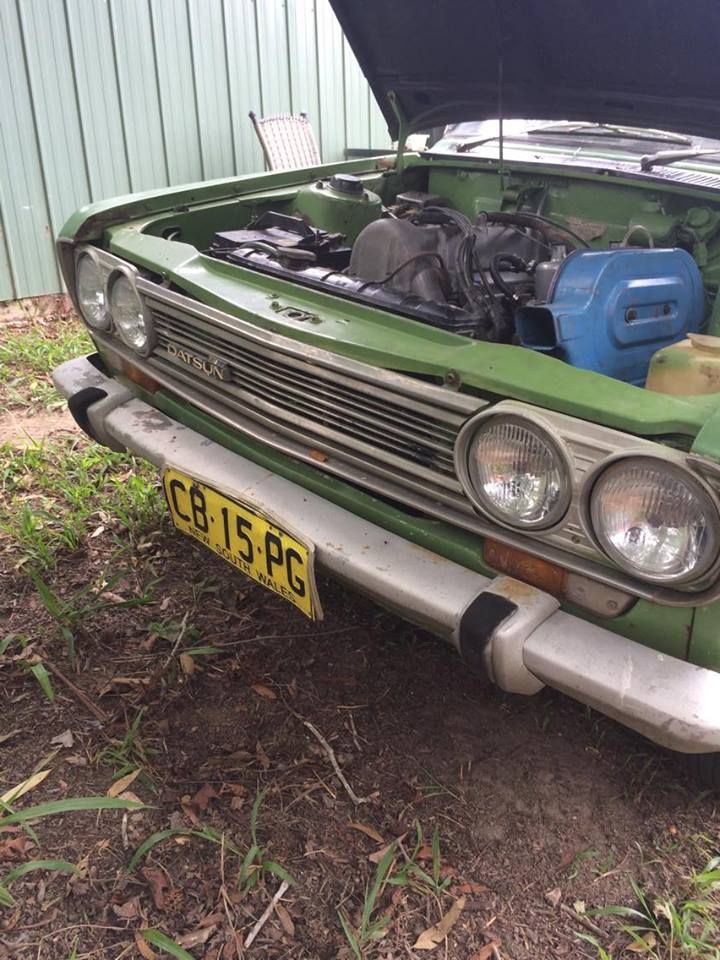
Has freshly a rebuilt L20B in it, and dogleg 5 speed from a stanza, the clutch was shagged from an incorrect clutch master cylinder being fitted from a trailer, so I fitted a heavy duty one from Xtreme, cheap but a very good clutch from the research I have done, 685kg clamp force.
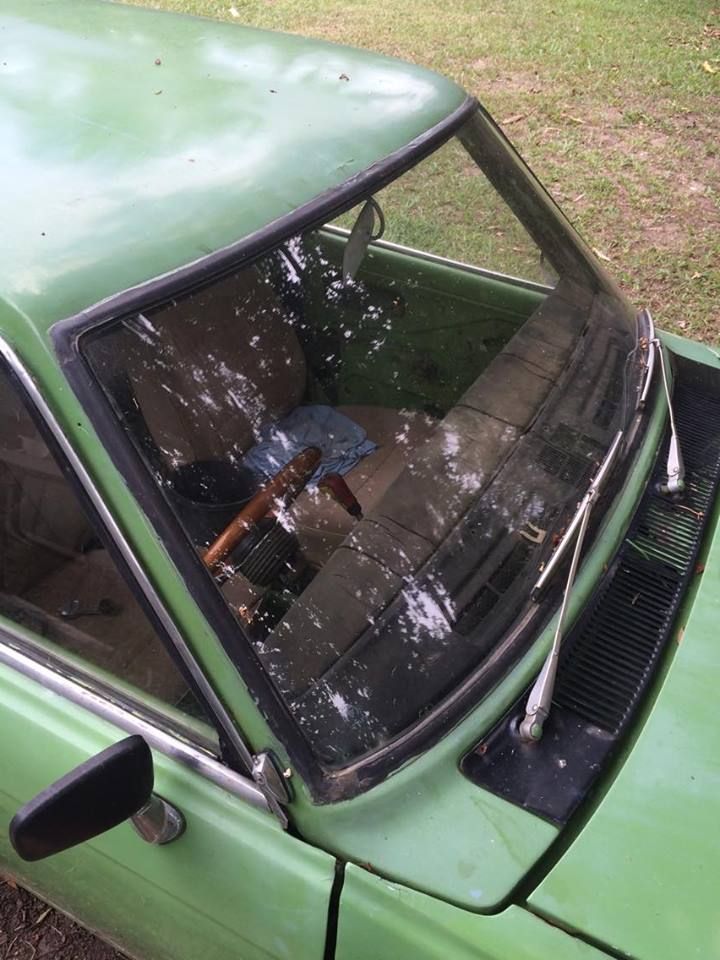
I am in the process of fitting a pair of Toyota 86 seats (BRZ/Scion seats) which bolt up very very easily, just drilled a new hole in the front rail 2cm in from the original one, and will be making some blocks to mount the rear mounts up to.
Build thread with photos will come in the future.
I'll probably sand the hideous Avacado green paint job down to a bare smooth finish, as it appears to have been applied by a roller in sections and is numerous different shades of green. Faux Patina look will suffice until I decide what avenue I go with in regards to bodywork and further rust repairs
Suspension will be done with some custom coilovers I'll make for the front using R31 Skyline struts, and salvaging some S13 coilovers for strut tops and threaded collar, I'll use the guide on this site in regards top flipping a rear leaf spring too, then a set of 15" rims will be made to fit, maybe something like a set of 15x8 0 offset all round, achievable with the high offset style R31 front struts and the fact I don't care if I have to flare the rear guards, or even tub the rears to gain more clearance inwards.
So yeah, cheers to all that have contributed to this website over the many years it has been operational. Wealth of Info!!
Another Aussie to confuse you lot
Re: Another Aussie to confuse you lot
Welcome...
We need photos of what you "rough" is
Look forward to your project.
Byron
We need photos of what you "rough" is
Look forward to your project.
Byron
Love people and use things,
because the opposite never works.
because the opposite never works.
Re: Another Aussie to confuse you lot
Hello and welcome to The Realm. If you could put your location in your profile, that'll help us know where you are once you move beyond this thread.
Echo the request for pictures, either here or in a build thread.
Echo the request for pictures, either here or in a build thread.
Because when you spend a silly amount of money on a silly, trivial thing that will help you not one jot, you are demonstrating that you have a soul and a heart and that you are the sort of person who has no time for Which? magazine. – Jeremy Clarkson
Re: Another Aussie to confuse you lot
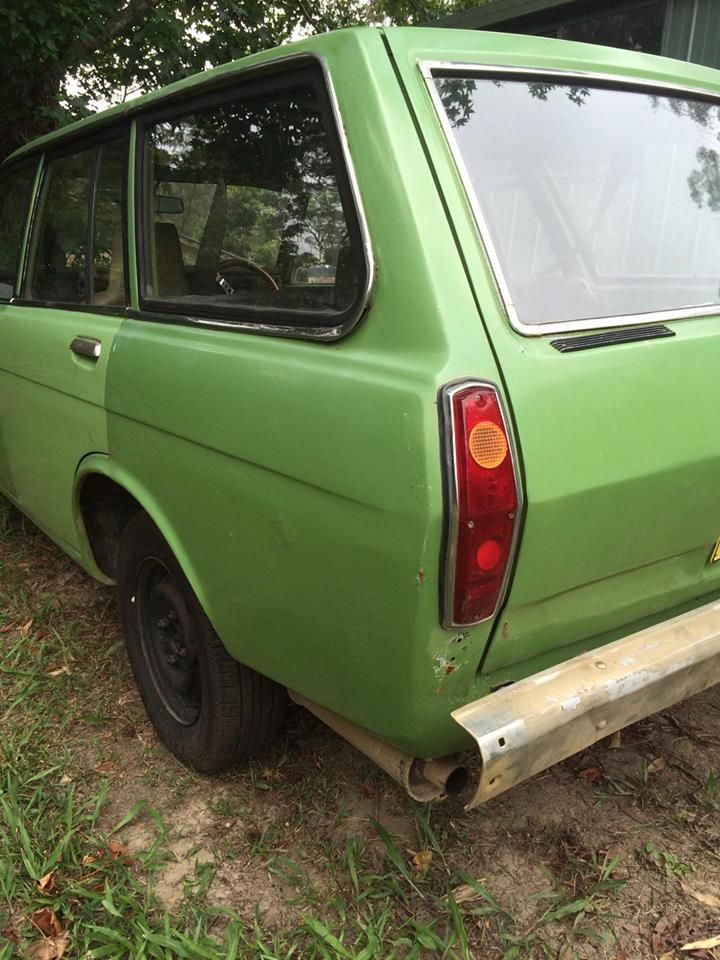
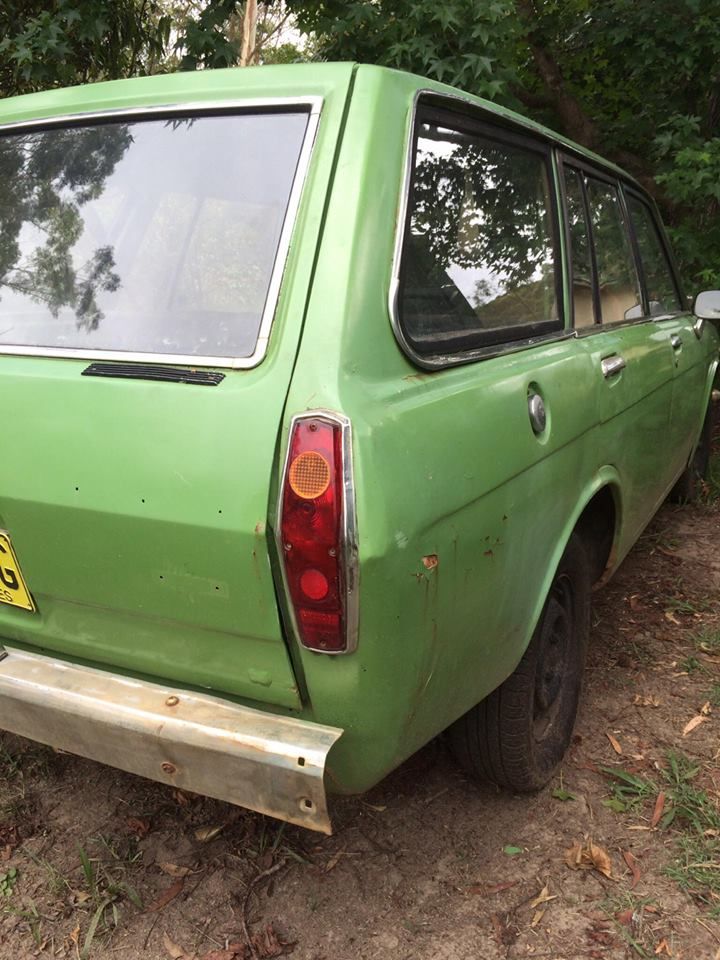
The tail lights are rather interesting on you car, have these been modified or is this standard Aus spec?
Unlike the US market cars, the rest of the world mandates amber turn signals. Here in Canada, we got them only for the 68 model year. However all other model years were full red. Your tail light lenses appear to have an amber insert which I have not seen before. Interesting.
SU carbs are a nice upgrade from stock.
You mentioned that wagons were only available for one model year in Au. I also did not know this. Were these imported JDM cars, or were the wagons also assembled in AU as the later sedans were?
Thanks for posting photos.
Byron
Love people and use things,
because the opposite never works.
because the opposite never works.
Re: Another Aussie to confuse you lot
US spec tail lights, that had the custom treatment over here apparently, previous owner damaged an original one and couldn't find a replacement, so that's what he did. One of the many custom touches.
My understanding is here in Aus, we just got 1971 year models in the wagon, as to why and where they came from i'm not sure yet.
We did get the early 1600 sedans from Japan, then built them here in the later years right beside VW beetles, I've still got a bit to learn when it comes to the wagon history.
Re: Another Aussie to confuse you lot
Can a moderator please move this to the project build section now.
So as usual with my projects, I get completely sidetracked.
Instead of finishing off fitting the 86 seats, which I'm waiting on a passenger side sliding rail to complete, or fixing the door hinges and handles, I've started looking at why the headlights only half worked.
Massive hack job with extra wires ran from the original headlight relay, other wires just terminated, even an earth spliced into the high beam wiring once I back traced it with the loom tape removed.
So I started labeling all the wires, working out what I will add to the loom, what i'll remove, how to wire tuck some of it too, so i'll draw up a basic diagram once I find and compare it to a decent quality factory wiring diagram, then I'll remove the engine bay loom up to the fuse panel, and either look at fixing/modifying what is there or replacing it, pretty sure I will be replacing it all though.
Current changes I have in mind to the loom will be:
-Relocate the battery to under the back seat in a cut out floor box, or put it in the boot in a box, or at least make the wiring loom have a power distribution block so I can do that at a later date.
-Removal of the Ext Voltage Regulator, plus the addition of an IR alternator from an R31/TB42 etc
-Source an R33 starter motor or rebuild the original one, plus neater wires to it
-Run a proper relay setup for the horn and delete the original setup
-Run a proper relay setup for the headlights, shamelessly copying Turbovans diagram, I will locate the headlight/horn relays on the radiator support as well, and look at running those wires through the inner guard for a small wire tuck
-Extra wires added for oil pressure gauge, water temp gauge.
-Extra wire for the electronic dizzy, removal of the ballast resistor as well as an extra wire for the addition of a tachometer in the future (if desired)
-Relocate new MSD Blaster II coil to the radiator support
-Washer bottle relocation to behind the strut tower, and wiring changes to suit
-Will be doing basic wire tucking and running all the wires in the plastic sheath, but if I can get a hold of some braid cover I'll use that instead with heatshrink, that was how I wired a universal ViPec ecu into my mates RB25 equipped S13. I will also add a few connectors for a quick disconnect of the whole loom near the stock fuse panel
This is a bit more extreme than I had planned, but I may as well do it right, fix all the problems and neaten it all up all at the same time.
