Stu's 1972 4 Door

View and post your 510 project(s)
Post Reply
User avatar
Stu
Supporter
Posts: 328
Joined: 02 Oct 2019 19:32
Location: Vancouver, WA USA

Datsun 510 Rear crossmember and rear control arm bushing removal

Post by Stu »

I plan on opening up my exhaust tube and adding a toe adjust kit on my rear crossmember before I get all the bits powder coated. Therefore, everything needs to come off.

I thought that the big bushings on the end of the crossmember would be a total bear, but it took longer to get my air hammer out than the actual removal of the bushings.

Basically since the metal sleeve is split, it just needs to get moving to remove it and an air chisel works wonders. If you look closely, you can see I did the traditional, drill all the rubber out method, but this was totally not needed, whoops.

Image

Image

The control arms were a different story. I am not a fan of burning out rubber then cutting the sleeve. Holding the arm to remove the bushings using a press was also out since I could not get everything aligned safely.

Using about 9-10" of 1/2"-13 high strength all thread, grade 8 nuts/washers, and some 1-1/4 pipe bits, I made a puller.

Image

The pipe fitting is just long enough to let the bushing be pulled all the way out. A deep 7/8 socket is the perfect size to press on the metal part of the bushing and not just blow out the center. A flanged nut is welded to the all thread on the pipe end and it is driven from this end. Double washers and anti-seize keeps everything moving well.

Image

I did the first one by hand to make sure everything worked, then switched to my impact gun for the remaining bushings.

Image

The tool does get a little out of alignment a bit because the ID of the pipe is just enough to hit the lip of the control arm. Your results may vary :)
Last edited by Stu on 20 Jul 2020 19:10, edited 1 time in total.
Stu

1972 4-door 510
2004 Volvo V70R 6spd manual
Factory Five Racing Cobra
1991 Ford F250 4x4 extended cab
2005 Mini Cooper S - death via forklift :(
cwd240z
Supporter
Posts: 167
Joined: 19 Jan 2017 10:18
Location: Texas

Re: Stu's 1972 4 Door

Post by cwd240z »

Cool little tool ya made. I did the burning and cutting/chiseling method which worked but was a pain in the ass.
Chris
'71 510 4-Door Sedan
'76 280z
User avatar
Stu
Supporter
Posts: 328
Joined: 02 Oct 2019 19:32
Location: Vancouver, WA USA

Re: Stu's 1972 4 Door

Post by Stu »

cwd240z wrote: 20 Jul 2020 18:52 Cool little tool ya made. I did the burning and cutting/chiseling method which worked but was a pain in the ass.
Thanks. The tool lasted just enough to get all the bushings out. The lip of the pipe lost its sharp edge and was a bit less aligned. I can recut that surface if I ever need it again.
Stu

1972 4-door 510
2004 Volvo V70R 6spd manual
Factory Five Racing Cobra
1991 Ford F250 4x4 extended cab
2005 Mini Cooper S - death via forklift :(
User avatar
Stu
Supporter
Posts: 328
Joined: 02 Oct 2019 19:32
Location: Vancouver, WA USA

Datsun 510 rear control arm clean up

Post by Stu »

I am going to have the rear suspension power coated and wanted to clean up the rear control arms. One of the previous owners had put in a rear anti-sway bar that was installed in a very poor way. The end links were bolted directly through the control arms, with big torch cut holes to get access to the nut. WTF?

Image

Image

Using some scrap from some brackets I cut off the rear crossmember, I made some plugs for the holes after making the hole a 'regular' shape

Image

Image

All cleaned up

Image

I am converting to rear disks using 85-86 Maxima calipers, but want the calipers on the top. Because of this, I have to make my own parking brake set-up (more on that later) and the hose routing of the old hard lines was not needed. I went to the pick-n-pull to find some brake lines that would work for my set-up. I found a 2002 Nissan Maxima that had rear disks. The hoses have sort of an intermediate mount point that I thought would work great. I removed the 'double' brake hose bracket from the 510 control arm, cut it in half, and used one on each side. I had to cut some material out to allow the hose to slot in from the side since the banjo end will not fit through the hole.

Image

Image

Image

I removed the parking brake cable brackets from the bottom of the arms, cut off the other brake tab parts, and cleaned up the factory weld splatter that seemed to be everywhere. A trip through the bead blaster and they are ready to take to the powder coating place.

Image
Stu

1972 4-door 510
2004 Volvo V70R 6spd manual
Factory Five Racing Cobra
1991 Ford F250 4x4 extended cab
2005 Mini Cooper S - death via forklift :(
User avatar
Stu
Supporter
Posts: 328
Joined: 02 Oct 2019 19:32
Location: Vancouver, WA USA

Rear crossmember exhaust tube enlargement

Post by Stu »

No magic here, just putting in a larger tube in the rear crossmember so I can run a slightly larger exhaust without it banging.

My buddy let me borrow his plasma cutter. This thing is awesome when you get the hang of it and dangerous until you do :lol:

Here I'm cutting the parking brake cable tabs off, but you get the idea. Way faster than a skinny-wheel-of-death. I have a welding blanket I lay down so I don't burn crap around me.

Image

The first side I cut was a bit bigger than needed and the second side was much better.

Image

cleaned up the hole and welded some of the gap area. I also cut off the inner control arm tabs so I can put in a toe adjust bracket from Ermish racing.

Image

I grabbed 3.5" OD x 0.125" steel tube from my local Metals Supermarket. They will sell you 'any' length of material, so it is great for this type of stuff. I paid for a 6" length and they gave me a foot of it. I cut about 2-3/4" for the new section.

Image

Image

all welded and edges smoothed

Image

I can't locate the inner brackets until I get the control arms back from powder coat so I have the actual bushings I plan on using installed.

All of this grinding makes a ton of metal 'dust' that is a hassle to pick up. The magnet bars are great but they just drag on the ground. To get mine off the floor, I 3D printed some 'tires' and mounted them to the side of the magnet bar. Now it works great at picking up all the shavings from the floor and driveway.

Image
Stu

1972 4-door 510
2004 Volvo V70R 6spd manual
Factory Five Racing Cobra
1991 Ford F250 4x4 extended cab
2005 Mini Cooper S - death via forklift :(
User avatar
Stu
Supporter
Posts: 328
Joined: 02 Oct 2019 19:32
Location: Vancouver, WA USA

Datsun 510 mustache bar bushing removal

Post by Stu »

The mustache bar bushings are the 'split' style bushing, but have a lip on them that keeps you from putting them in a press since there is no place to rest on when pressing.

So, out came the Harbor Freight air hammer

Image

Image

Image

Some time in the bead blaster and ready for powder coat

Image
Stu

1972 4-door 510
2004 Volvo V70R 6spd manual
Factory Five Racing Cobra
1991 Ford F250 4x4 extended cab
2005 Mini Cooper S - death via forklift :(
User avatar
Stu
Supporter
Posts: 328
Joined: 02 Oct 2019 19:32
Location: Vancouver, WA USA

Modifying Corbeau Sport Seats

Post by Stu »

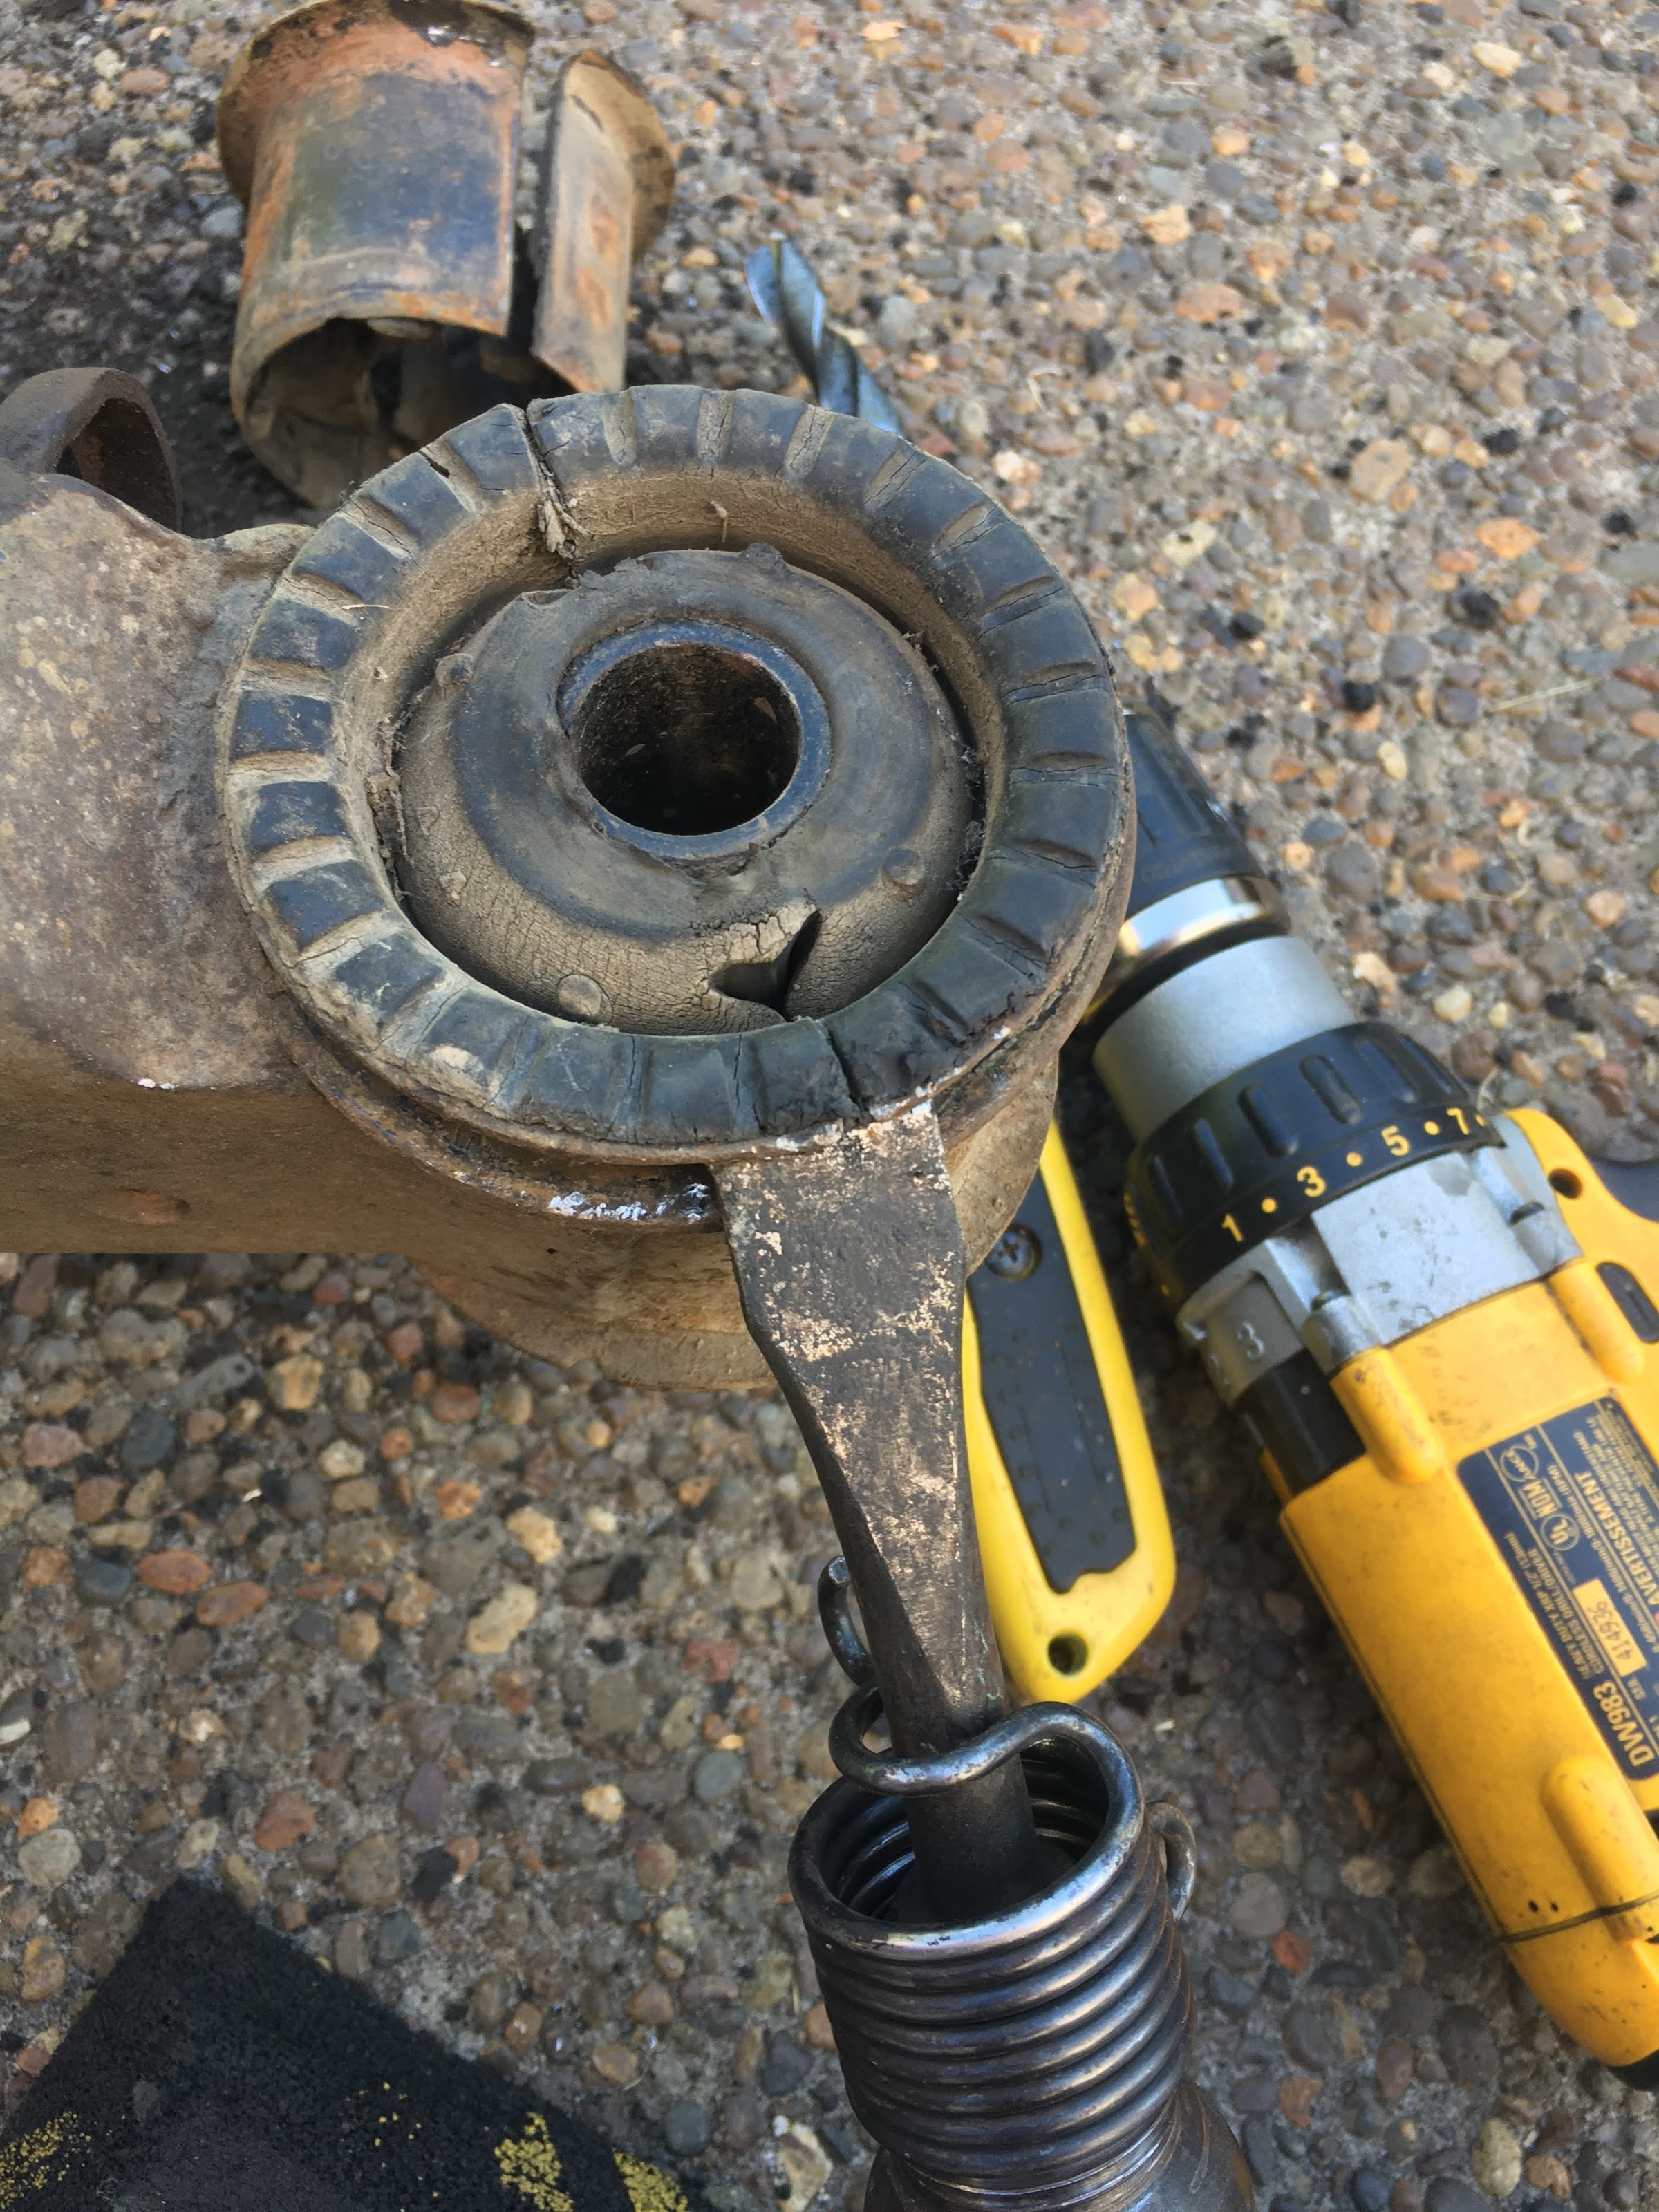
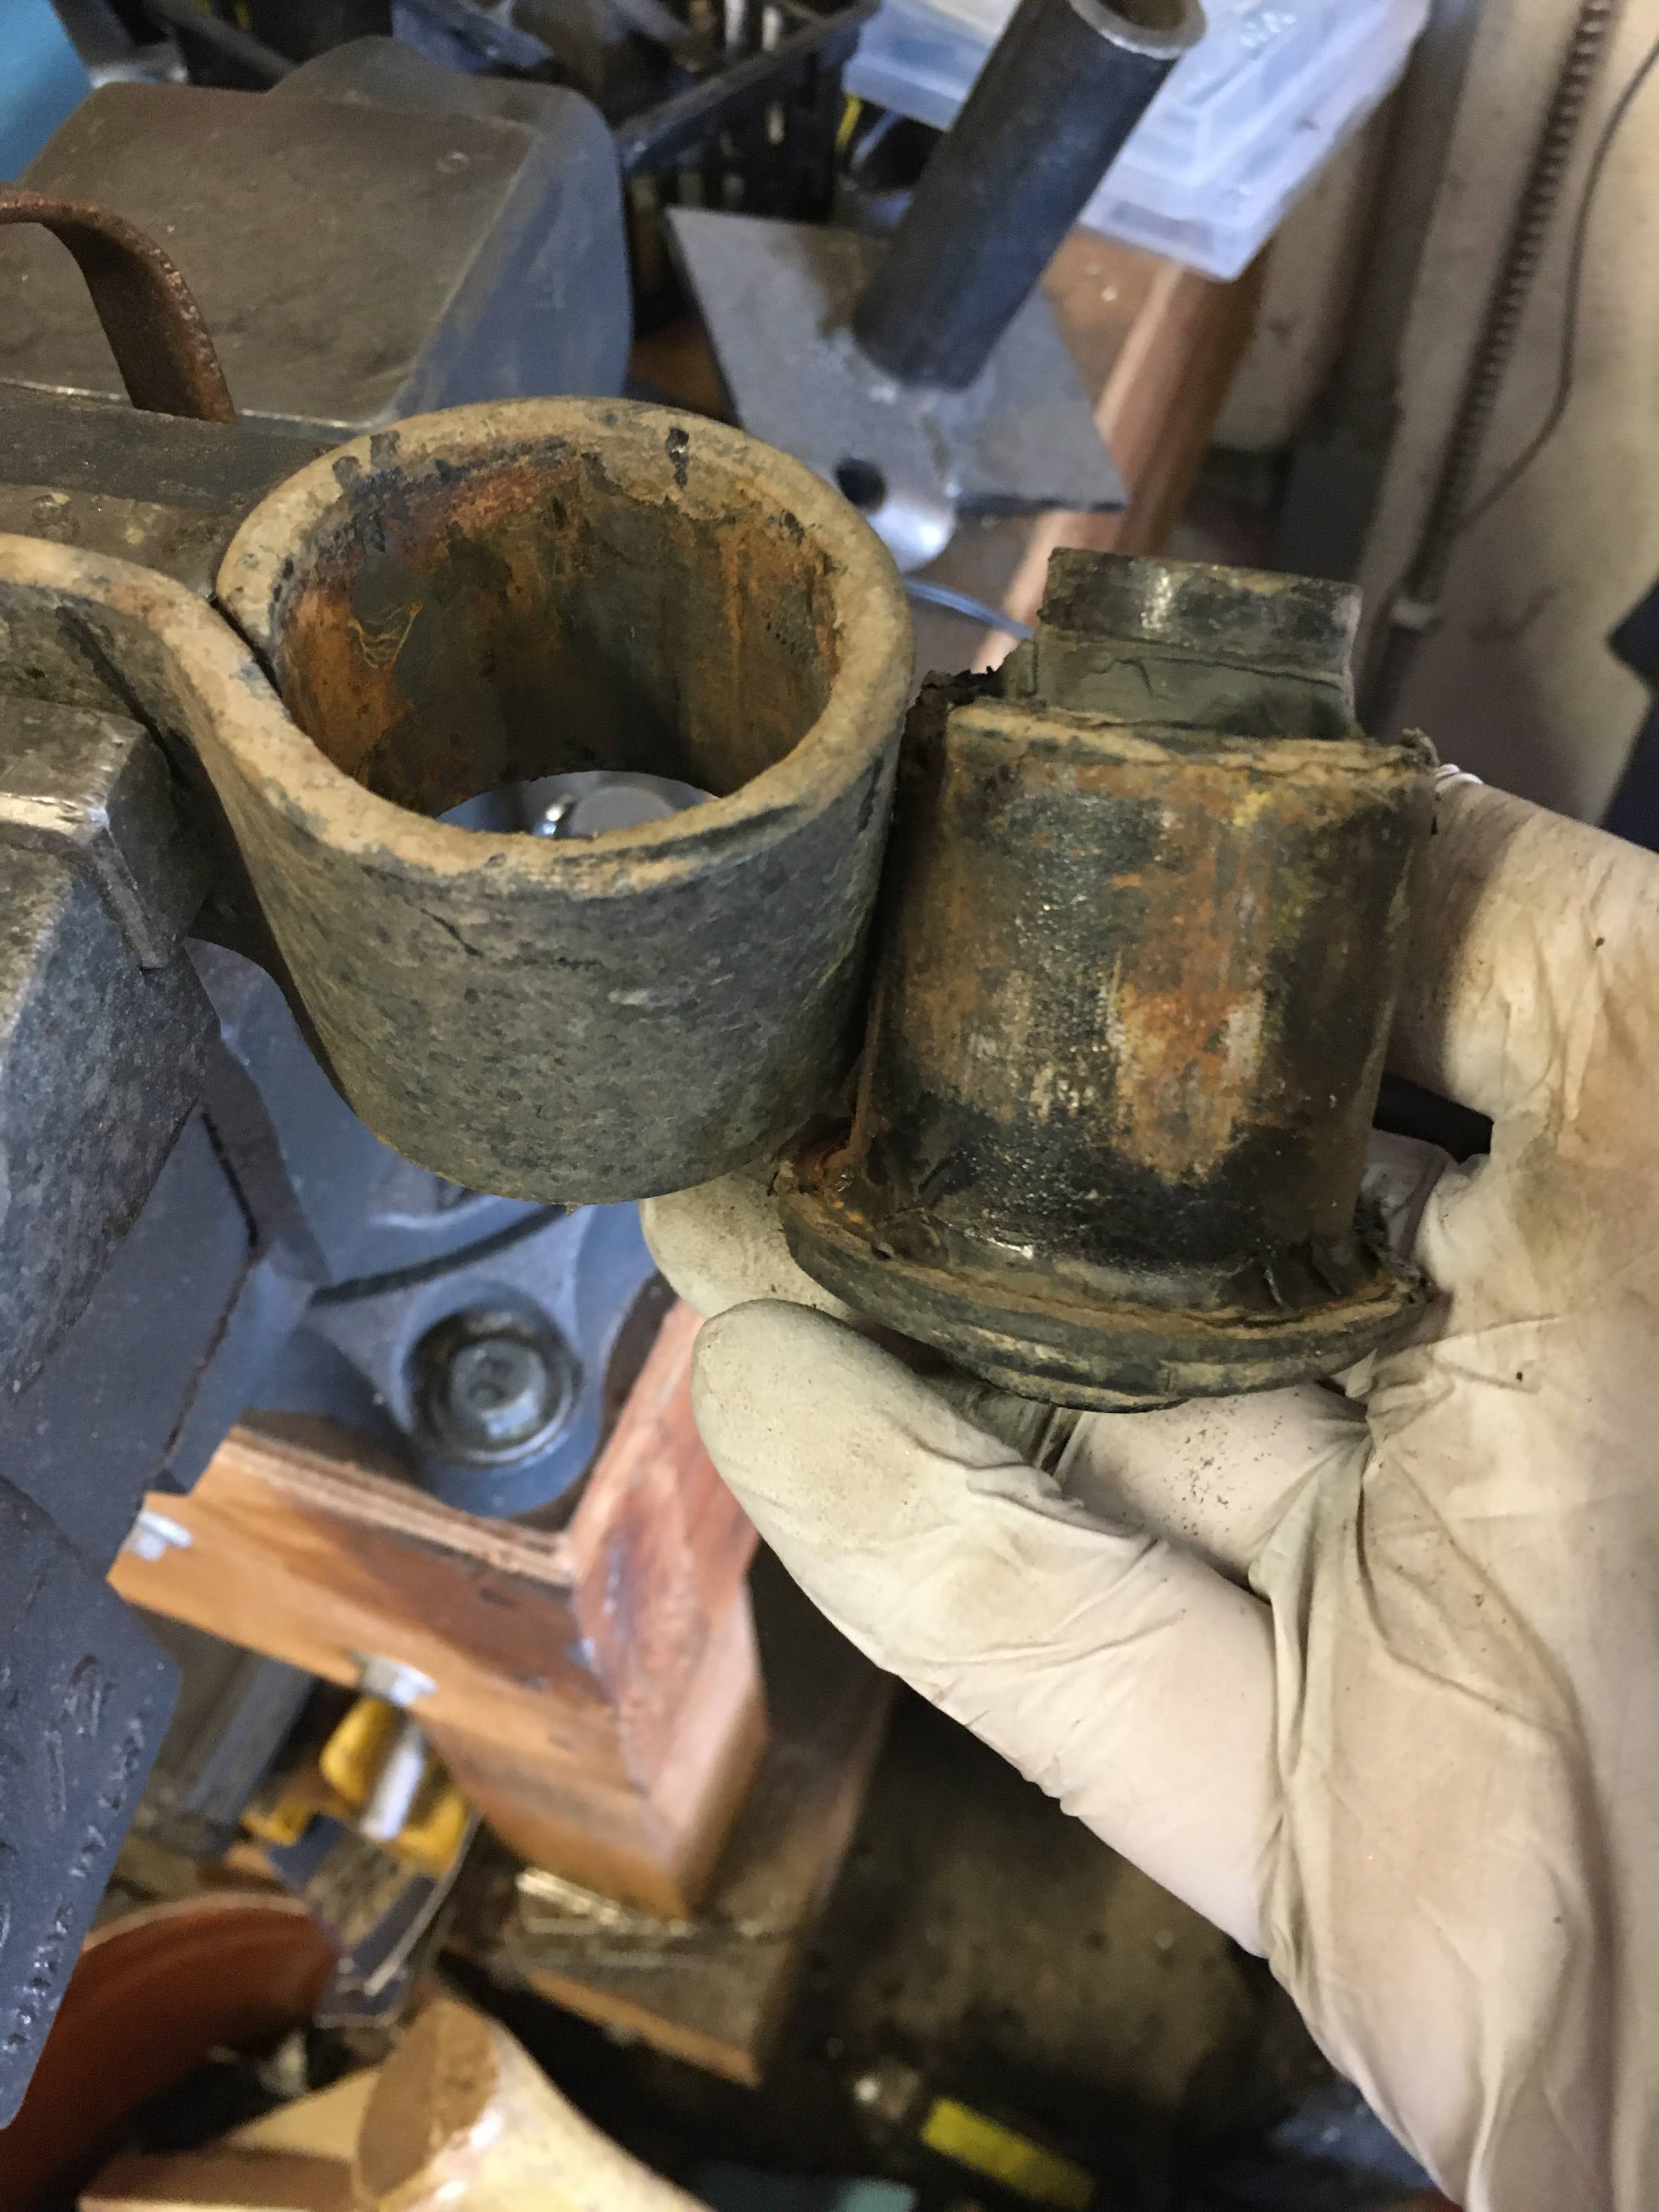
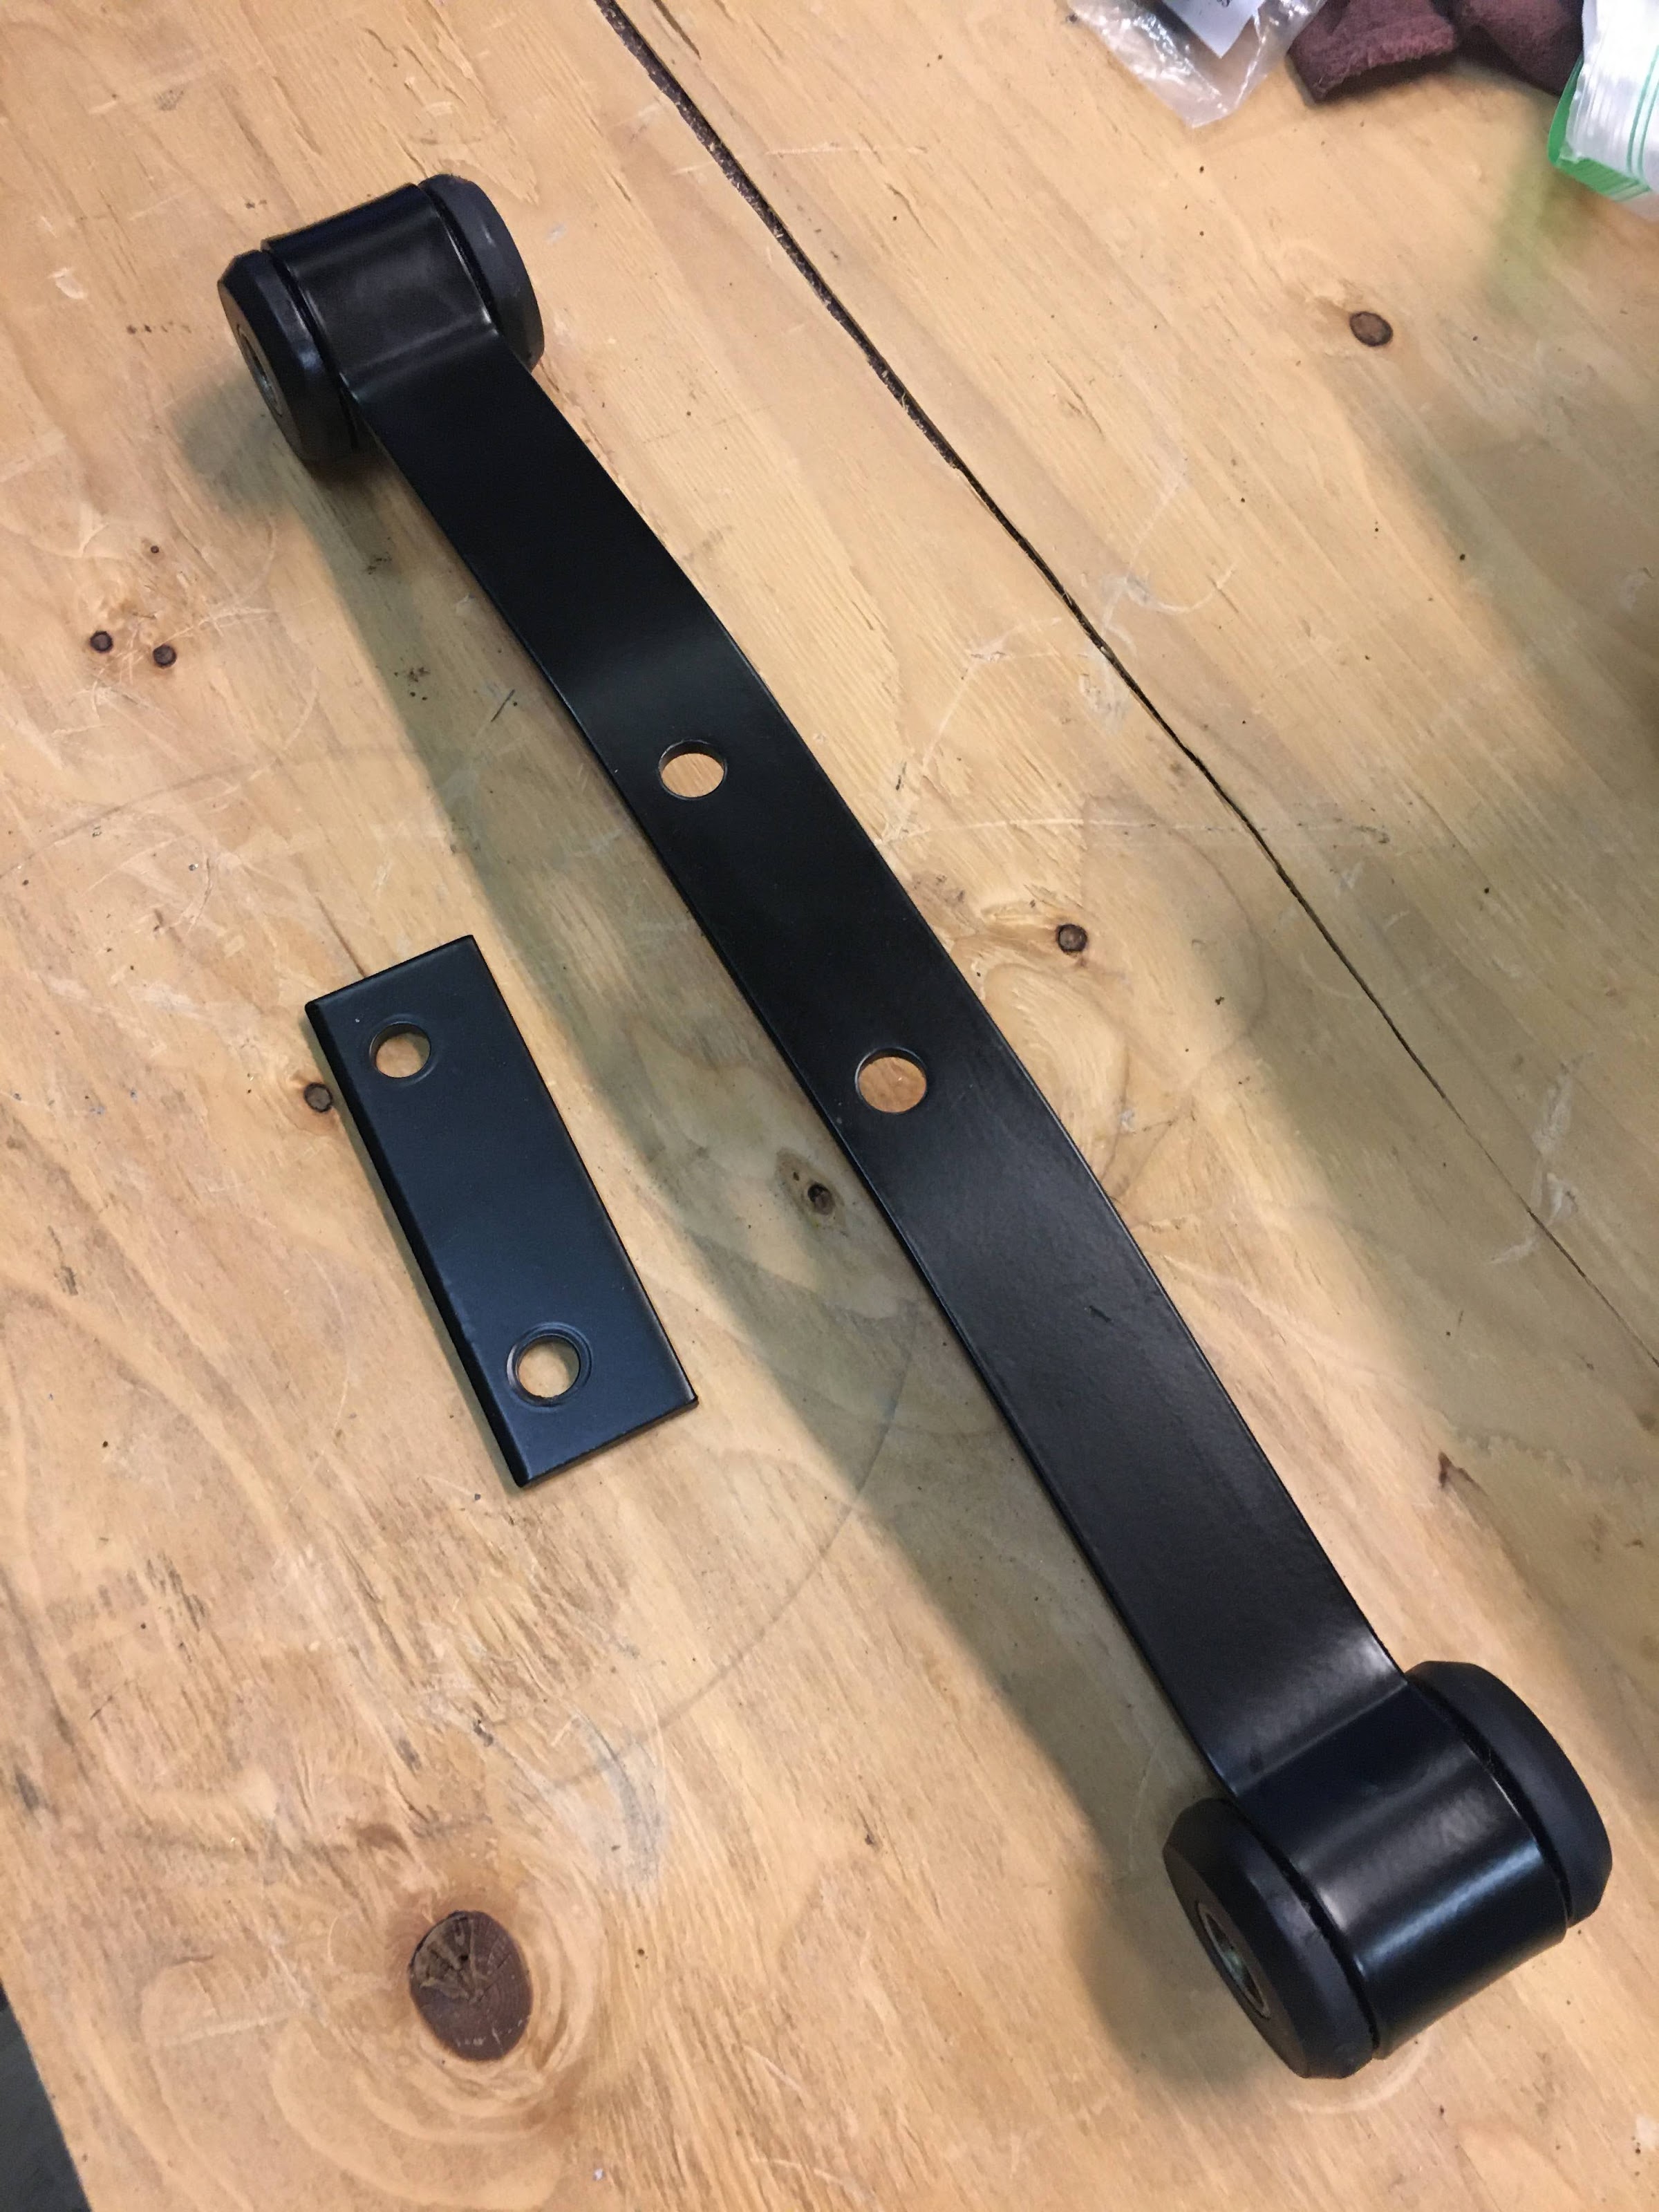
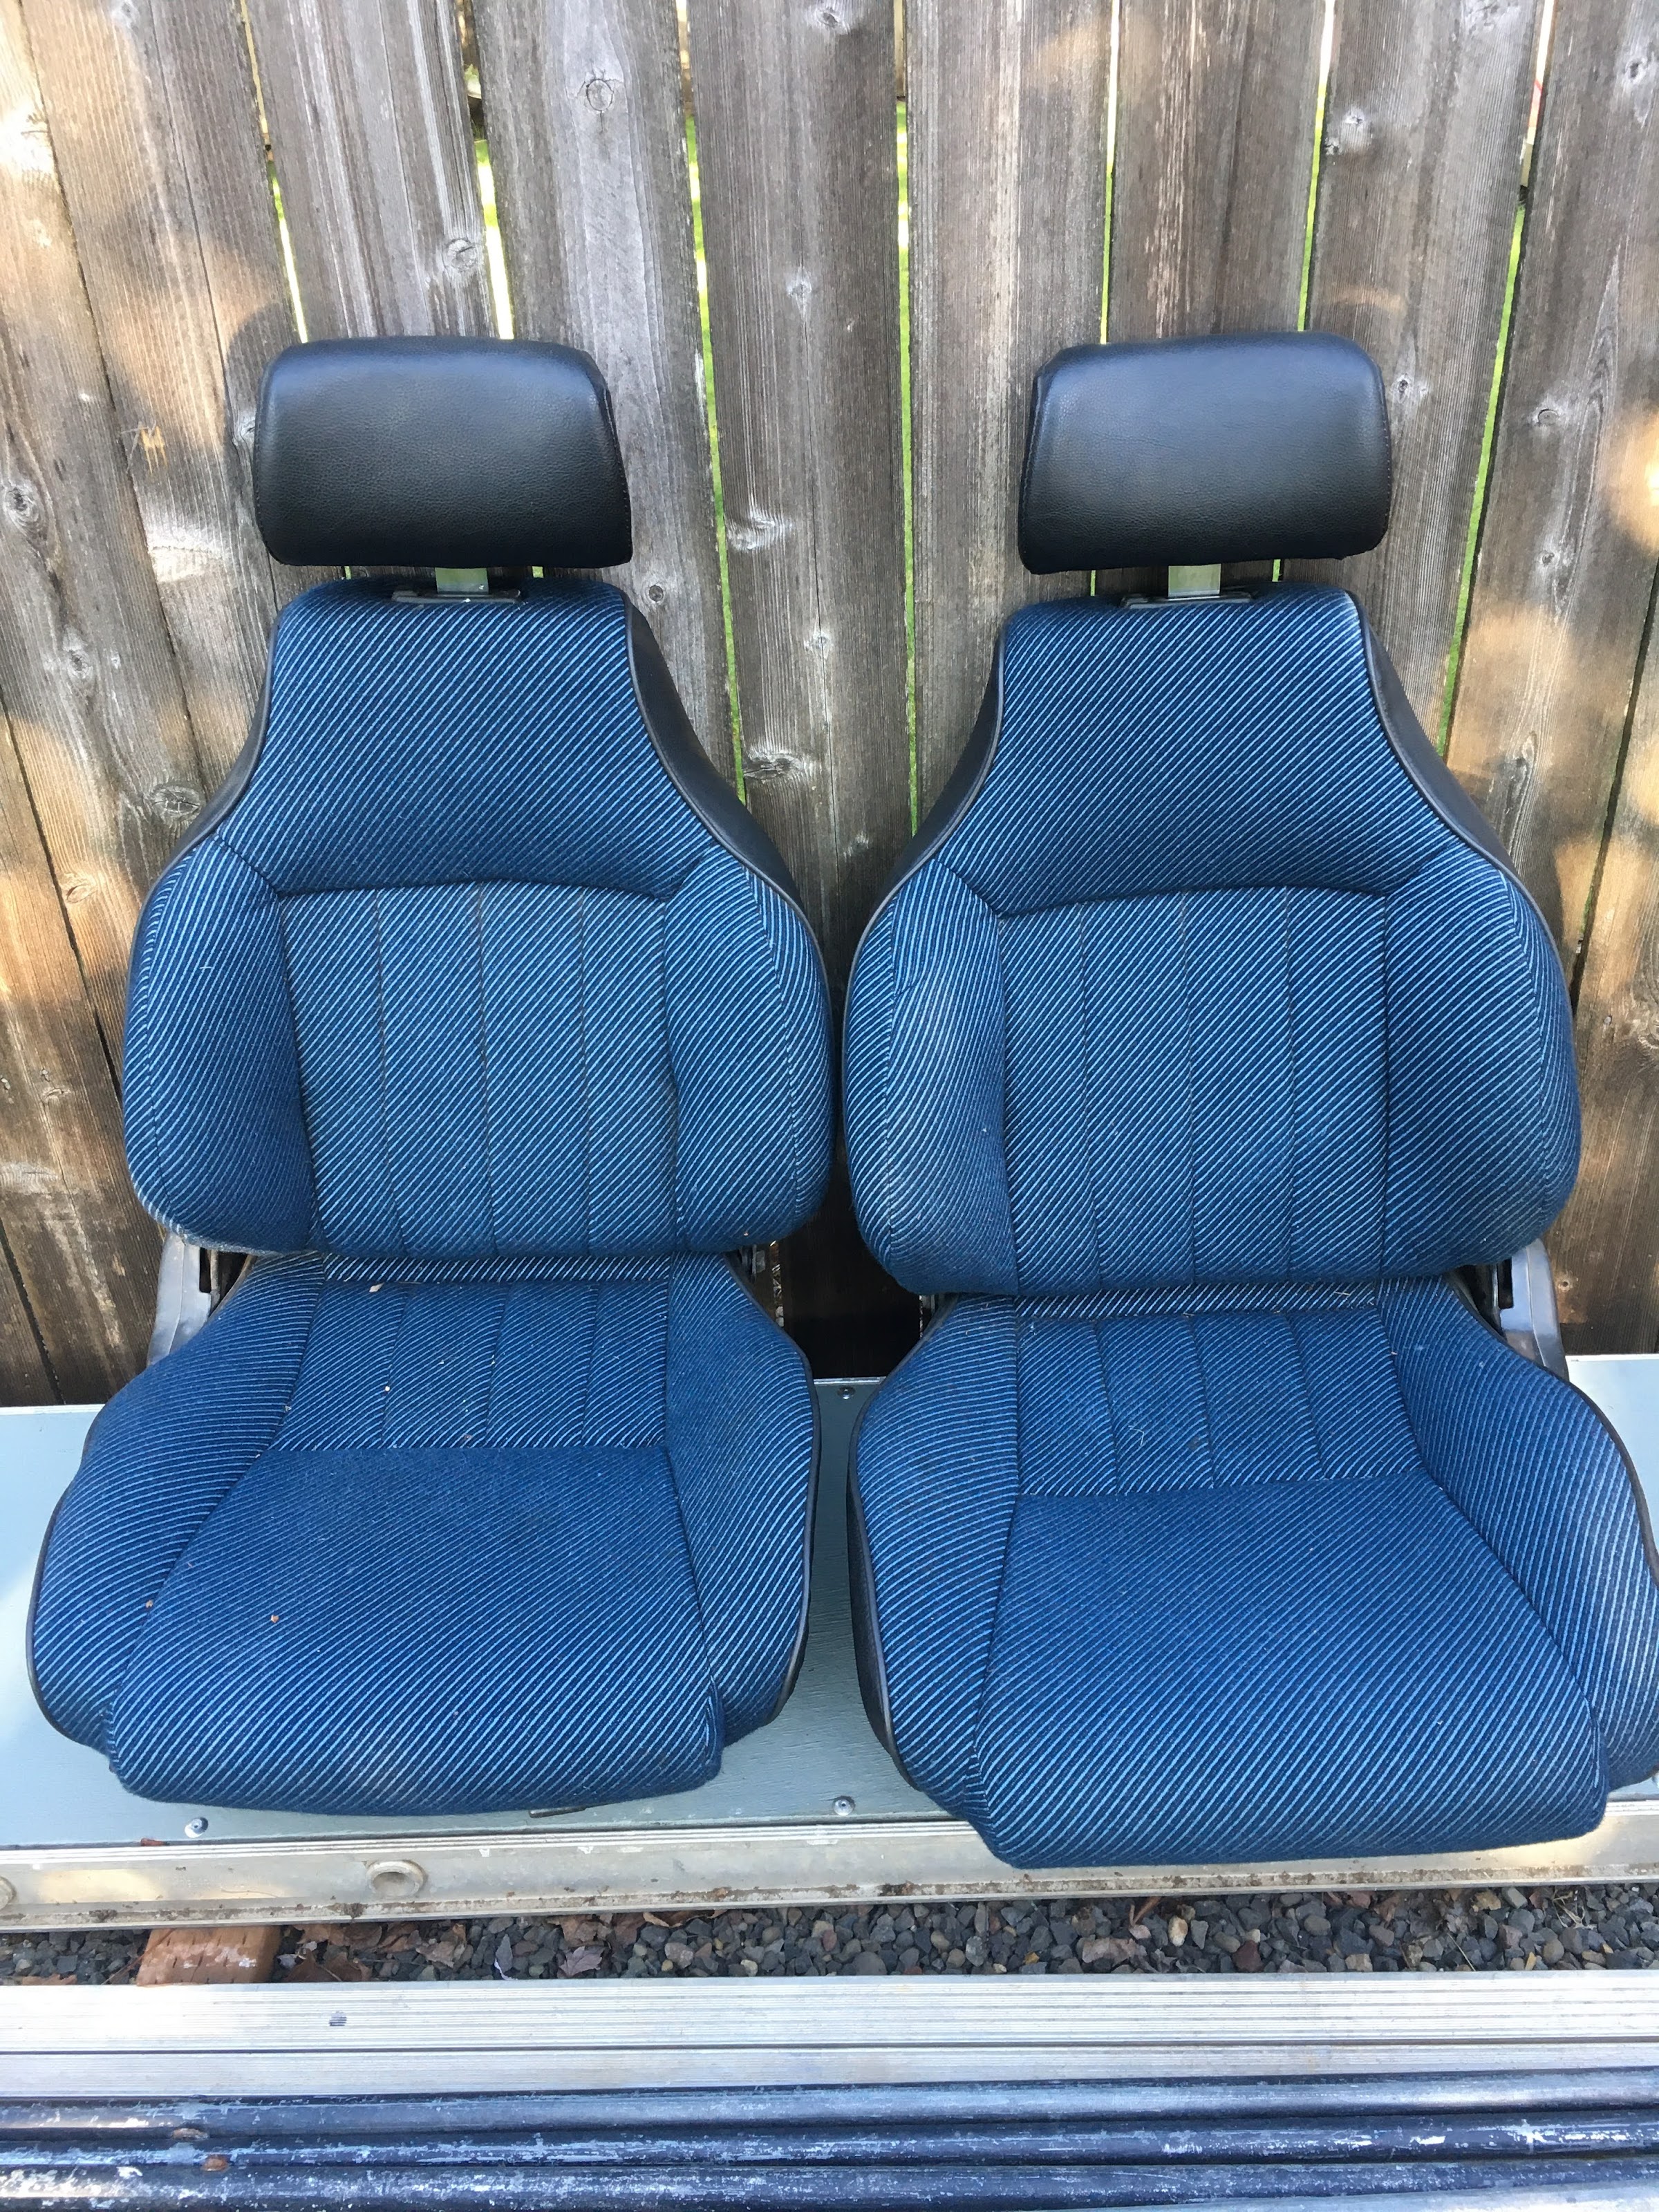
I am a long way from actually needing seats but I am going to update the seat belts in the car and want to weld in the mounts, so need seats to properly position the belts. The seats that came in my car were some sort of 90s Honda seats, and while they were in pretty good shape, they were also very blue and would not have matched my vision of the interior (I'm a fan of basic black interiors). The seats were also mounted to the stock mounts and would not slide properly. So these got sold:

Image

I love Recaro seats, my pocket book was not a fan when most need to be recovered anyway. I like the Corbeau GTS II seats, but they felt a bit boy racer and nobody in my family liked the look of them and the big CORBEAU stitched into them. Now, I know this is 'my' car, but if my wife is not somewhat invested, then it makes the whole project a lot tougher. I had read an old article in the Dime Quarterly about the Corbeau Sport seats and I think they fit the look of the car nicely.

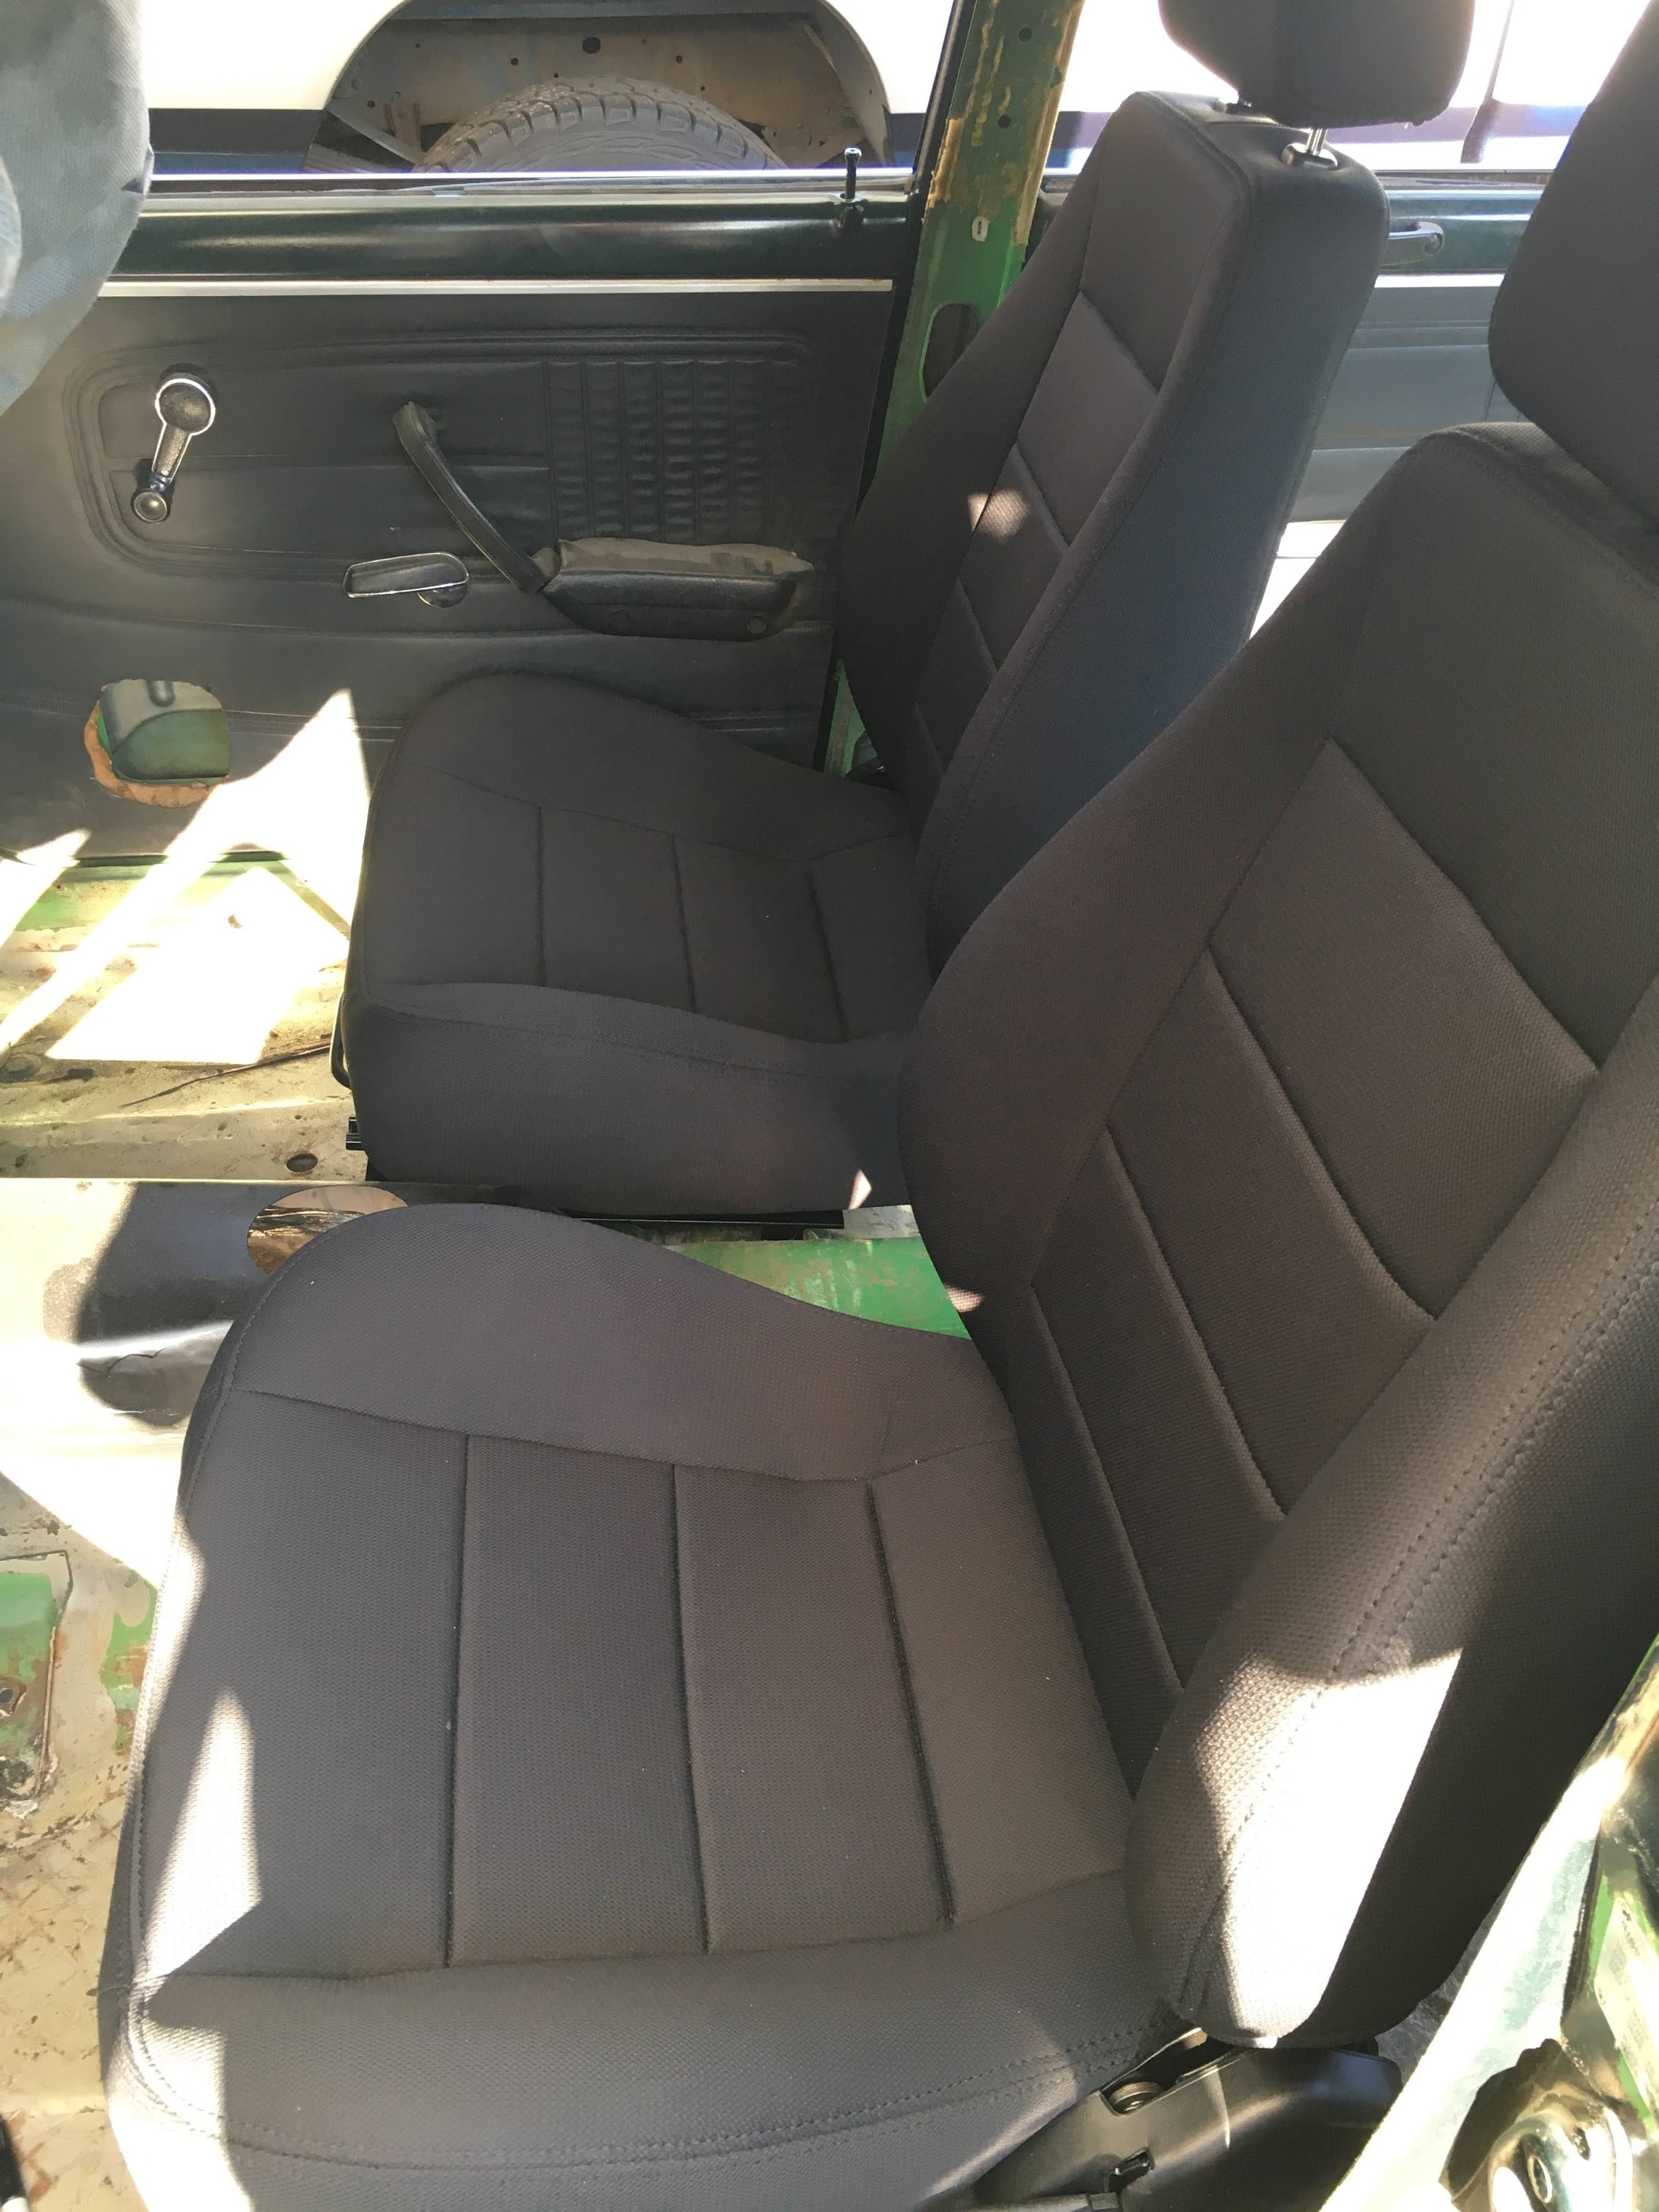
I ordered Sport seats in black cloth, seat heaters, and the brackets/sliders. Took about 3 weeks to get the seats. When I mounted them to the sliders and set them in the car, I sat about 1-1/2 inches too high. I don't drive in a super reclined position and just felt a bit higher in the car than I wanted. If you drive more reclined, they would most likely be just right. My leg position felt fine but my butt was too high. Rather than modifying the height by changing the mounts in the car, I decided to remove some of the seat pad.

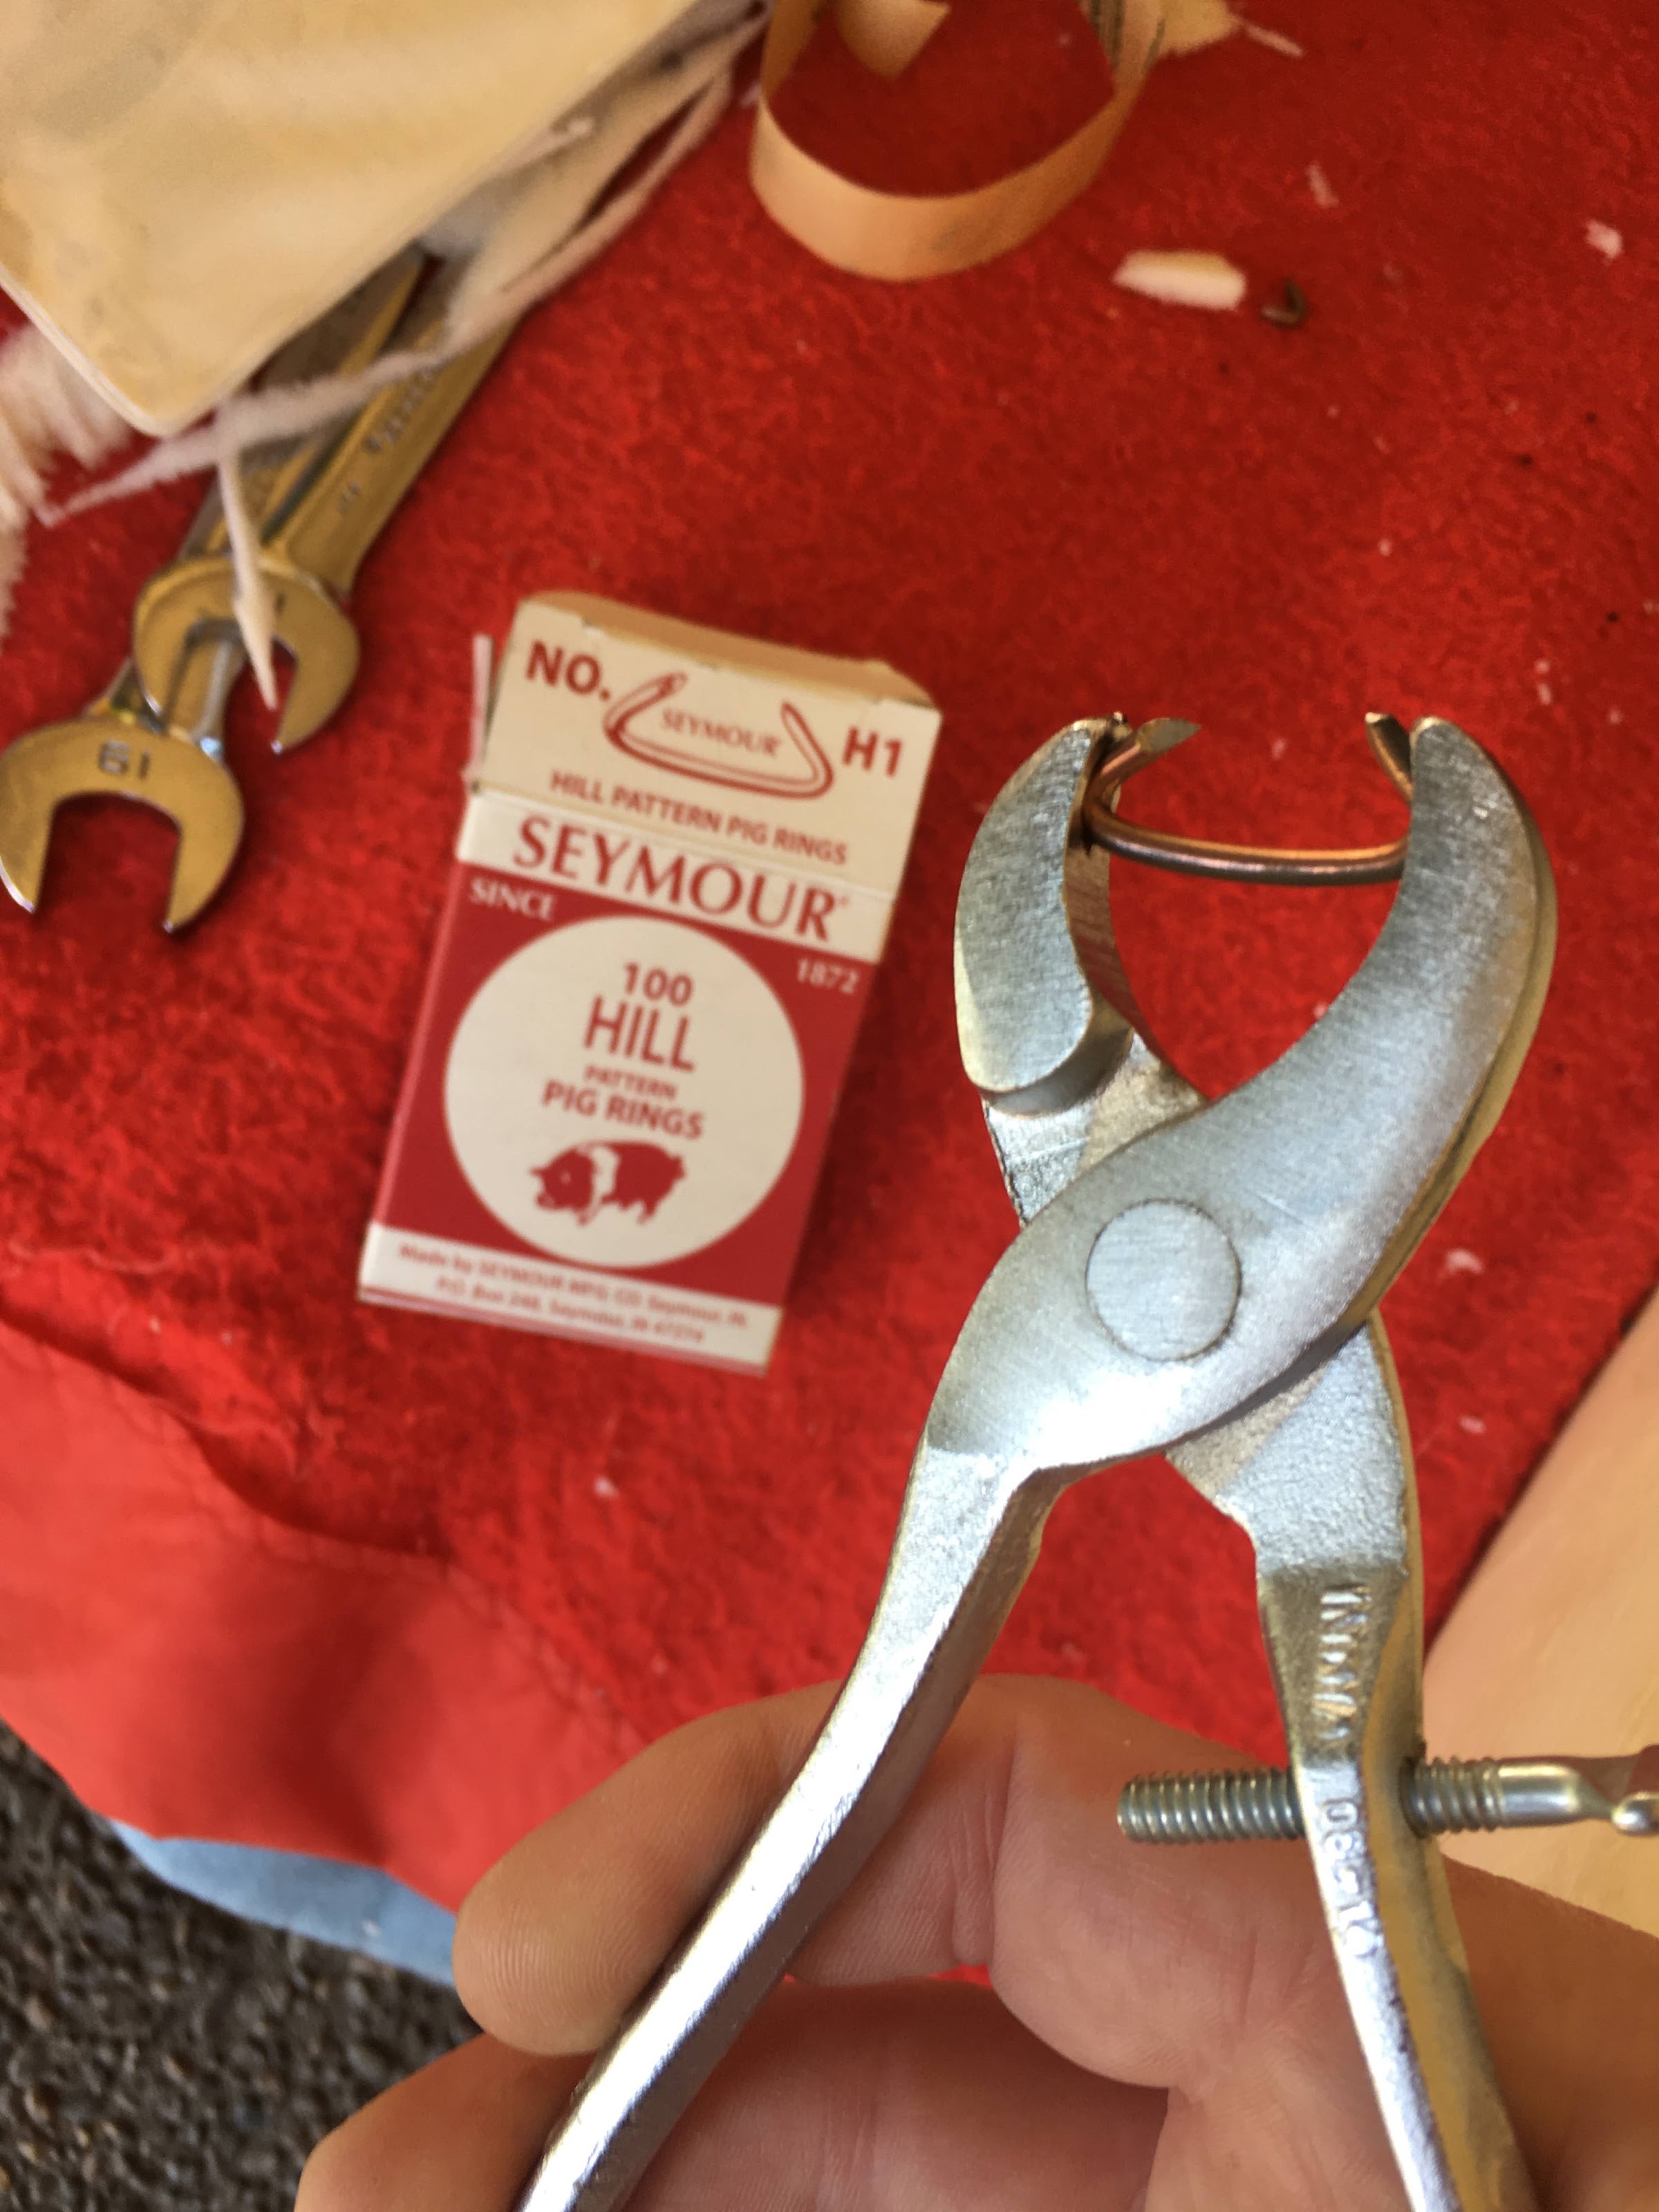
The seat bottom has to be removed from the back, then the cover can be removed by clipping the hog rings.

Image

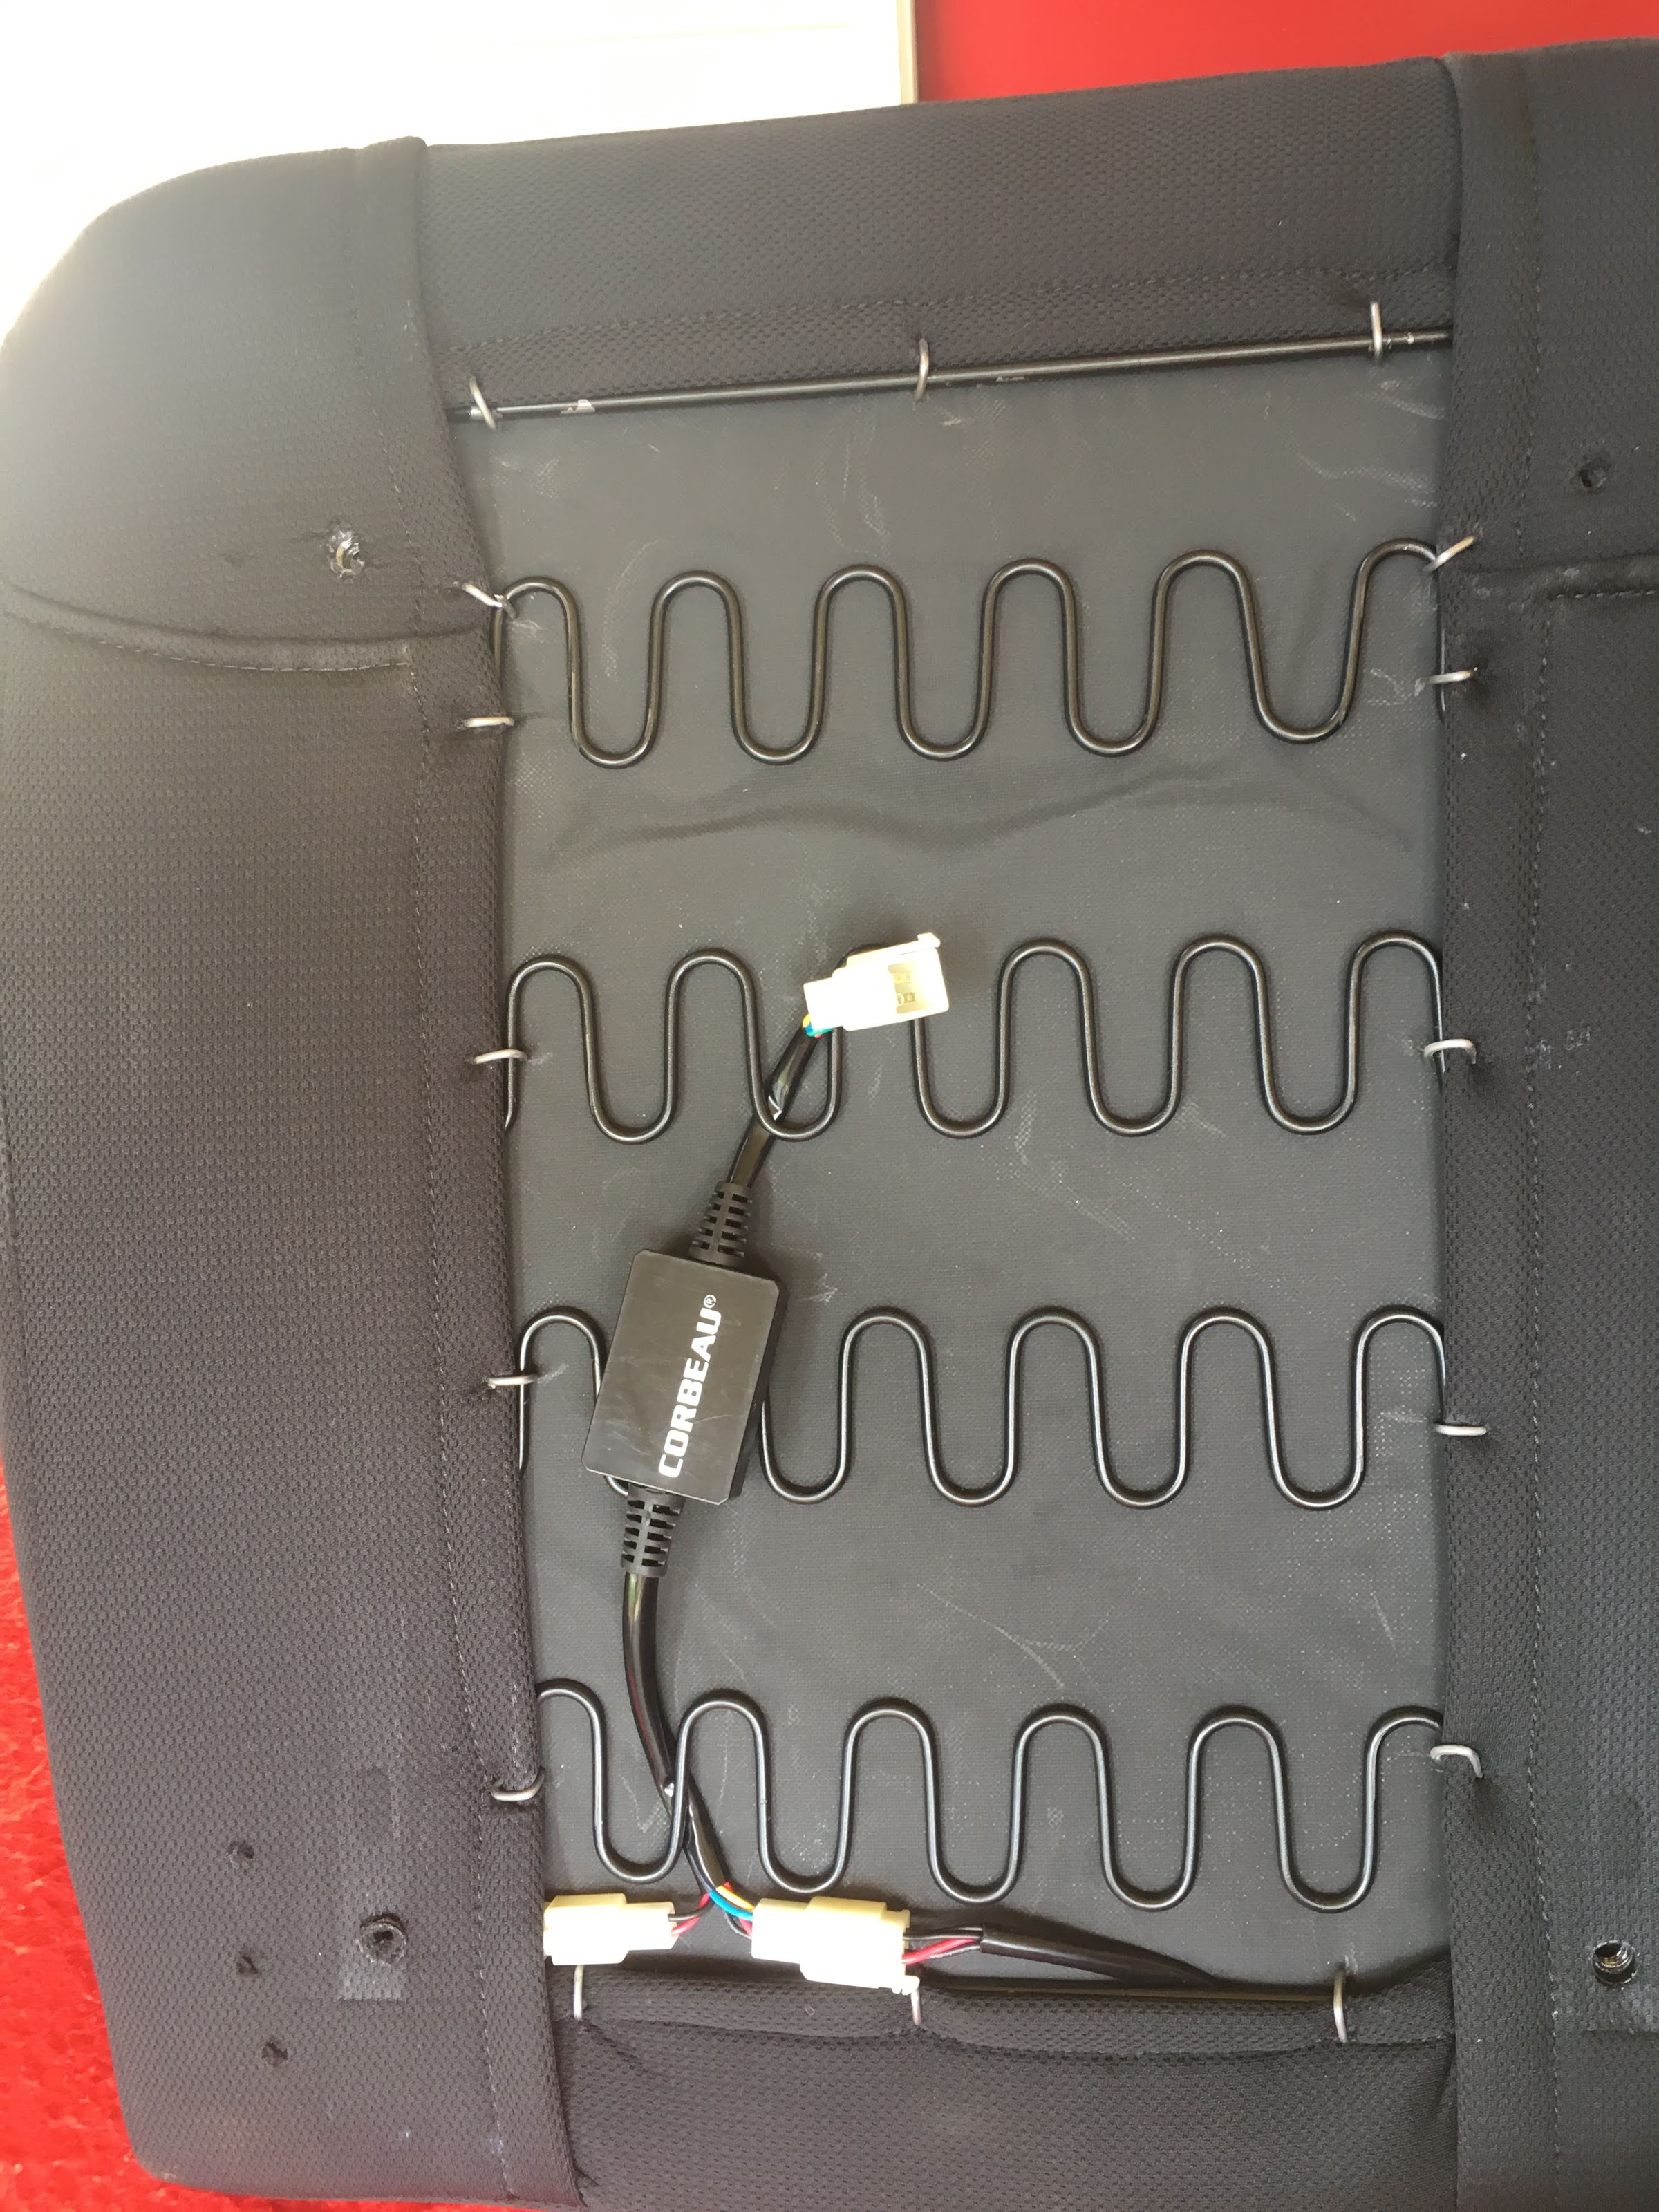
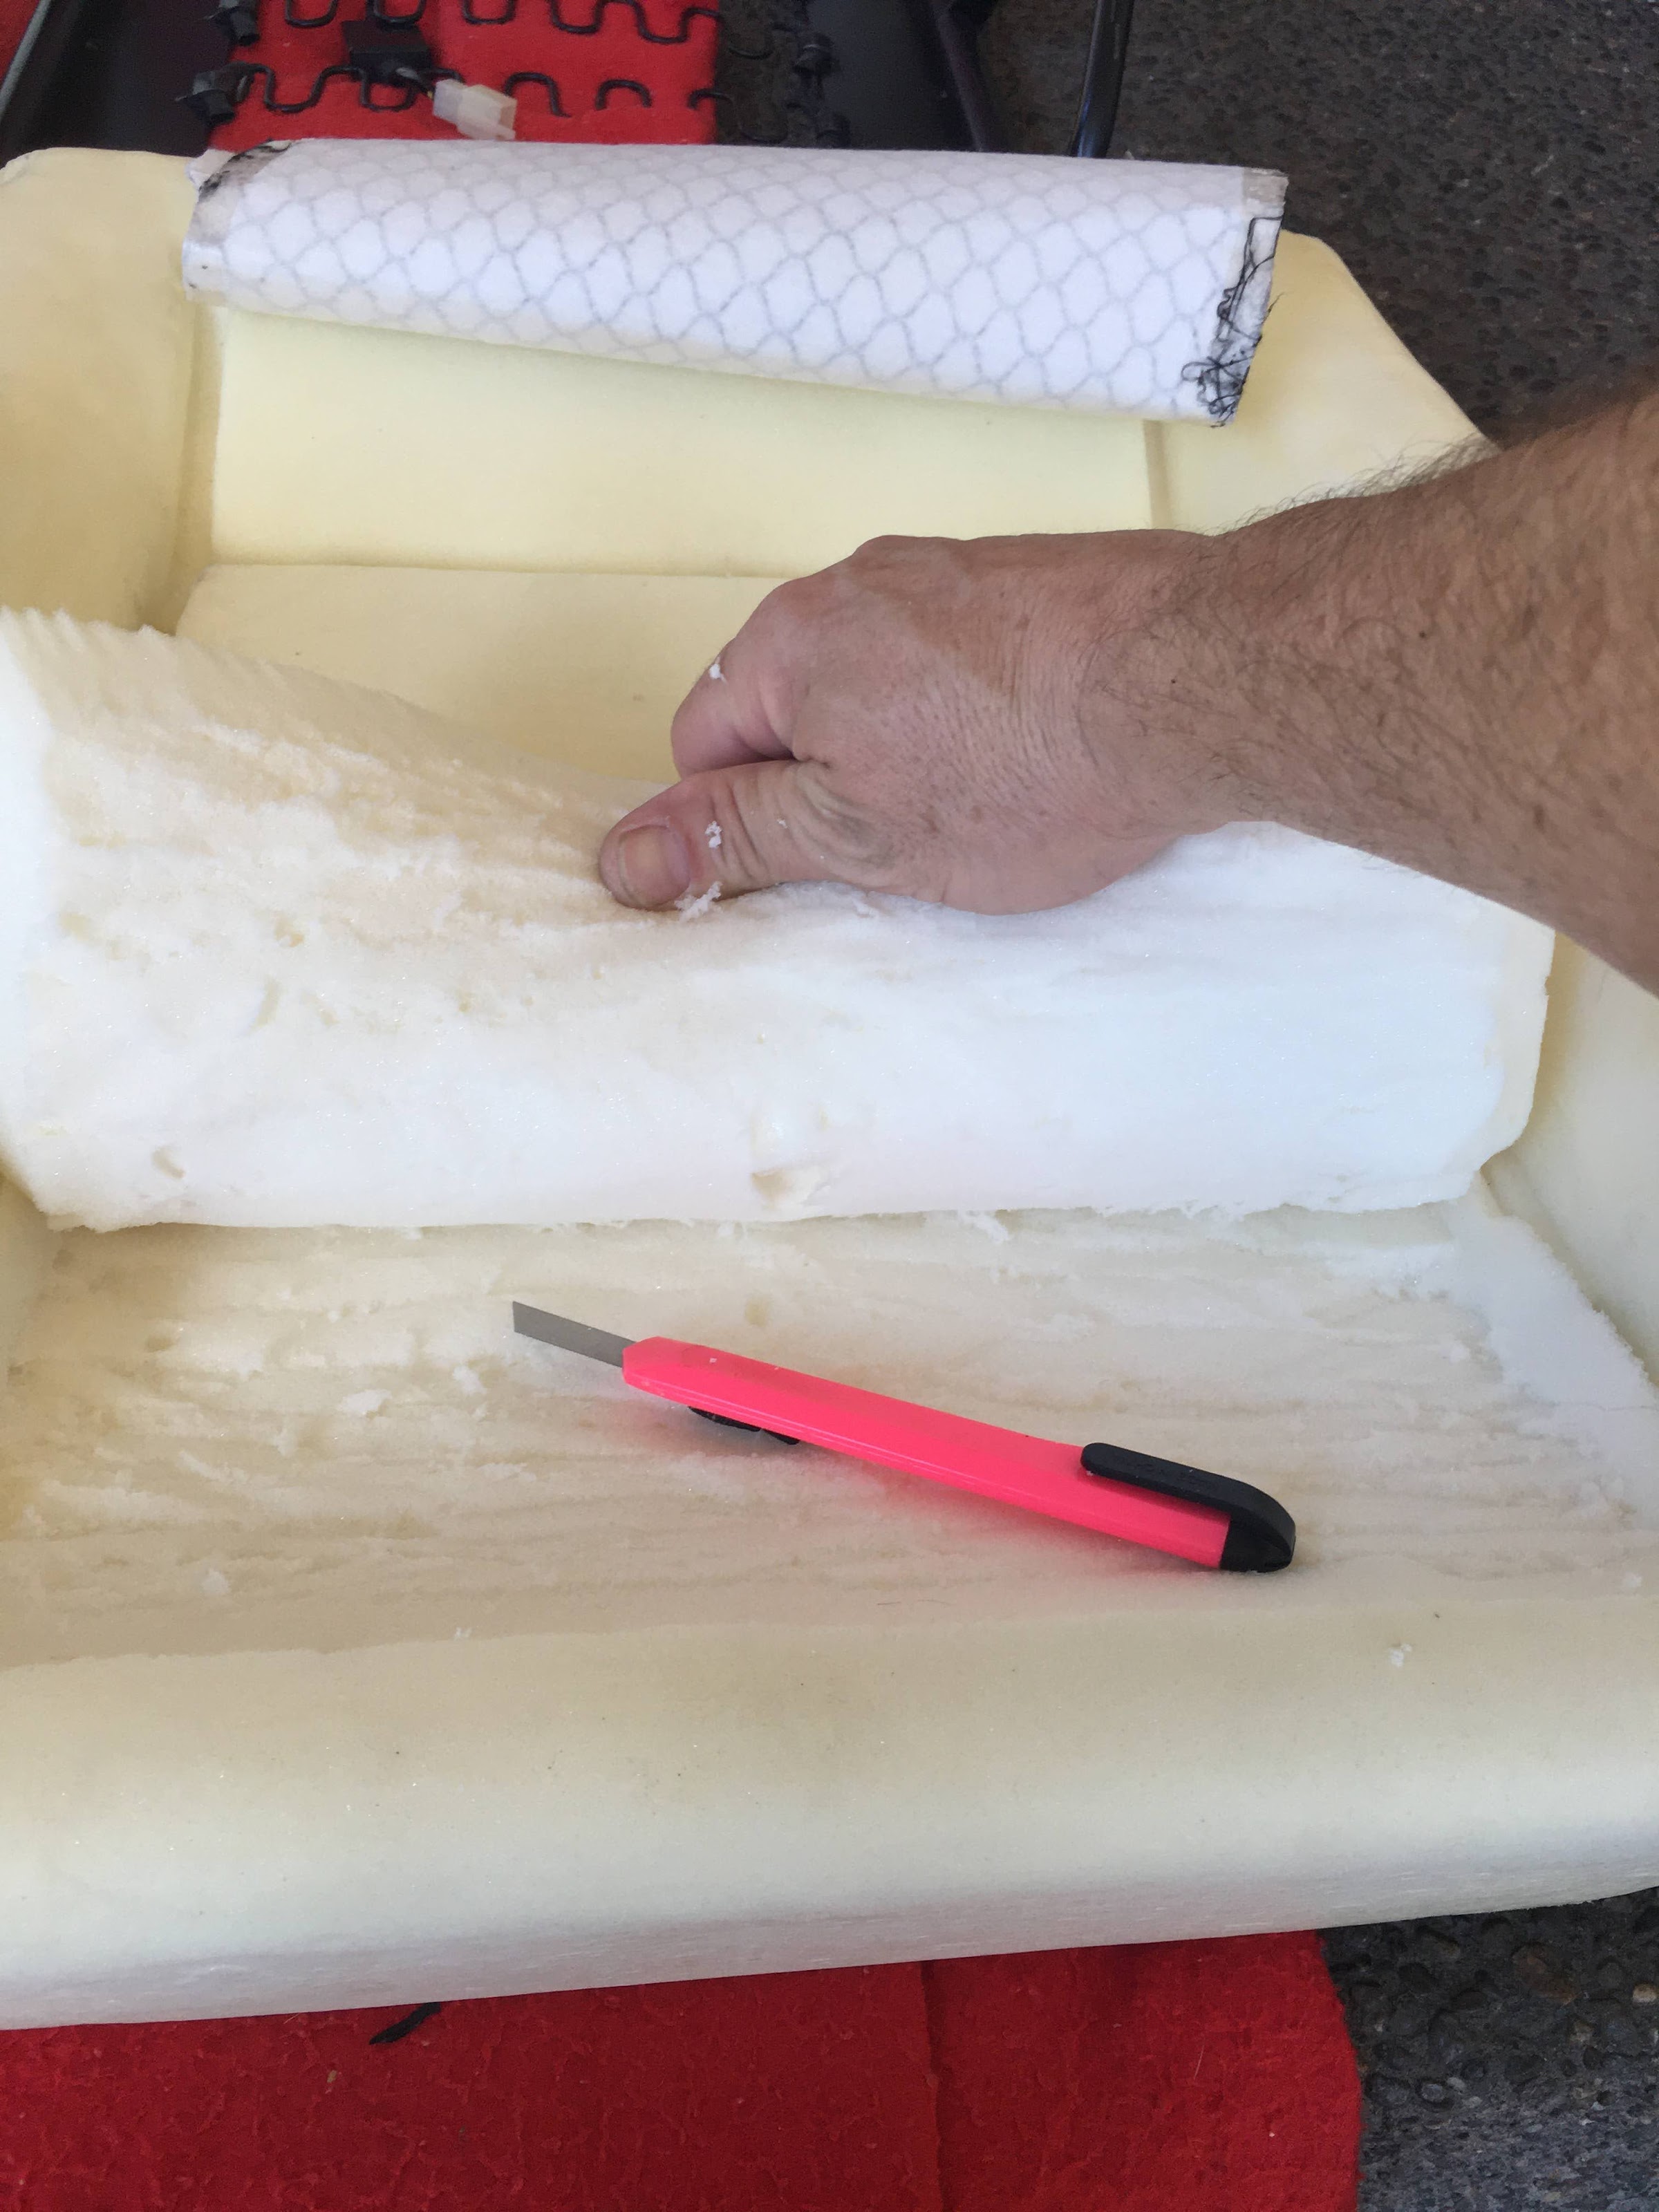
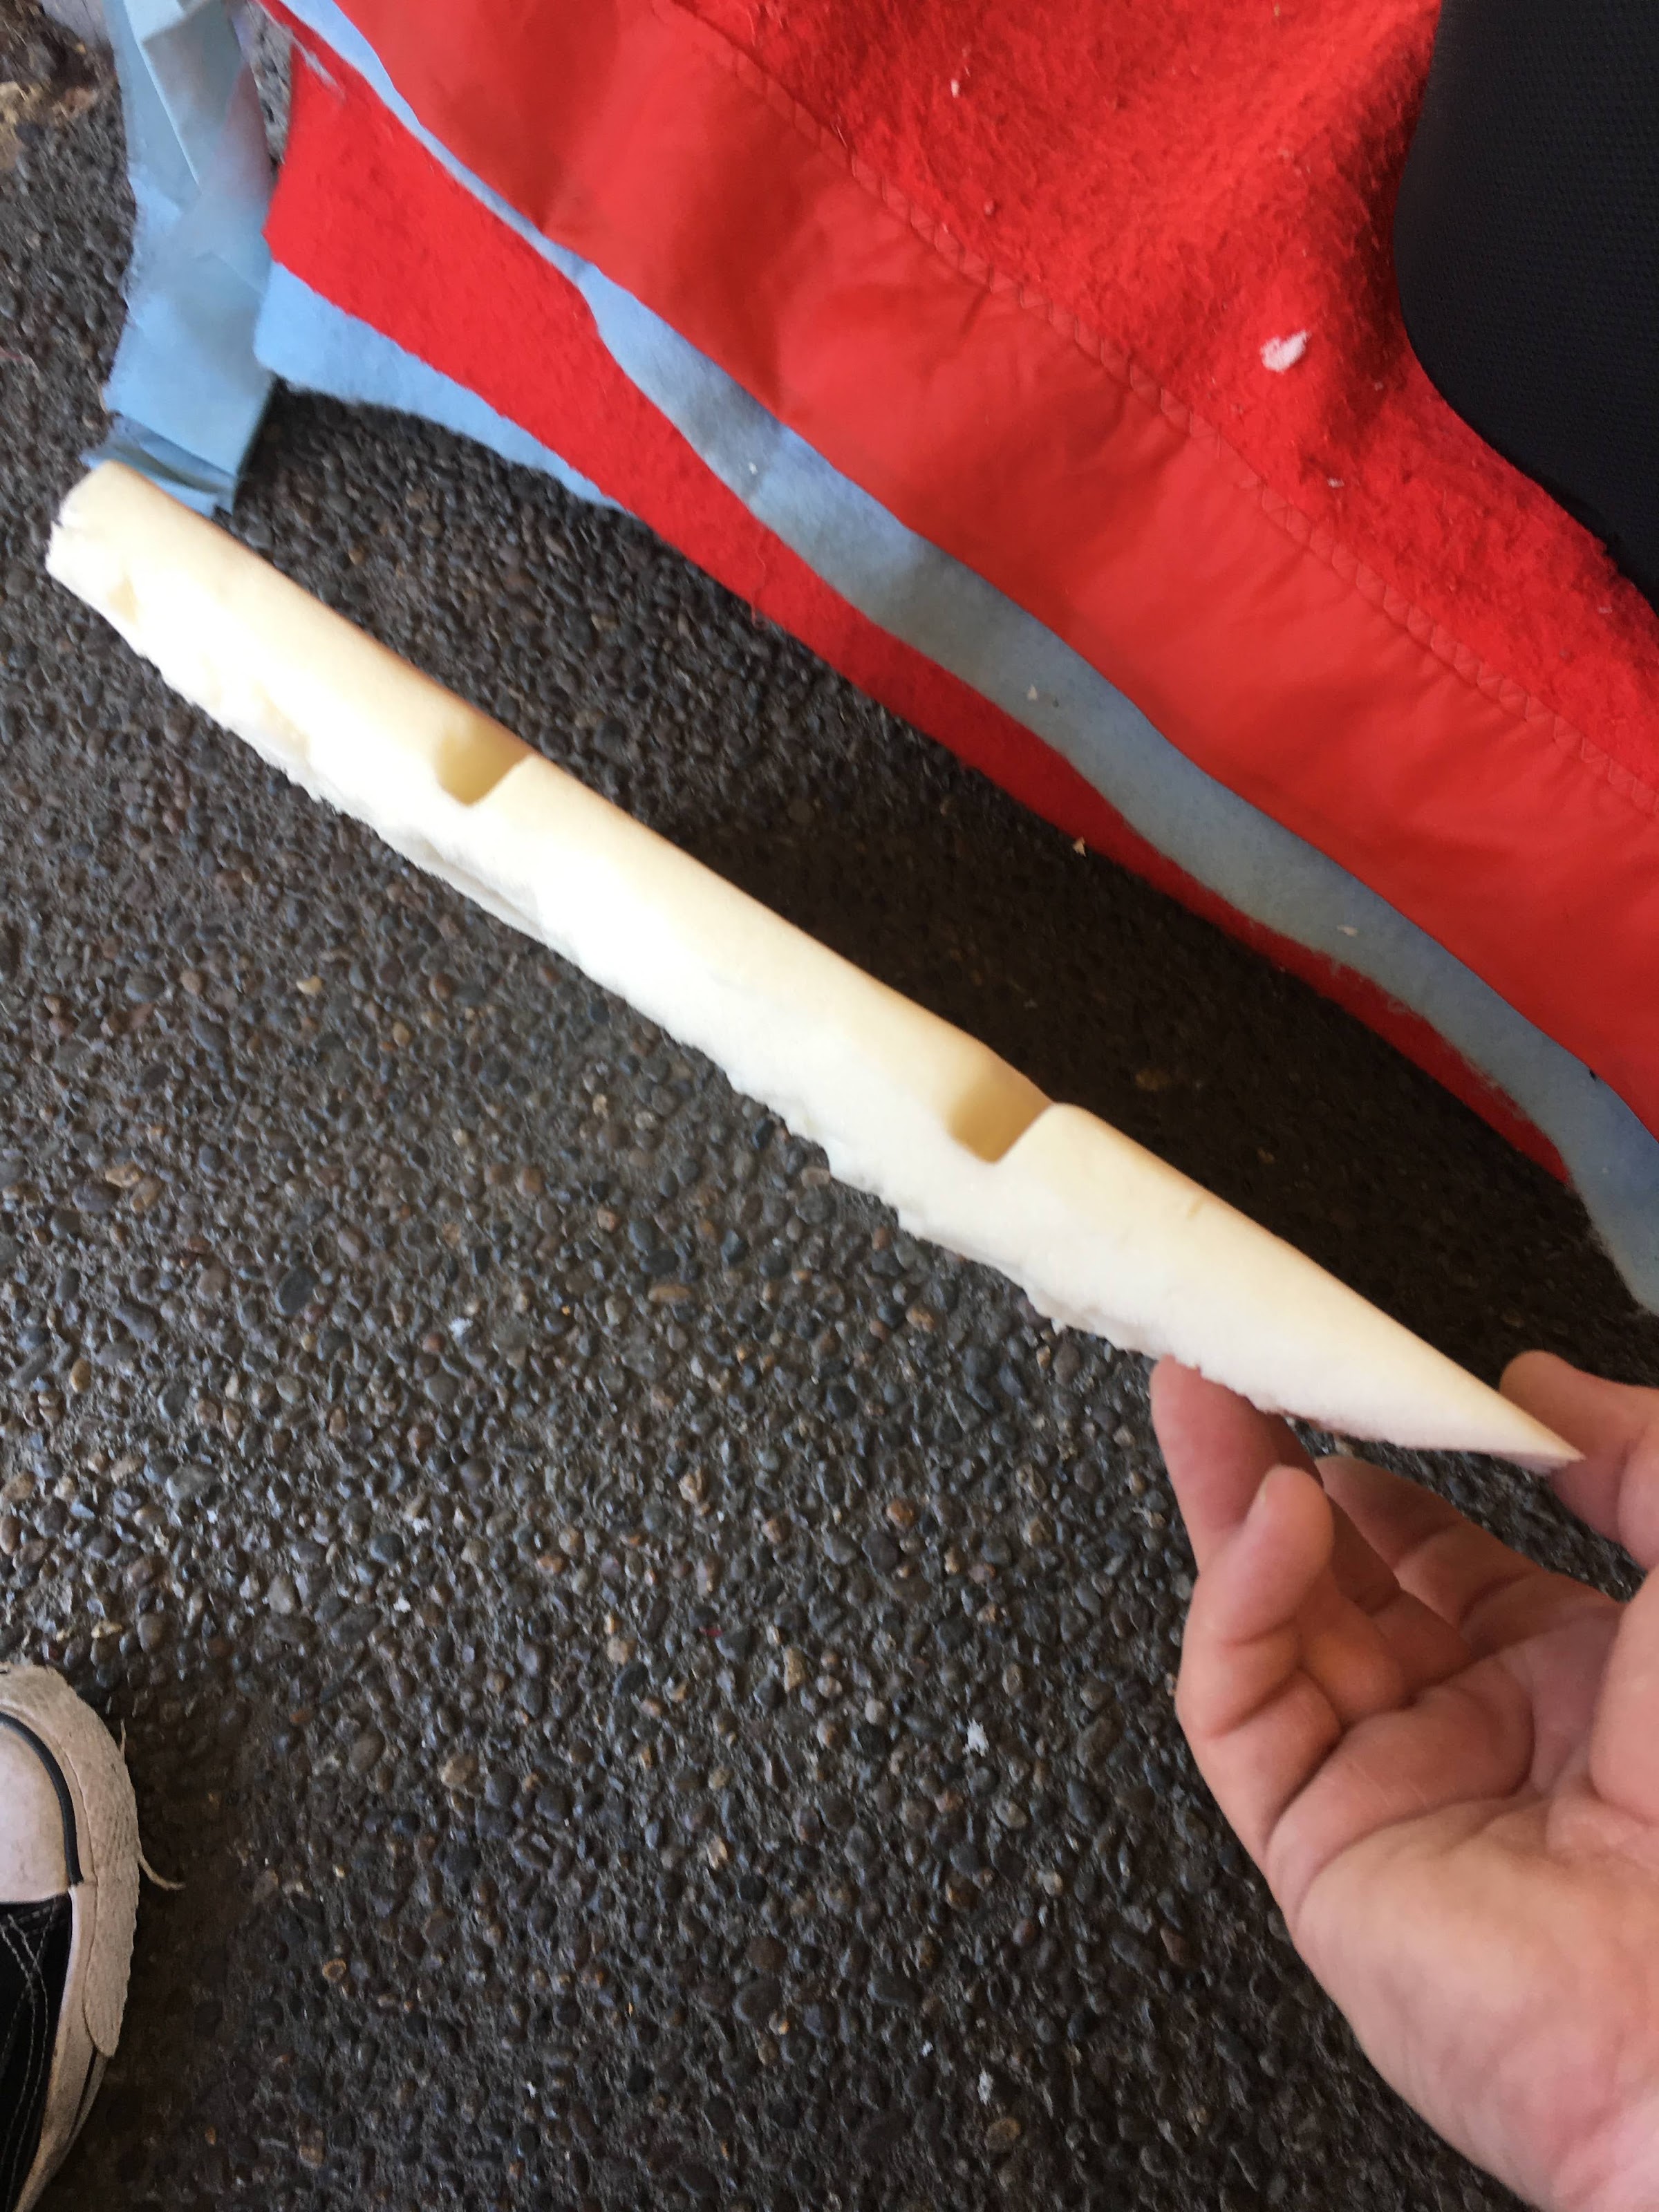
Because I ordered the seat heaters installed, I had to remove the lower heater pad, then I used a long 'snap' blade that I could use like a fillet knife. I peeled the pad back as I sliced the pad. I removed about 1" of pad on the area under my butt and tapered a bit on the front.

Image

Image

I then put the heating pad back in place

Image

Hog ring pliers and some new rings make putting the cover back on correctly pretty straight forward

Image

Back in the car, I now have about 1-1/2" more headroom and it feels like I am looking more out the center of the windshield. The fabric is not tight against the lower pad, but does not look odd. The fabric feels like it will conform well without stressing the stitching too much. Not sure how well this would work with vinyl or leather.

Image

In retrospect, I should have just bought the heaters uninstalled and saved a bit of money but would have still had to take the seat apart whether I took foam out or not. I also think I did a better job on the passenger seat (second) so might take the driver back apart and take a tiny bit more foam off the rear area where the flat transitions to the back of the seat.
Stu

1972 4-door 510
2004 Volvo V70R 6spd manual
Factory Five Racing Cobra
1991 Ford F250 4x4 extended cab
2005 Mini Cooper S - death via forklift :(
User avatar
Stu
Supporter
Posts: 328
Joined: 02 Oct 2019 19:32
Location: Vancouver, WA USA

510 Mustache Bar and Rear Control Arm bushings

Post by Stu »

Got my control arms and mustache bar back from the powder coater and decided to put the new bushings in.

Installing the Energy Suspension 7.1104g bushings went in relatively easily with a bit of bushing lube. Normally I can just use a mallet to 'press' the sleeve in but when I tried this method, the bushing would swell a bit and want to pop out. So, I used my press to not let anything come apart when putting in the sleeve.

Image

Image

Same height as the stock bushing

Image

Image

Thought it would be the same with putting the bushings into the rear control arms but, nope.

The sleeves in the Energy Suspensions 7.3105G polyurethane bushing kit don't fit the stock 510 control arm bolts, they are too small. Not sure why they even sell them for the 510. Not sure If I'm the last to know this, but I had them, so might as well get them to work

Image

Image

Image

Image

Took the sleeves to the shop at work and used a 17/23" (13.49mm) reamer to open up the sleeves.

Image

Image

All done.

Image
Stu

1972 4-door 510
2004 Volvo V70R 6spd manual
Factory Five Racing Cobra
1991 Ford F250 4x4 extended cab
2005 Mini Cooper S - death via forklift :(
User avatar
Byron510
Moderator
Posts: 12658
Joined: 01 Jul 2003 23:06
Location: Maple Ridge, BC

Re: Stu's 1972 4 Door

Post by Byron510 »

Interesting on the bushing size.
I had a similar issue a couple months back then installing a Datsport adjustable toe kit and utilizing a Futofab spherical bush kit. The ID of the bushings on the Futofab spherical kit will fit the stock 510 bolt, but the Datsport bolts were about.007” larger, requiring a bit of polishing down to make it all work.
I had contemplated machining out the 8x bushings, and has a 13.5mm ream, but felt that taking down the bolt dia was the correct step.
Thanks for all the detail. I had looked at the bushing for the diff mount... did I miss it or have you installed the X-member outer bushes already?

Byron
Love people and use things,
because the opposite never works.
User avatar
Stu
Supporter
Posts: 328
Joined: 02 Oct 2019 19:32
Location: Vancouver, WA USA

Re: Stu's 1972 4 Door

Post by Stu »

Byron,

I have not done the big bushings on the rear crossmember yet. I had to get the control arms back and install the bushings so I could to properly locate and install a toe kit from Ermish Racing. I know you have the very, very nice adjustment system, but I don’t like heim joints on a street car that I want to drive ‘regularly’. The crossmember is currently getting powder coated.
Stu

1972 4-door 510
2004 Volvo V70R 6spd manual
Factory Five Racing Cobra
1991 Ford F250 4x4 extended cab
2005 Mini Cooper S - death via forklift :(
User avatar
Stu
Supporter
Posts: 328
Joined: 02 Oct 2019 19:32
Location: Vancouver, WA USA

Rear Control Arm Bearing and Stub Shaft Install

Post by Stu »

When looking through the 'catalogs' about rear wheel bearings, most are incorrect and list one inner bearing and one outer bearing that are different. The IRS on the sedan uses four of the same bearings (RW101).

Image

All of the parts cleaned and ready to go.

Image

the bearings come 'dry', so packed them with wheel bearing grease

Image

My bearing press set did not have a piece that would only press on the outside race, so ended up using an old bearing race to assist pressing in the bearings. Remembered to pack the area around the spacer sleeve with grease too.

Image

Image

Inboard seal Timken 224045:

Image

Pressed in the stub shaft, assembled the inner flange, and torqued down the nuts. Staked and ready to go.

Image

Not 510 related, but took time to rebuild the 14.4 battery packs for my DeWalt drill I have had since college. It is the version with the all metal nose and gear set, and I have an emotional attachment to this power tool, so it is worth 30 bucks to rebuild each pack. :)

Image
Stu

1972 4-door 510
2004 Volvo V70R 6spd manual
Factory Five Racing Cobra
1991 Ford F250 4x4 extended cab
2005 Mini Cooper S - death via forklift :(
User avatar
Stu
Supporter
Posts: 328
Joined: 02 Oct 2019 19:32
Location: Vancouver, WA USA

510 R160 Differential reseal

Post by Stu »

Since I never actually drove my car before I took it all apart, I had to believe the previous owner's word that the differential was not fill of sad noises and gravel. When I spun the input by hand, it felt nice and the backlash was minimal. The magnet on the drain plug did not have any shavings or metal fur so felt pretty good about its basic condition. I wanted to get everything cleaned and sealed back up, so cracked it open to give it a once over.

Gears look good and the bearing races looked good too.

Image

I bead blasted all of the small parts, cleaned the case and painted everything. I used almost an entire can of brake clean to flush the case (with the pinion still installed).

Image

Image

New pinion seal 38189-U3001. Comes pre-lubricated which is nice.

Image

new side seals 38342-21001. Also come pre-lubricated.

Image

side cover O-rings 38343-21011. Coated with oil and lubed the bevel on the case to make sure they seat properly.

Image

Side bolt O-rings 33125-Z5002. Coated with oil and lubed the bevel on the stub shafts to make sure they seat properly.

Image

I opted for the Subaru metal gasket for the rear cover PN 38353AA031

Image

Ran all of the bolts and nuts through my Harbor Freight ultrasonic cleaner a few times and put everything back together. Put the pinion nut back to the marks I originally made and put a bit of 80/90W gear oil in verify everything runs smoothly. I'll fill fully before install.

Image
Stu

1972 4-door 510
2004 Volvo V70R 6spd manual
Factory Five Racing Cobra
1991 Ford F250 4x4 extended cab
2005 Mini Cooper S - death via forklift :(
User avatar
eastbaysolo_73
Supporter
Posts: 705
Joined: 18 May 2014 09:28
Location: Northern California

Re: Stu's 1972 4 Door

Post by eastbaysolo_73 »

Wow great job!!!
1970 2 door sr20det cookie cutter build
My build thread
http://www.the510realm.com/viewtopic.php?f=3&t=30772
Nor Cal Meng !
User avatar
Stu
Supporter
Posts: 328
Joined: 02 Oct 2019 19:32
Location: Vancouver, WA USA

Re: Stu's 1972 4 Door

Post by Stu »

Thanks. It will be a few years before I know if I really did a good job or just put paint on a bunch of garbage.
Stu

1972 4-door 510
2004 Volvo V70R 6spd manual
Factory Five Racing Cobra
1991 Ford F250 4x4 extended cab
2005 Mini Cooper S - death via forklift :(
User avatar
Fred_L-P
Posts: 237
Joined: 03 Apr 2017 06:10
Location: Montreal, Can

Re: Stu's 1972 4 Door

Post by Fred_L-P »

Stu wrote: 25 Aug 2020 11:00 Thanks. It will be a few years before I know if I really did a good job or just put paint on a bunch of garbage.
hahaha I feel you! :lol:
Post Reply