ace028's 72 2 door

View and post your 510 project(s)
ace028
Posts: 140
Joined: 15 Aug 2010 08:29

Re: ace028's 72 2 door

Post by ace028 »

This weekend I was able to make some progress on the car. First I opened the tunnel up just enough to fit the trans mount on to the crossmember.

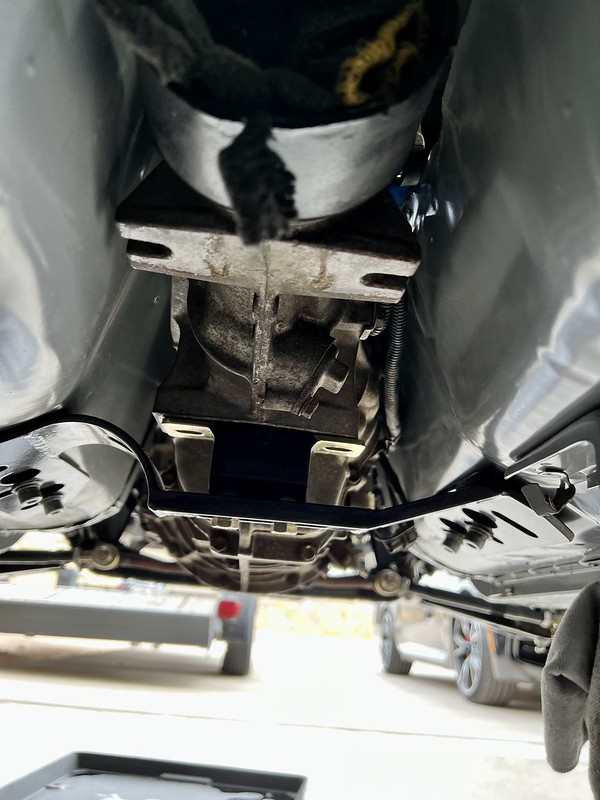
I am using the TSR s15 mount that he supplied with his crossmember. He said the trans sits high up in the tunnel. I will have to definitely do some work on the tunnel when I pull the trans to have room to add more clearance here and there, it only needs it on the passenger side.

Image

Here you can see the mount is pretty tall. I double checked with Mario from TSR and he said it's good.

Image

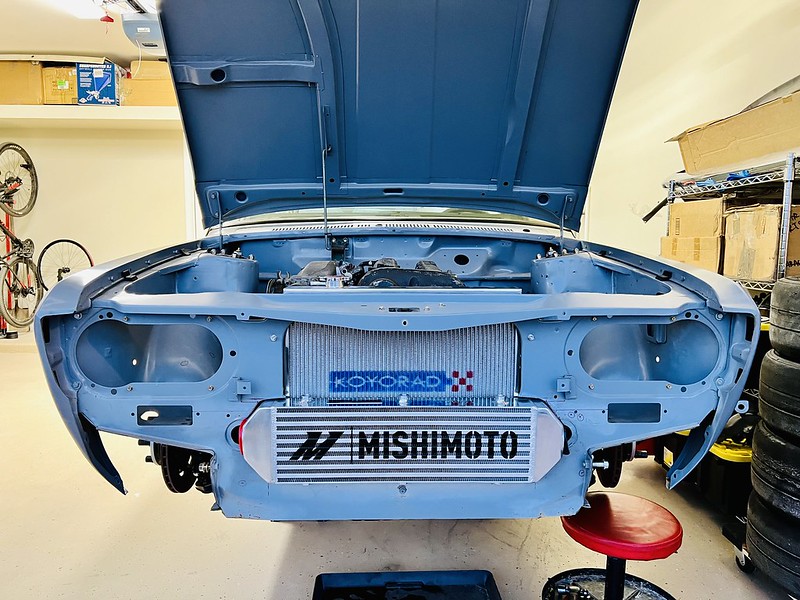
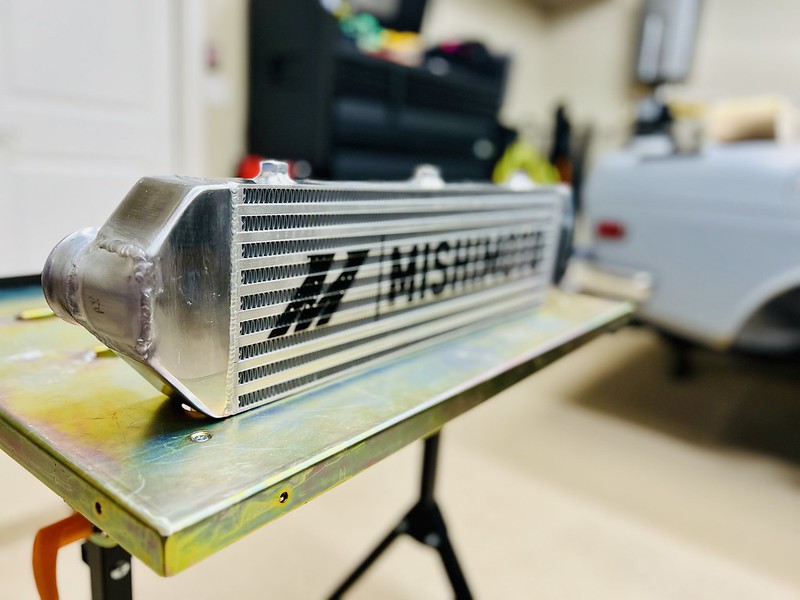
Next I looked at Icehouses IC setup and made some measurements as I will be using the same Rad and IC setup.

Image

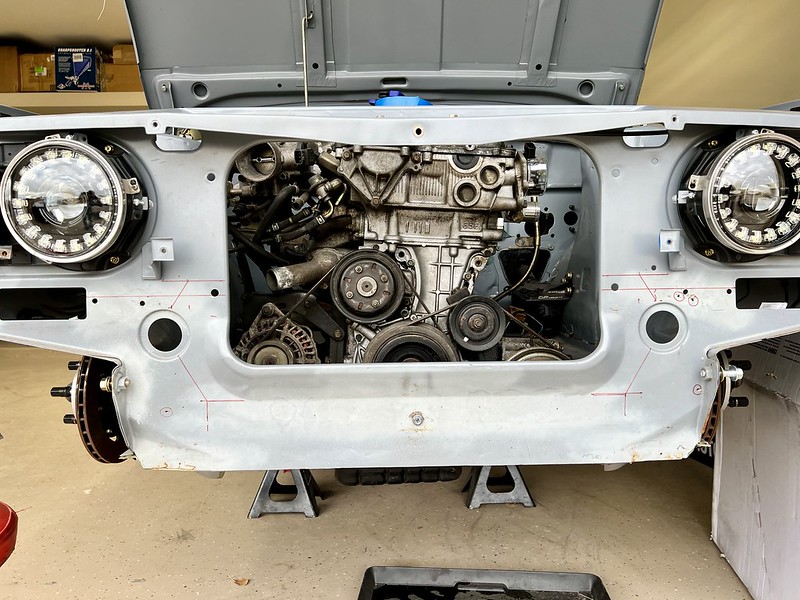
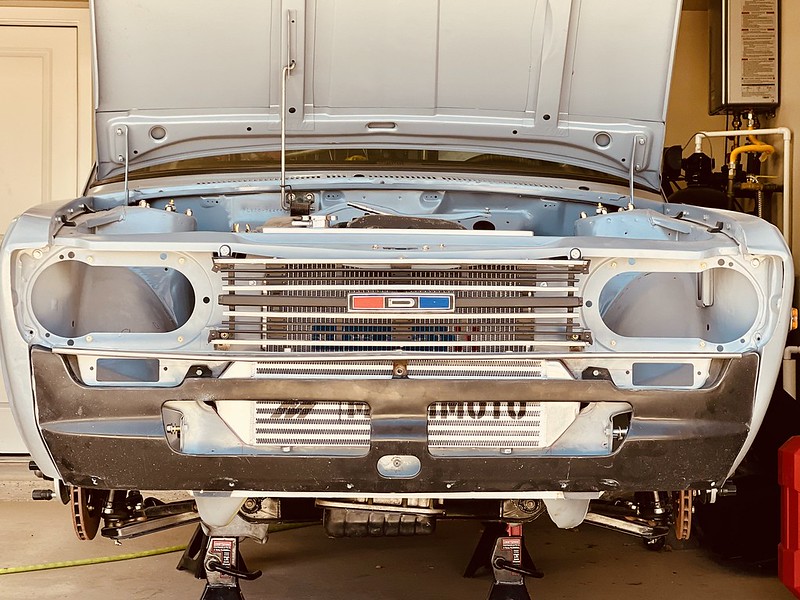
I cut and started to body work a lip into the hole to eventually match the factory one for the radiator.

Image

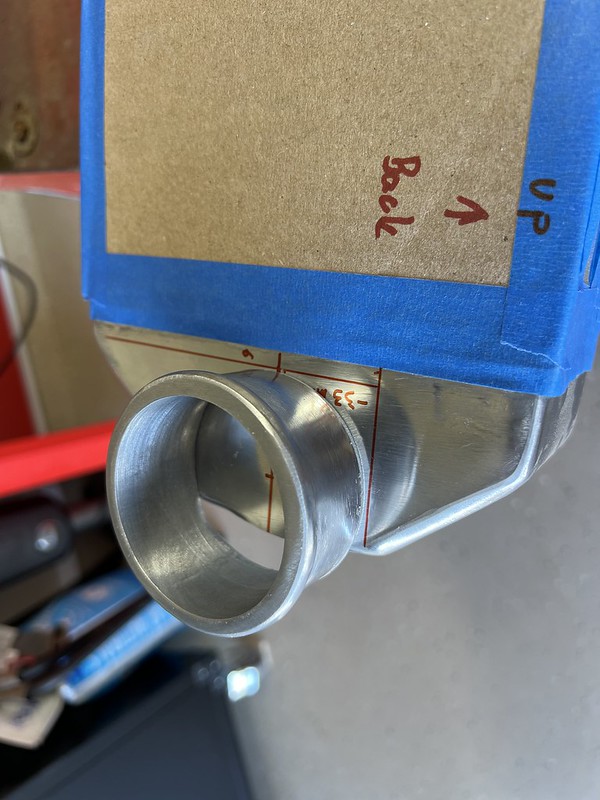
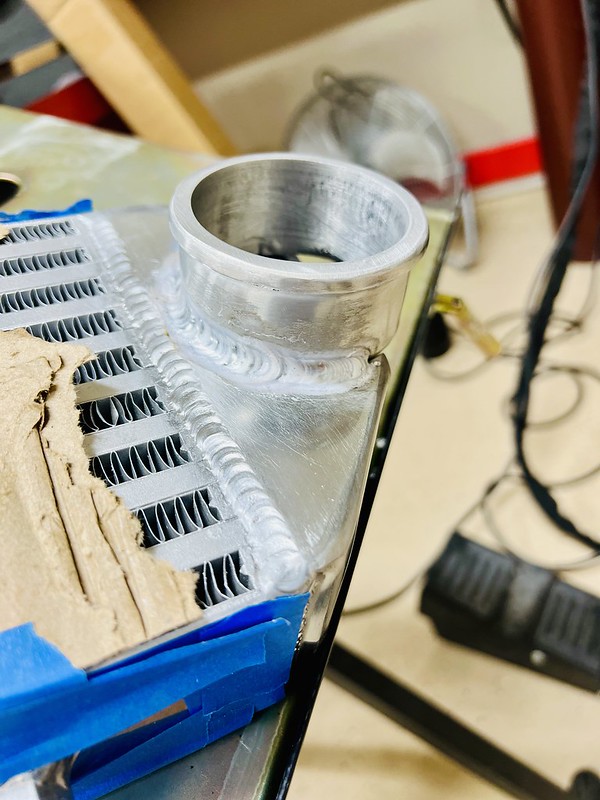
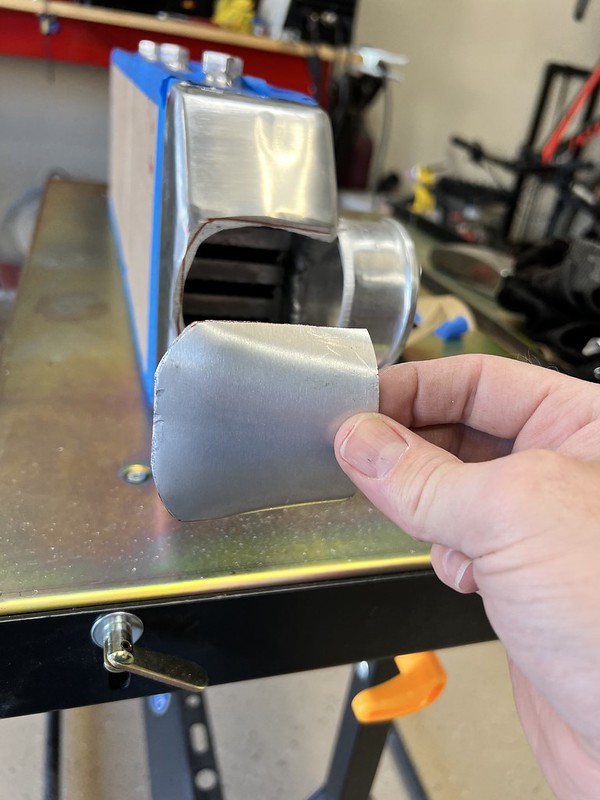
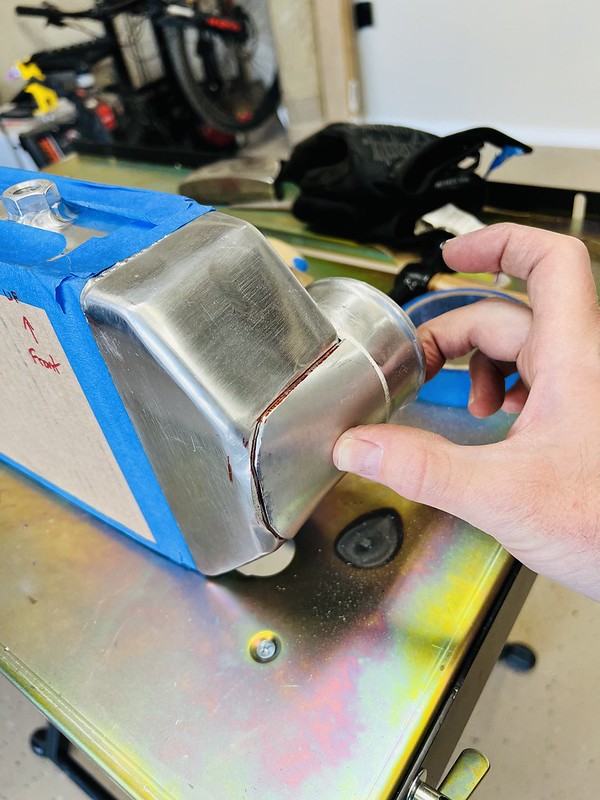
Here I was checking my work to see where I needed to open up a bit more. I will cut off the inlets and move them to be at 90 degrees with the intercooler, and make patch panels for the stamped holes on each side of the IC. It will look exactly like Icehouses when I am done.

Image

I will be out of town so I will have to wait a few weeks before I can finish working the IC and start to fab a mount for it. While I am here I will install some riv nuts for the front valance for easy of removal. I was also able to find why my bumper was a bit off. When I had it at a shop they welded the front bumper captive nut just a bit off, but its only 1/8 and I also noticed the bumper brackets inside the back of the bumper are a bit off and not perfectly center. I will prob have to slot the brackets a bit to compensate.
ace028
Posts: 140
Joined: 15 Aug 2010 08:29

Re: ace028's 72 2 door

Post by ace028 »

So after a few new tools and some garage reorganization, I finally did a little bit of work on the 510.

Image

Cutting down the intercooler with my new Swag Portaband saw table :) This thing is pretty sweet. I splurged and went with Milwaukee brand saw and I got the miter saw guide, figured it would be helpful for future projects

Image

Don't worry, I made sure to plug the insides before I cut. I did this so I could easily do a fit up.

ImageUntitled

I put the radiator in there loosely to get an idea of the layout. Somehow I need to fit a a/c condenser in there. I wish I could find a long rectangular one to fit above the intercooler. Any thoughts?

Image

Another angle. I am glad I did the mock up. It really give me perspective of how it will look and work in the end and builds some motivation to see it come together. This build has been so long, but I am determined to finish. Life/work always gets in the way of these kinda projects.

Image

Still trying to decide on an exhaust manifold for it as I still have the steering gearbox. Id like a rack but I already have a complete setup with the original gear so I plan to use it as is, maybe later I can revise that. I am thinking ISR top mount, then have it re drilled to fit the T28 turbo. I really want to keep the stock turbo for now. I think it will provide more than enough fun for this little car.

I still need to figure out a mounting solution for both IC and Rad that is best. I plan to likely keep copying Icehouse's layout. Makes the most sense to me, especially if there's an issue with them as they are easy to replace and mod vs. buying a custom expensive setup. Also requires me to practice with my new TIG welder :)
User avatar
icehouse
Posts: 3899
Joined: 17 Jul 2005 17:06
Location: Everett Wa

Re: ace028's 72 2 door

Post by icehouse »

I like it!
"People don't like it when shit doesn't match their rule of thumb." Sam
ace028
Posts: 140
Joined: 15 Aug 2010 08:29

Re: ace028's 72 2 door

Post by ace028 »

So a bit of progress on the intercooler. I have measured (in metric, no pesky imperial stuff here lol) the place I wanted to weld the tubes I cut off onto. 

Image

Tacked into place

Image

Image

Then went for it. One tip, make sure the tape holding your protective cardboard isn’t close to where you are welding.
Pretty satisfied with my first attempt to actually weld something I will be using
Image

Welded the inside where I could reach

Image

Cut some tubing and bent to fit

Image

A little mock up

Image

All burned in. I learned how different it is when welding two different thickness materials and how you need to concentrate your heat into the thicker part and have good pedal control. 

Image


Some mock up and trimmed the fiberglass valance

Image

Now to see how I want to mount the radiator and intercooler. Likely will use some angle aluminum and hard mount or try to use the rubber isolators, but open to suggestions. 

Image
User avatar
shlammed
Posts: 22
Joined: 19 Dec 2022 12:38
Location: Ontario, Canada

Re: ace028's 72 2 door

Post by shlammed »

angle for the intercooler to the rad would be fine. put a small weatherstrip on it to keep it from scuffing a hole in itself.

Tips for welding thick to thin that would probably work here is to put a heatsync behind the thin part. something like a scrap piece of sheet clamped on just to absorb some heat to keep it cool. aluminum transfers a lot of heat so that whole patch would get pretty hot and start to weld differently the longer your welding it. Good job!
Another thing I have done and learned online was to nearly flatten the weld and then run over it again with a weave and no filler. It will pull out any bubbles in the weld with the AC if you think there are any. Try a pressure test on it with air and you will probably find a pinhole or two. Its not critical on a part like this for quick pressure changes but it will fatigue there first and could eventually blow apart the higher you boost it.
Post Reply