Page 14 of 17
Re: Lets see some welding pics!
Posted: 27 Mar 2014 13:07
by okayfine
Another low-amp job from my L20BT project. This is the throttle wheel to actuate the SU, but I needed to weld it to another piece that itself mounted to the throttle shaft.
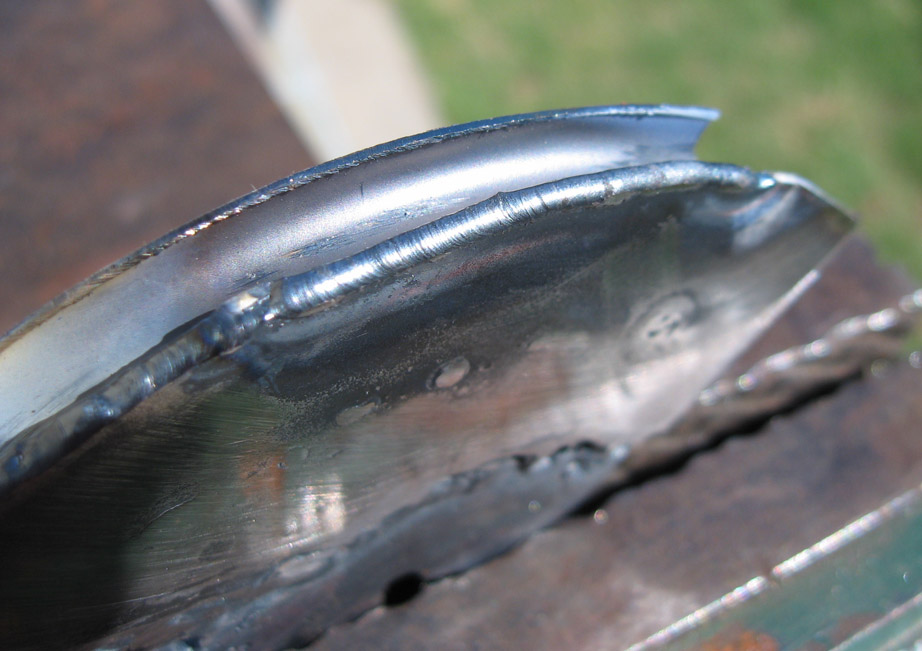
- IMG_3748.jpg (141.15 KiB) Viewed 4561 times
Re: Lets see some welding pics!
Posted: 27 Mar 2014 13:20
by duke
goichi1 wrote:What were all of your other settings? initial arc? I know I can turn mine down but havent tried, I think I have to access the more hidden menus to do that. I have heard that's how people weld aluminum cans together.....I want to try....
There are tricks, but not with machine settings. I didn't use pulse or anything like that, just modulated the amps with the foot pedal. The hardest thing is getting them tacked. If you try to light up on the actual razor blade the hi freq will just blow the edge away. The trick is to clamp them to something (I used an aluminum block), then light up on the block and carefully move over to the blades. Also, if you start blowing a hole in them, you are pretty much done. There is no stopping and restarting, you must do the whole thing in one pass.
I tried some cans, but didn't really figure it out till about half way though, and by then I had already burned a couple of holes in them. Next time I have so cans around I'm going to try again though.
Re: Lets see some welding pics!
Posted: 27 Mar 2014 13:30
by Track Junky
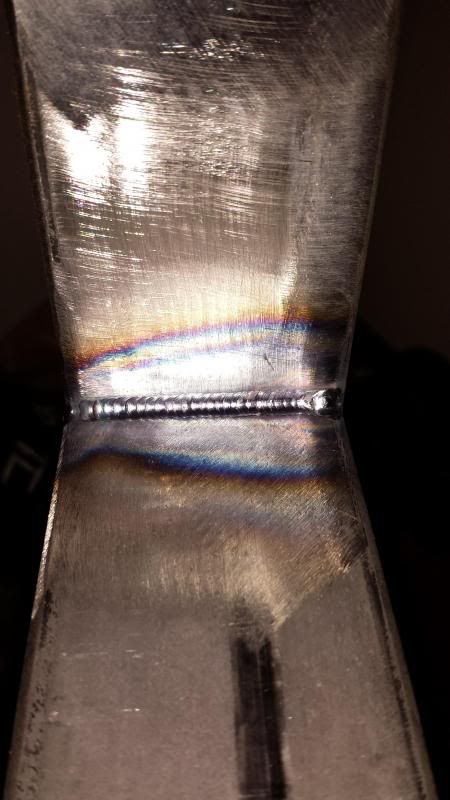
One from the other day. This is the first few welds for my upcoming project. Double wishbone IRS.
Scott.
Re: Lets see some welding pics!
Posted: 29 Mar 2014 19:28
by finn
Got the wife welding today. Building a safari rack for the jeep. Good that shes sharing interest.
Re: Lets see some welding pics!
Posted: 29 Mar 2014 19:33
by finn
Damn phone! Sorry ill fix it soon.
Re: Lets see some welding pics!
Posted: 20 May 2014 12:30
by okayfine
Our compost bucket is steel, and despite paint and rust protection under that, it continues to rust due to the moisture in the compost. So I made an aluminum version.
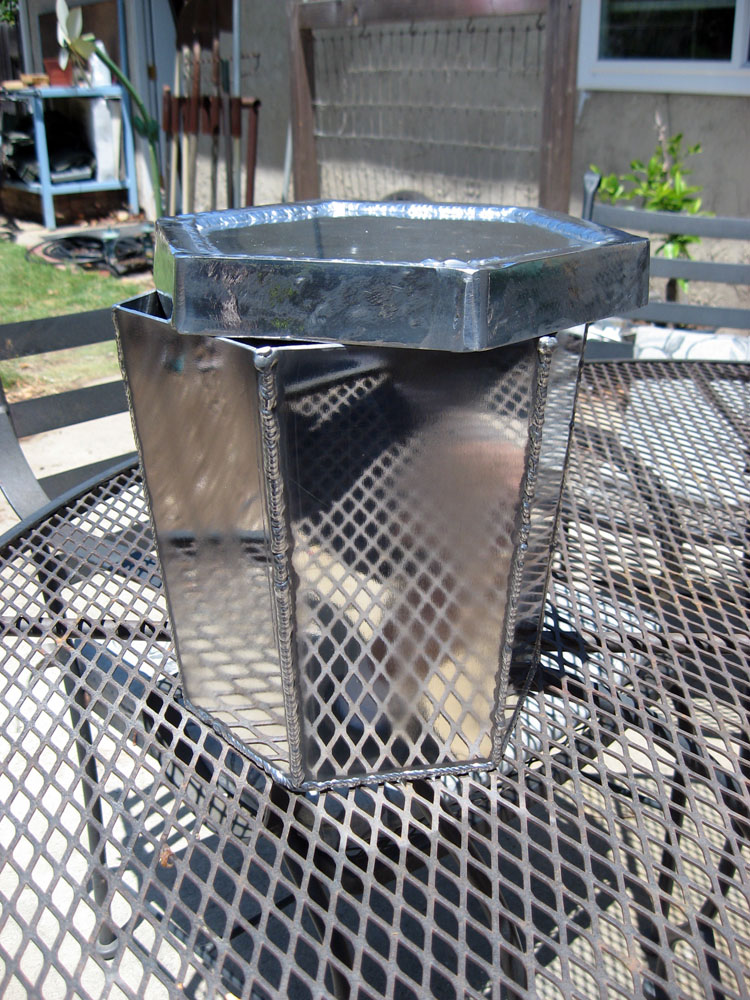
- IMG_5799.jpg (274.85 KiB) Viewed 4458 times
Still needs handles, which I'll rob from the steel bucket before I kick it to the curb. Nothing really to save for another project, and I always save stuff for other projects (real, imagined, or unknown).
Re: Lets see some welding pics!
Posted: 01 Jun 2014 22:23
by Byron510
Although not (yet) a welding project, I did machine up a couple replacement nuts to weld onto the transmission tunnel. One stripped out, and will need to be replaced one day on the Bronze. So I made a pair, and blew the dust off my little hobby lathe.
Turned out pretty good, I placed then next to the Greg Terry nuts on the floor and look identical. Felt good to use the lathe for a change.
Byron
Re: Lets see some welding pics!
Posted: 02 Jun 2014 05:59
by okayfine
We've got a thread for that!
 viewtopic.php?f=1&t=26653
Re: Lets see some welding pics!
Posted: 02 Jun 2014 07:26
by PoorMtnKid
Byron510 wrote:Although not (yet) a welding project, I did machine up a couple replacement nuts to weld onto the transmission tunnel. One stripped out, and will need to be replaced one day on the Bronze. So I made a pair, and blew the dust off my little hobby lathe.
Turned out pretty good, I placed then next to the Greg Terry nuts on the floor and look identical. Felt good to use the lathe for a change.
Byron
I need one of these my self, how hard would it be to spin up another?
Re: Lets see some welding pics!
Posted: 02 Jun 2014 12:26
by Byron510
Turning them up is not hard at all - maybe 30 minutes to set up the first one - 10 minutes each afterwards.
Time is my greatest enemy - I'll try to make you a couple next time I'm out there.
Byron
Re: Lets see some welding pics!
Posted: 05 Nov 2014 11:39
by okayfine
Since this thread's been asleep for far too long, who needs a diamond-plate lunch box with quarter-turn fasteners? My wife.
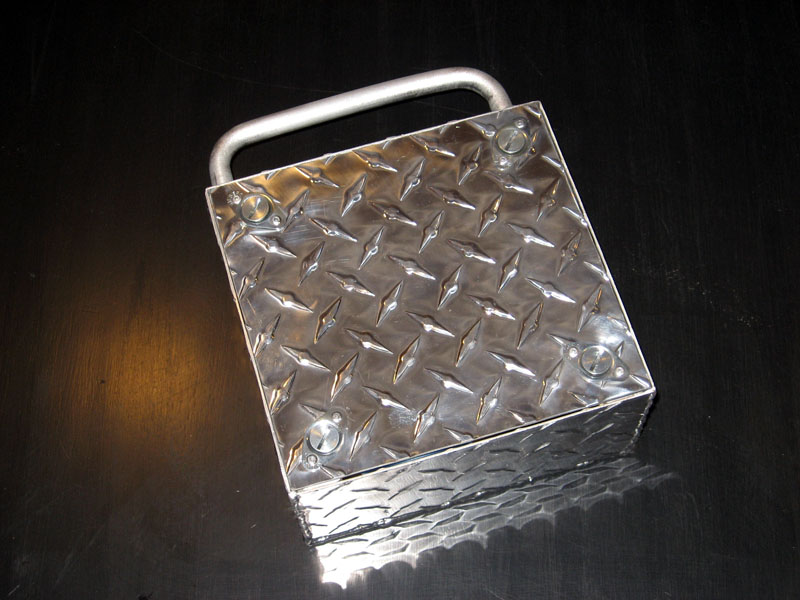
- IMG_6181.jpg (118.76 KiB) Viewed 4273 times
Magnets glued to the underside of the top panel hold the steel key I made, shown in the next picture under the handle.
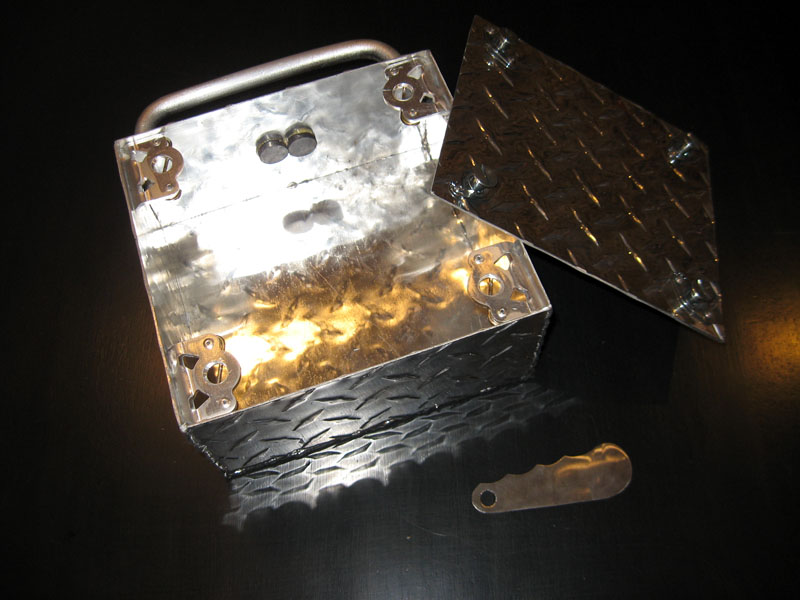
- IMG_6179.jpg (109.08 KiB) Viewed 4273 times
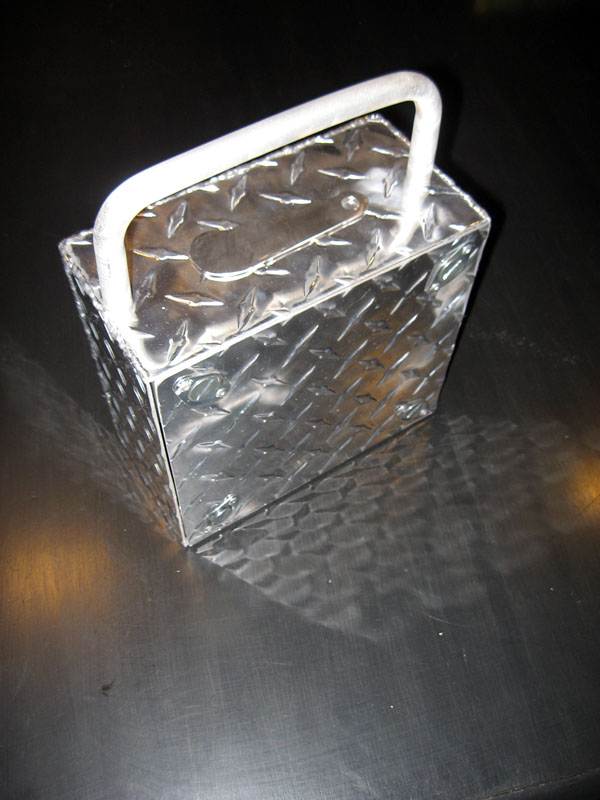
- IMG_6178.jpg (110.26 KiB) Viewed 4273 times
Re: Lets see some welding pics!
Posted: 05 Nov 2014 14:18
by defdes
okayfine wrote:Since this thread's been asleep for far too long, who needs a diamond-plate lunch box with quarter-turn fasteners? My wife.
IMG_6181.jpg
Magnets glued to the underside of the top panel hold the steel key I made, shown in the next picture under the handle.
IMG_6179.jpg
IMG_6178.jpg
Ooooh, what's that I smell........industrial cottage industry!
Re: Lets see some welding and fabrication pics!
Posted: 08 Feb 2015 21:50
by Byron510
It's been a while since this thread got an addition - and it took e a while to find it so I added "fabrication" into the title....
Been busy this past week completing a roll cage for a friend of my shop mate. These guys have been running the Chumpcar series for a few years now in a mark II Golf, but want to step up their game. They have been very competitive on the west coast to date, so the build has experienced drivers behind the program. This is a mark IV car and will be turbocharged. The team was quite a professional lot to work with. Weight was a key factor, so a minimal cage to meet the various rule books was devised, fitting Chumpcar (which is as basic as I've ever seen), SCCA and CACC.
The door bars are currently just set in place, as the seat mounting has not yet been determined. The team runs many endurance events, - 24 and 36 hour events! There are 4 drivers, 5 for the longer enduros.
Cage turned out well. The car has a lot of curves, the A pillar bars were a real challenge getting them "right" Adding to tha - the A pillar bars needed to support the dash bar in exactly the right spot so that all items that were in the stock dash mount could be utilized within the cage design. I have to admit thought - this is a pretty big "small" car. Lots of room for the occupants.
Byron
Re: Lets see some welding and fabrication pics!
Posted: 08 Feb 2015 21:52
by Byron510
Here’s the dash bar comparison - factory vs built into the cage.
Re: Lets see some welding and fabrication pics!
Posted: 08 Feb 2015 22:00
by Byron510
The Chumpcar rule book allows one set of bars to protrude through the fire wall, so the team chose the strut towers as this is a known "soft spot" for this chassis design. But this meant punching holes through the pressurized cowl vent....more to come. And yes this car needs to run endurance events in the rain.
The driver’s side strut tower brace required a bend to clear the wiper linkage - this bar was a challenge.